
Appearance
18. Add a staff member
When you need this: you hired someone and they need their own login. Never share a login. The role you pick decides what they can open and what they can change. You can see what each role can do before you pick one.
Steps
On the left side of the screen, click Settings at the very bottom, then click User Management.
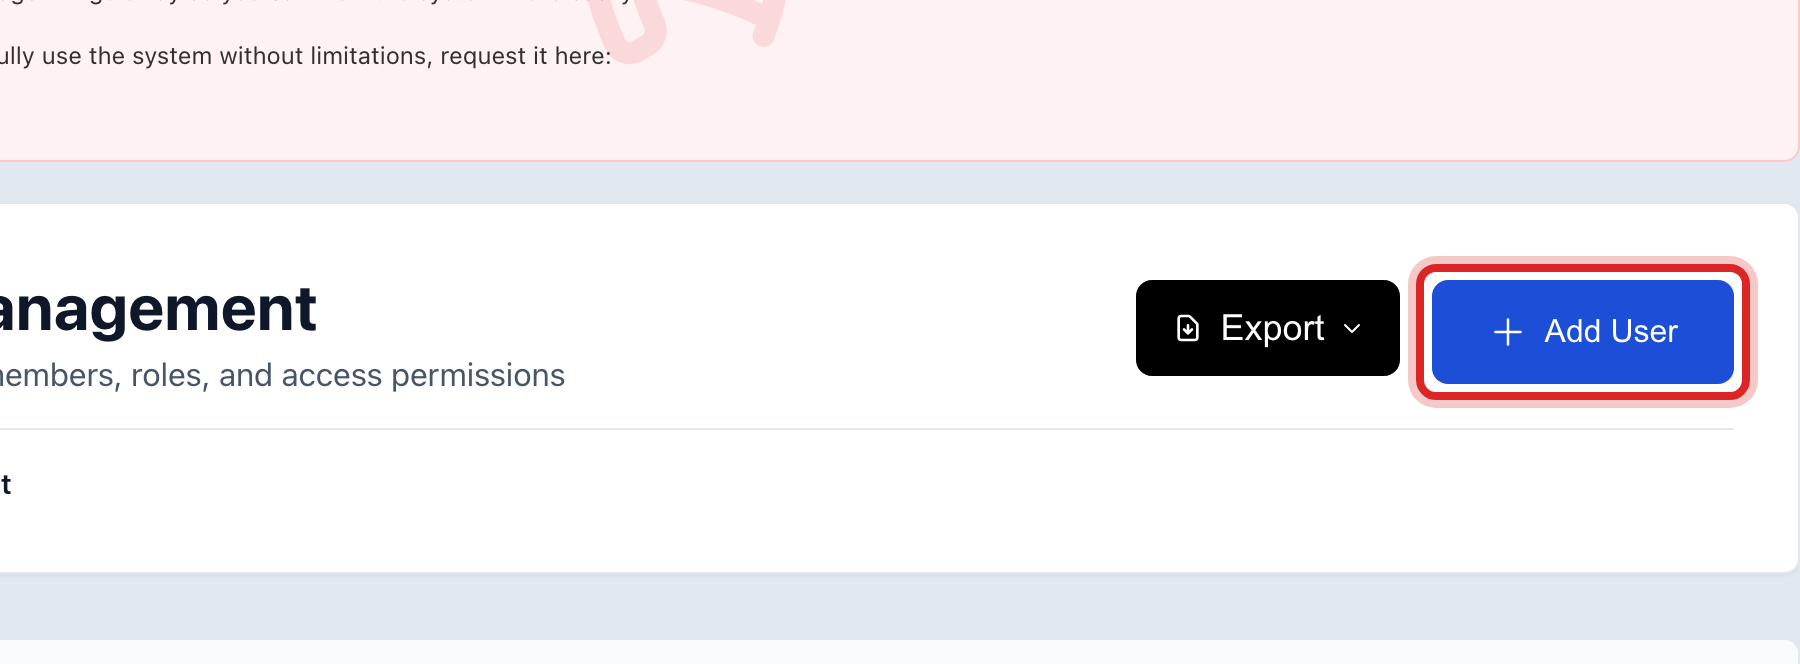
Click the blue Add User button at the top.
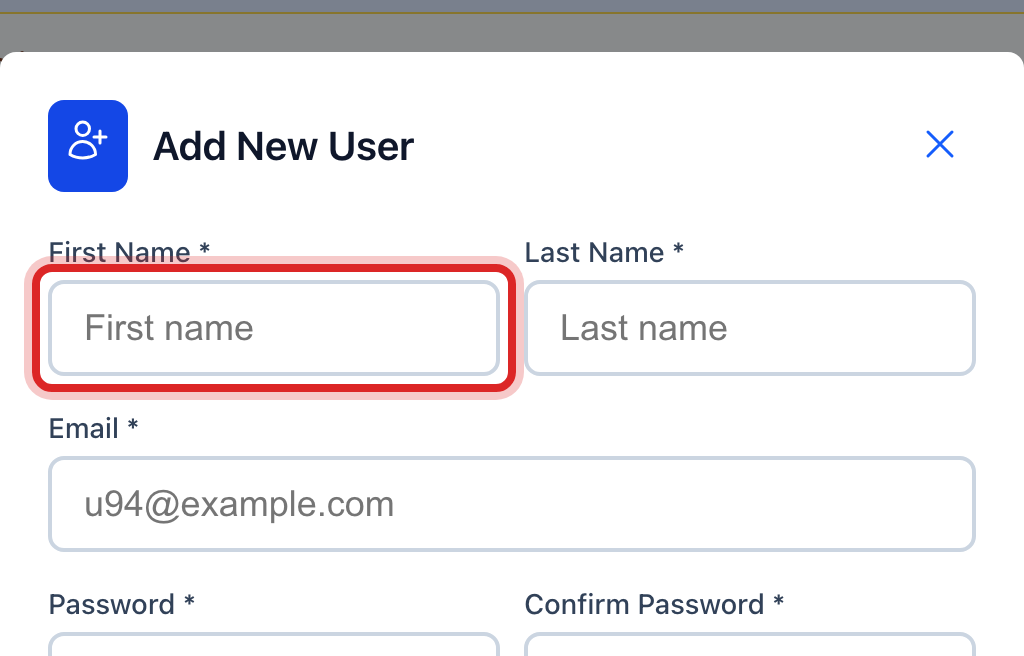
A window opens. Type their first name and their last name.
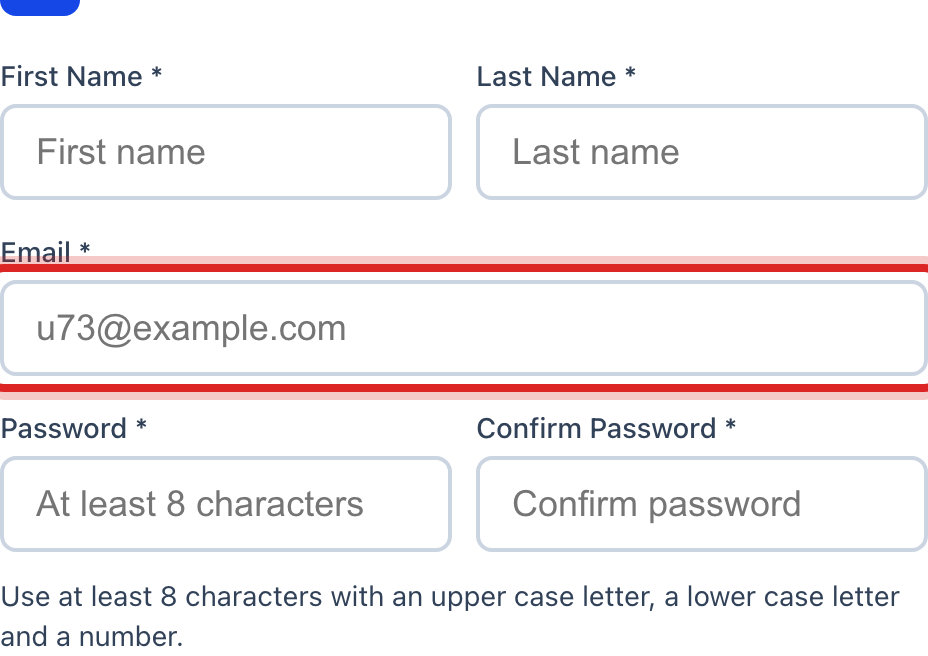
Type their work email in the Email box. That is how they sign in.
Type a password in the Password box. Type it again in the box below. It must be eight letters or more.
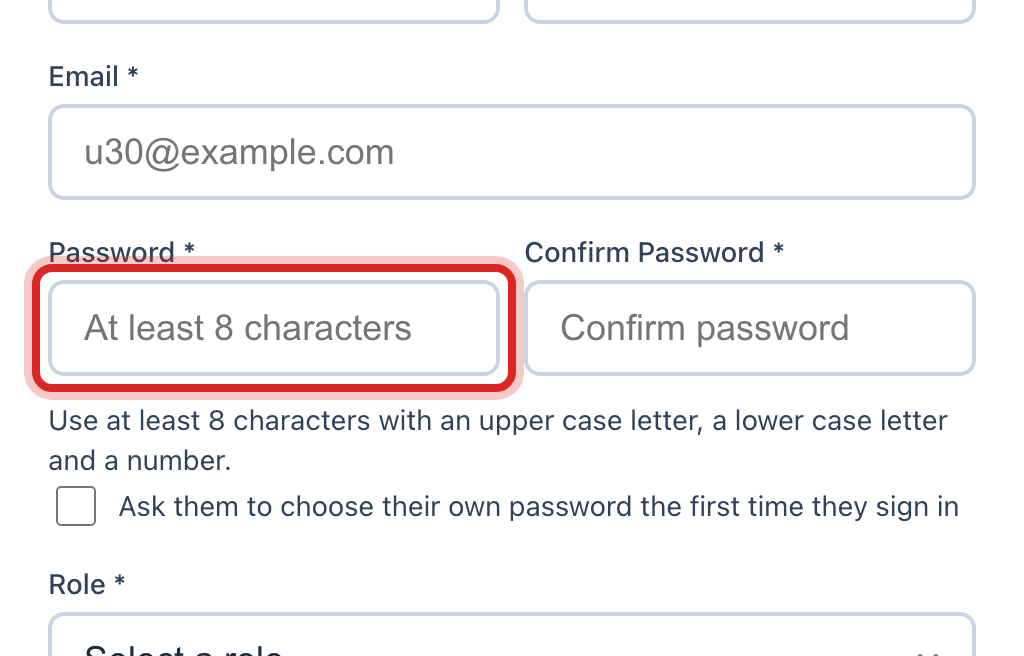
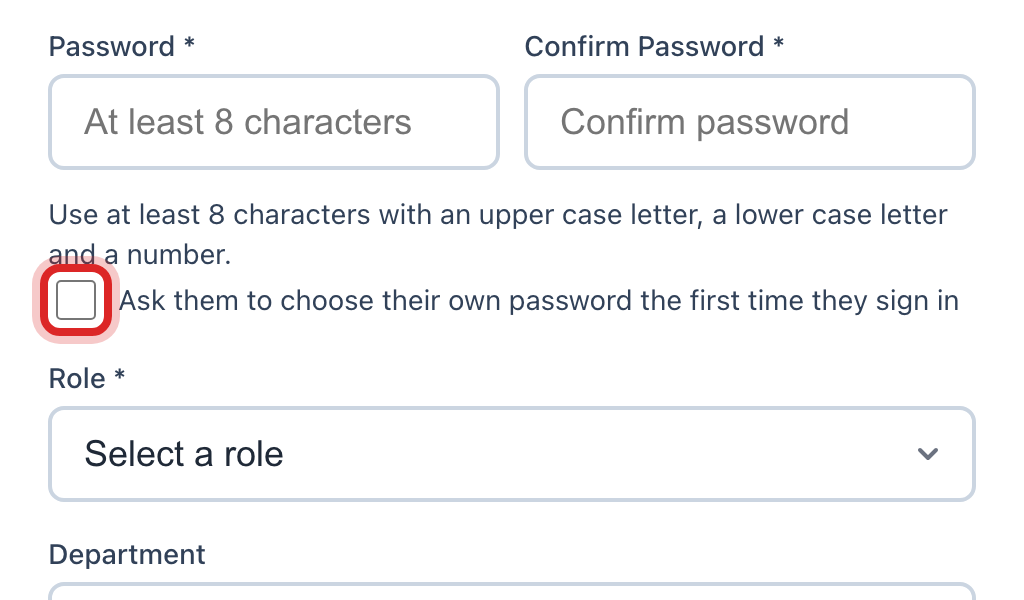
Tick the box that asks them to pick their own password the first time. Then tell them the one you typed.
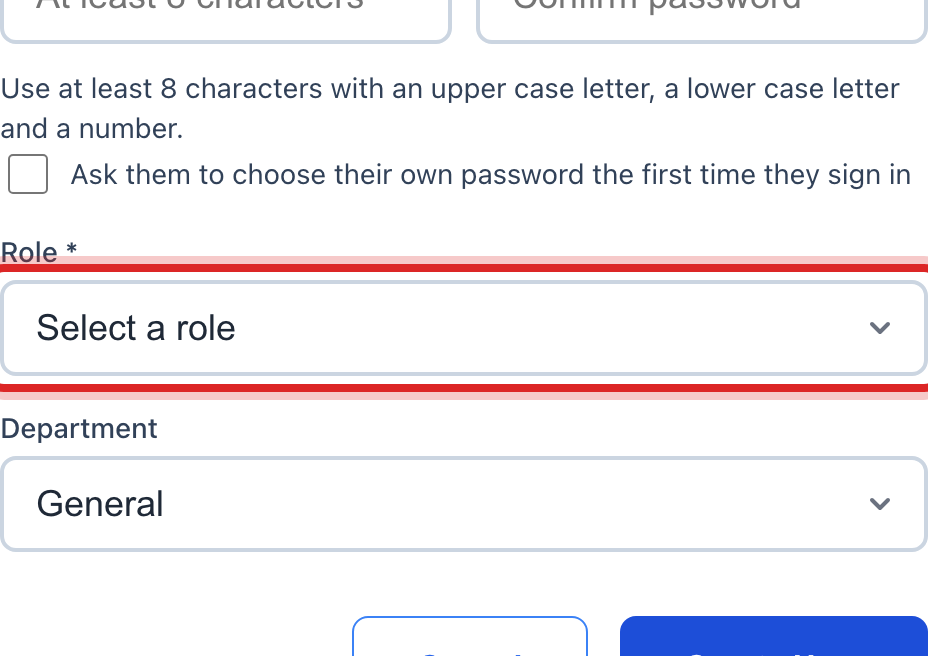
Click the Role list. Pick the role that fits the job.
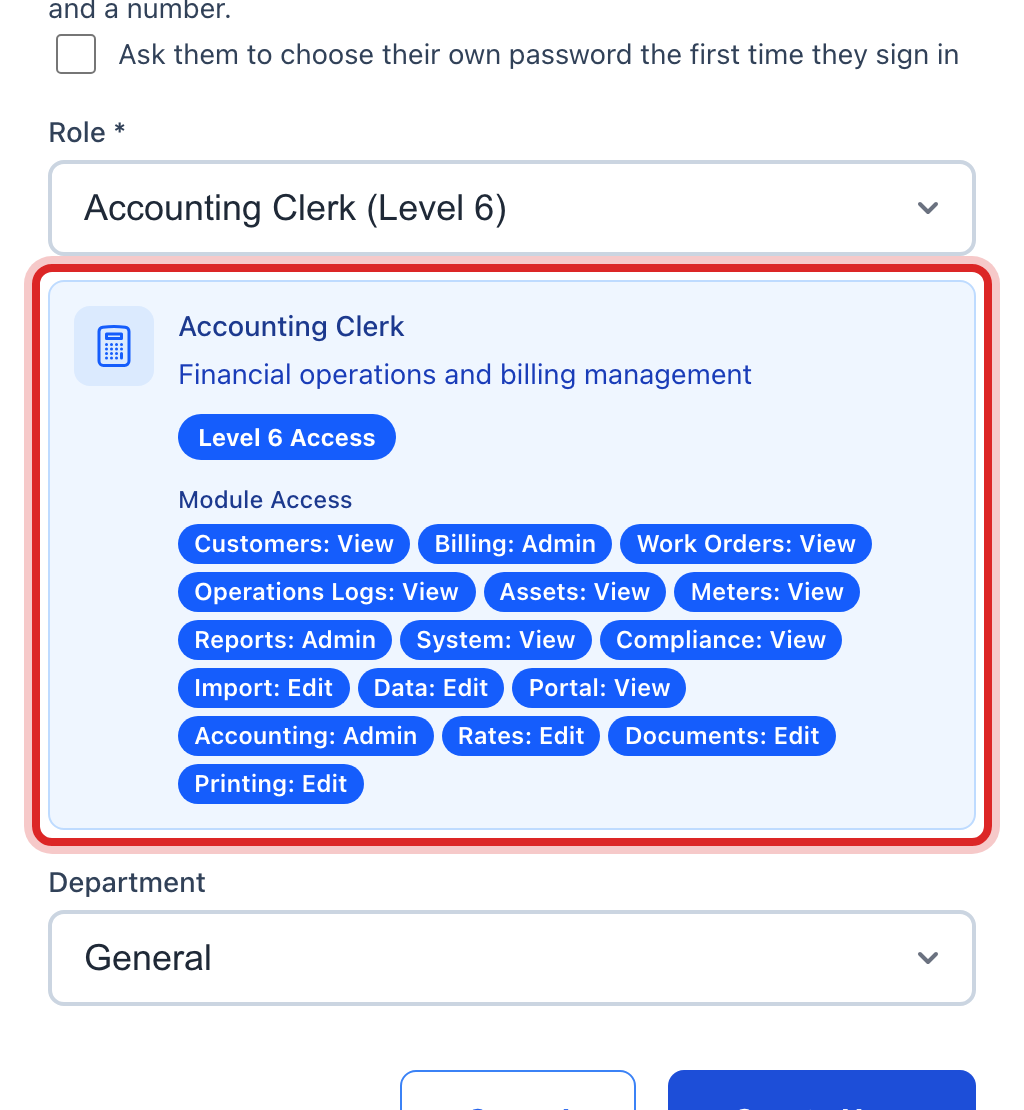
Read the blue panel under it. It says what that role can do, part of the app at a time. Pick a different role if it is not right.
Click the Department list. Pick where they work, like Customer Service or Field Services.
Click the blue Create User button.
What each role can do
Scroll down the page to the Role Guide and Permissions card. Every role has a card there.
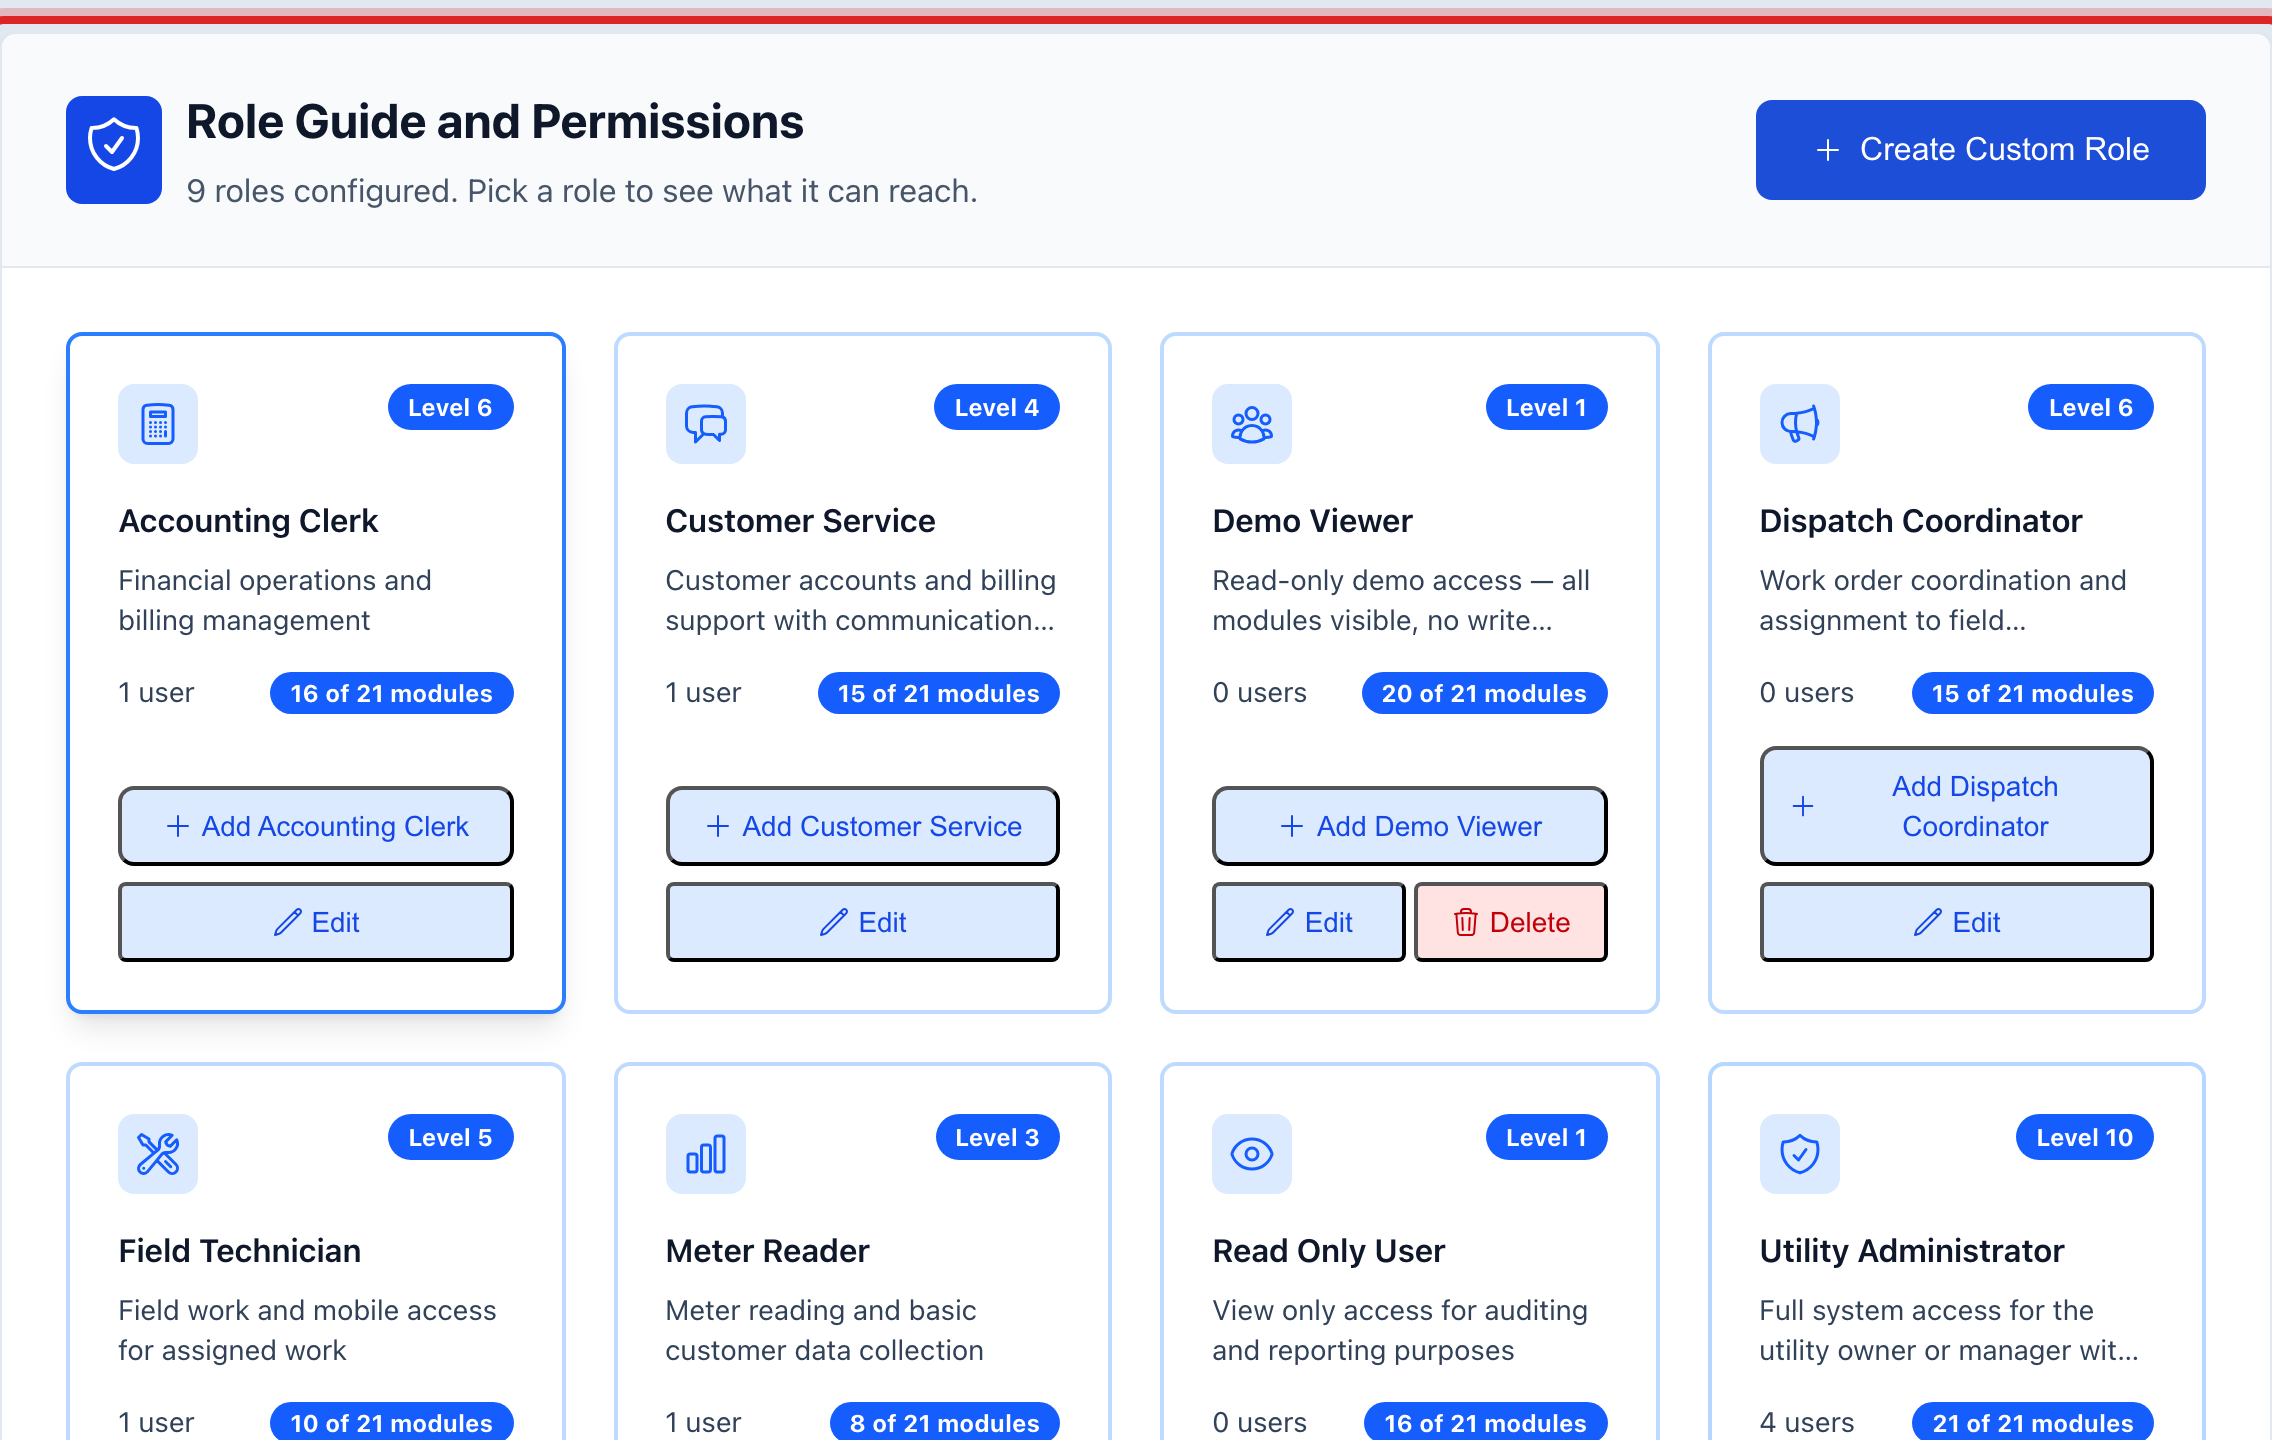
Click a role card. A panel shows each part of the app and what that role may do in it. Read it before you pick a role in step 7.
Made a mistake? Click Undo on the green message that appears, or open Show me how at the top and pick Undo a mistake.
You are done when
The new person shows in the Team Members table as Active, with the role you gave them. The counts at the top of the page go up by one.
If something looks different
You do not see Settings at the bottom of the left side. Only an administrator sees it. Ask yours to add the person.
The role you want is not in the list. You cannot give someone more than you have. Ask an administrator with a higher role to do it.
None of the roles fit the job. Click Create Custom Role on the Role Guide card. Name it, write what it is for, pick its level, then pick what it can do part by part.
They forgot their password. Open their row and use the password part of the form. The password boxes in step 5 only show for a brand new person.
They left. Open their row and set them to not active. Do not delete them. Their name needs to stay on the work they did.