
Appearance
12. Late fees, past due notices and shutoffs
When you need this: the due date has passed and some people have not paid. Most offices do the same three things, in this order. Add the late fees. Mail the warning. Then shut off the few who still have not paid. Each one is below. Do them a few days apart, the way your rules say.
Steps: add the late fees
On the left side of the screen, click Billing & Payments, then click Add Late Fees.
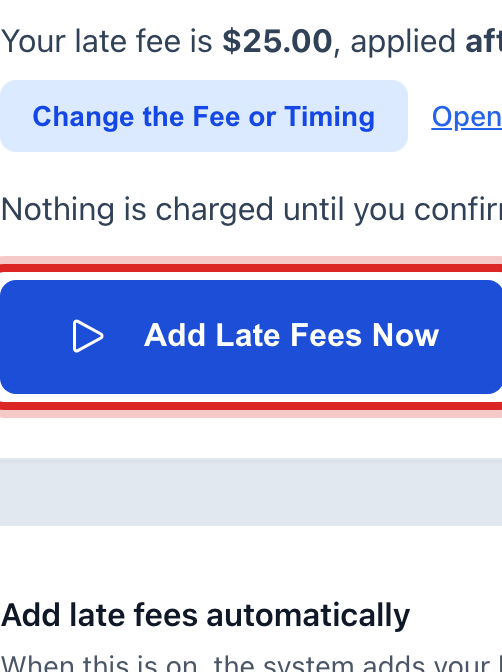
Read the box at the top. It says what your fee is and when it applies. Then click Add Late Fees Now.
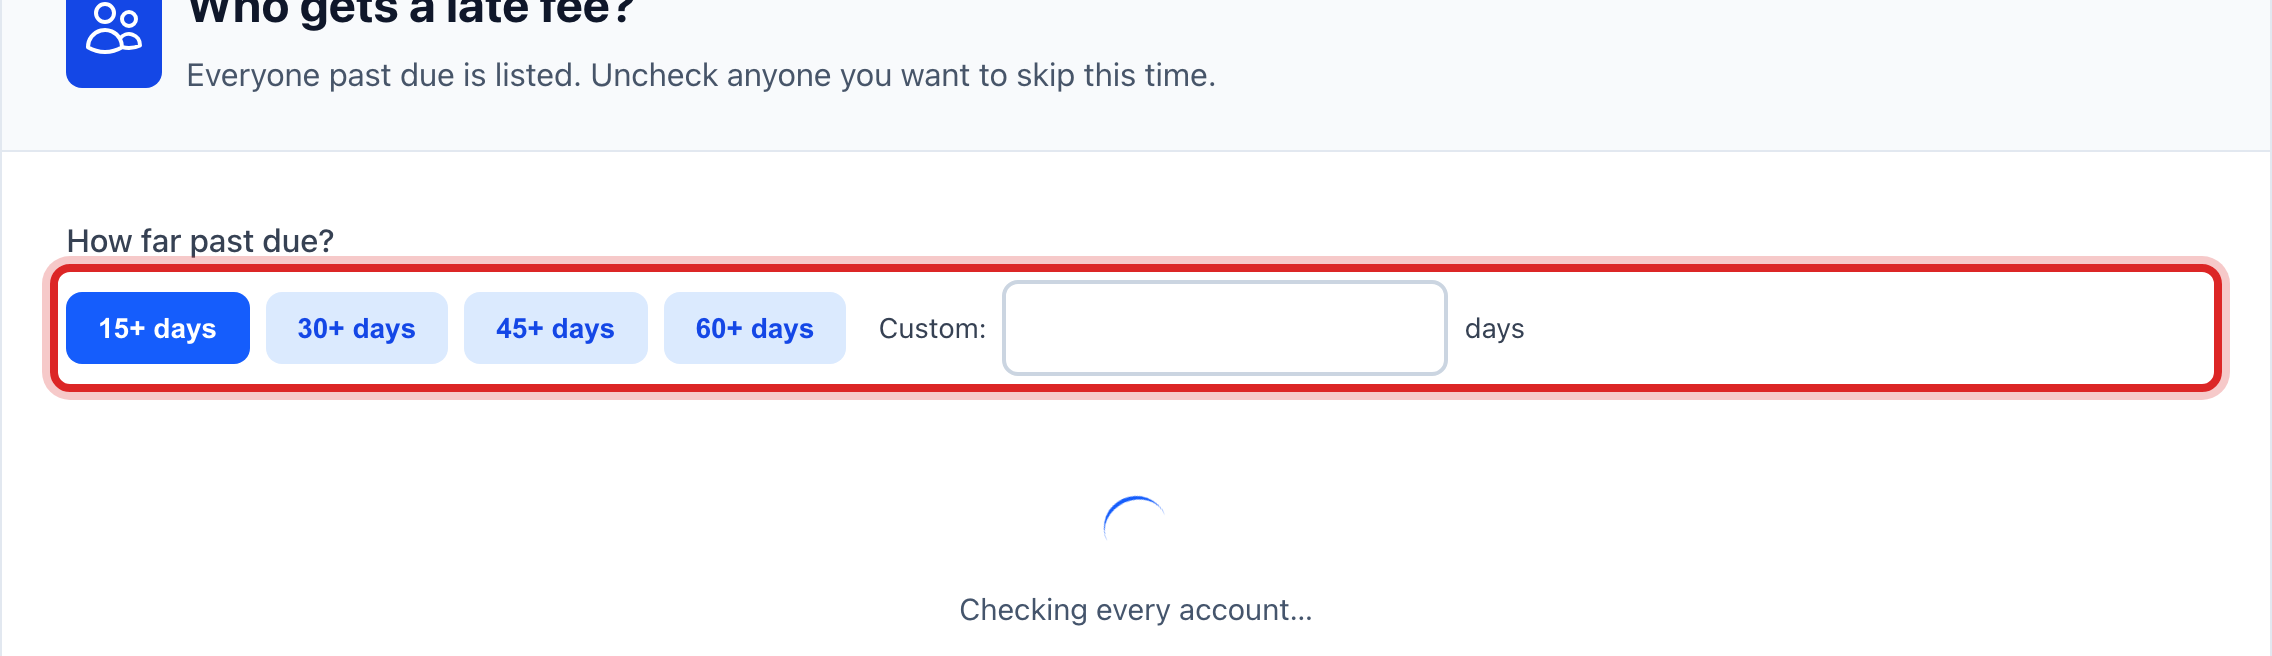
Pick how far past due they must be. Click one of the day buttons, like 15+ days.
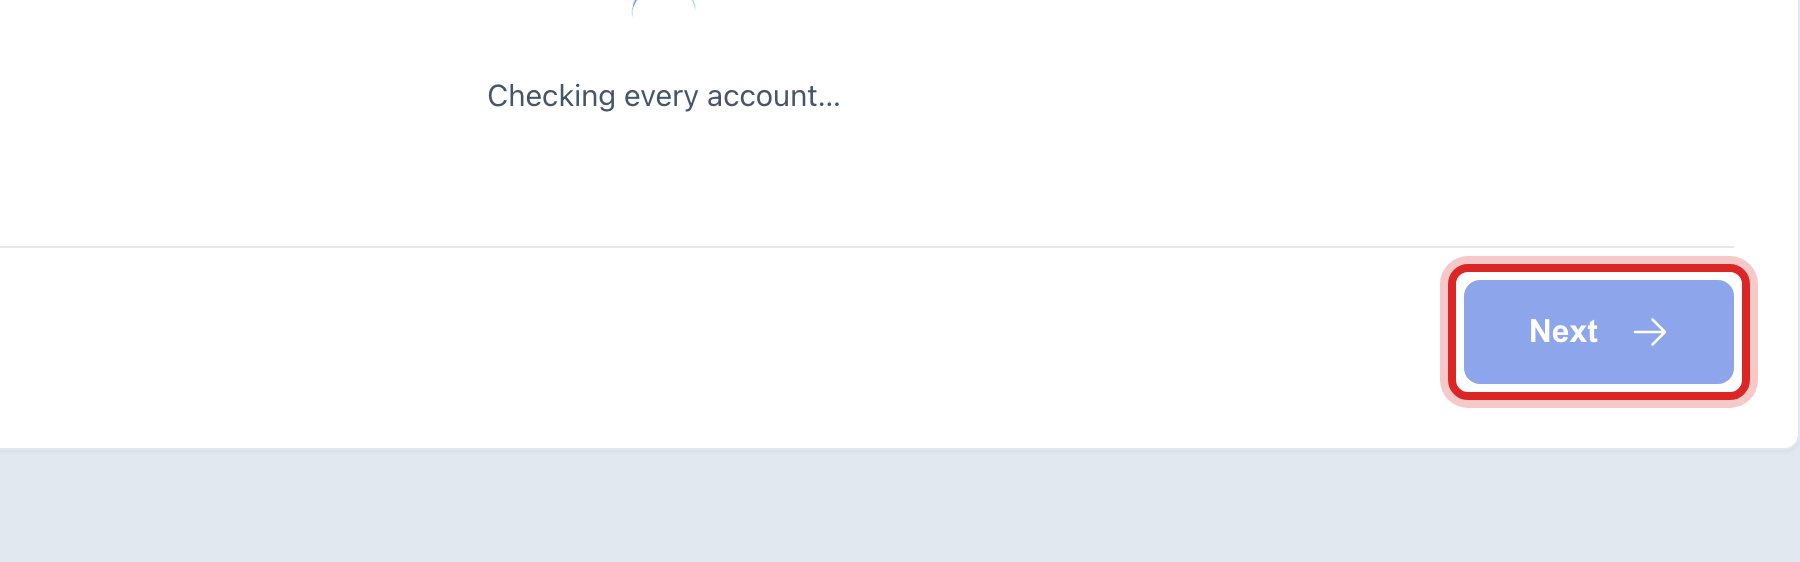
Look down the list of names. Untick anyone who should not get a fee. Then click Next.
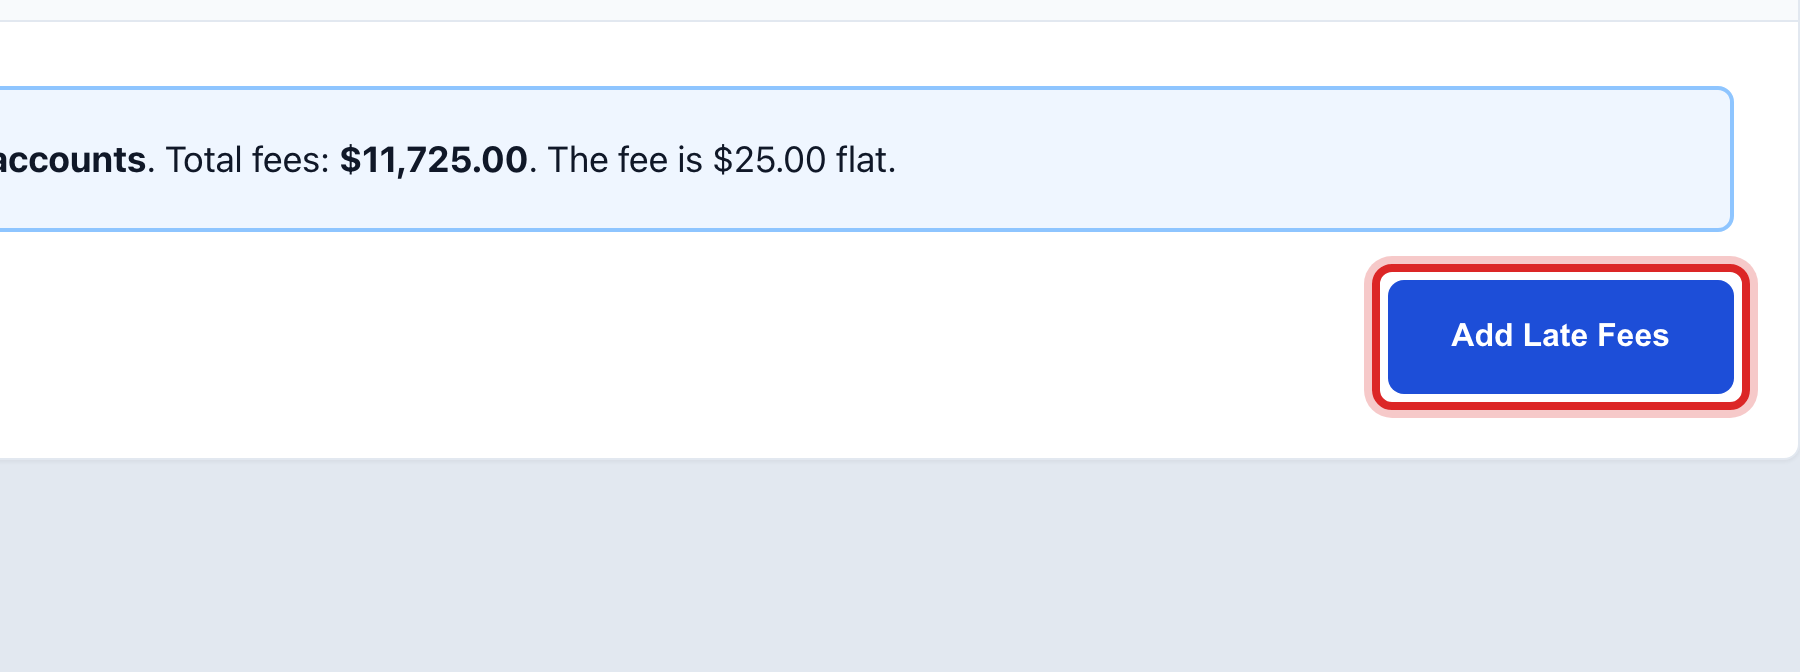
Read the check screen. Nothing is charged until you press the button. Click Add Late Fees.
Steps: send the disconnect notice
On the left side of the screen, click Billing & Payments, then click Send Notices.
Click the blue Start button.
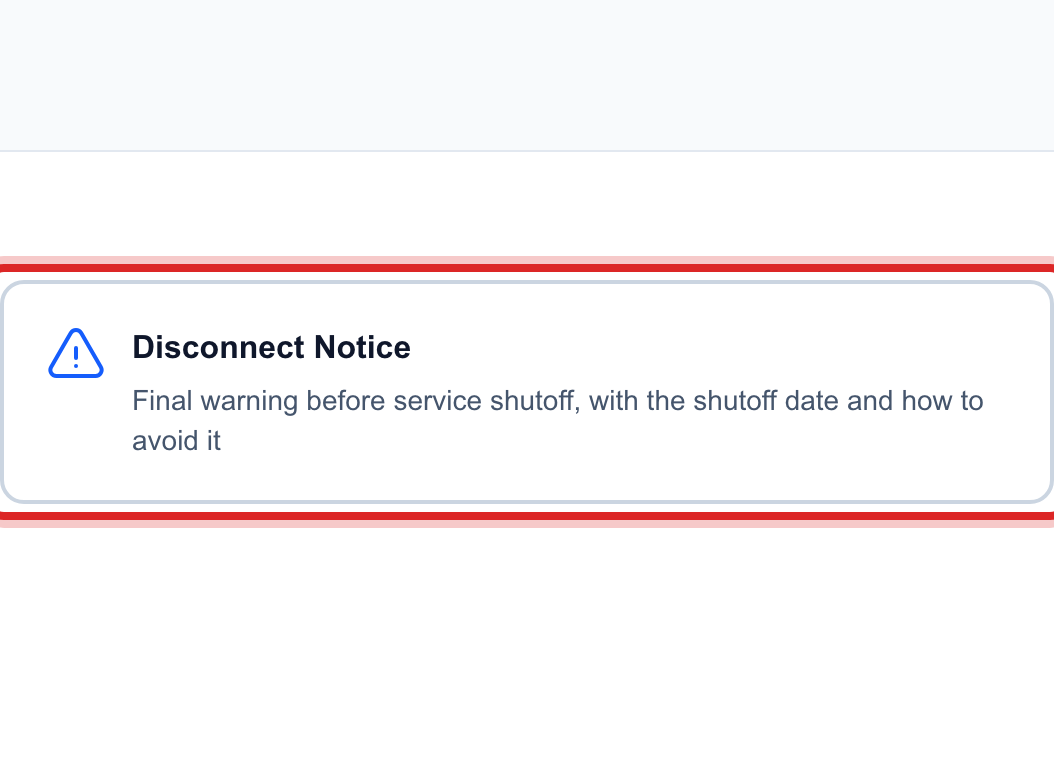
Under Delinquency, click the Disconnect Notice card. Then click Continue.
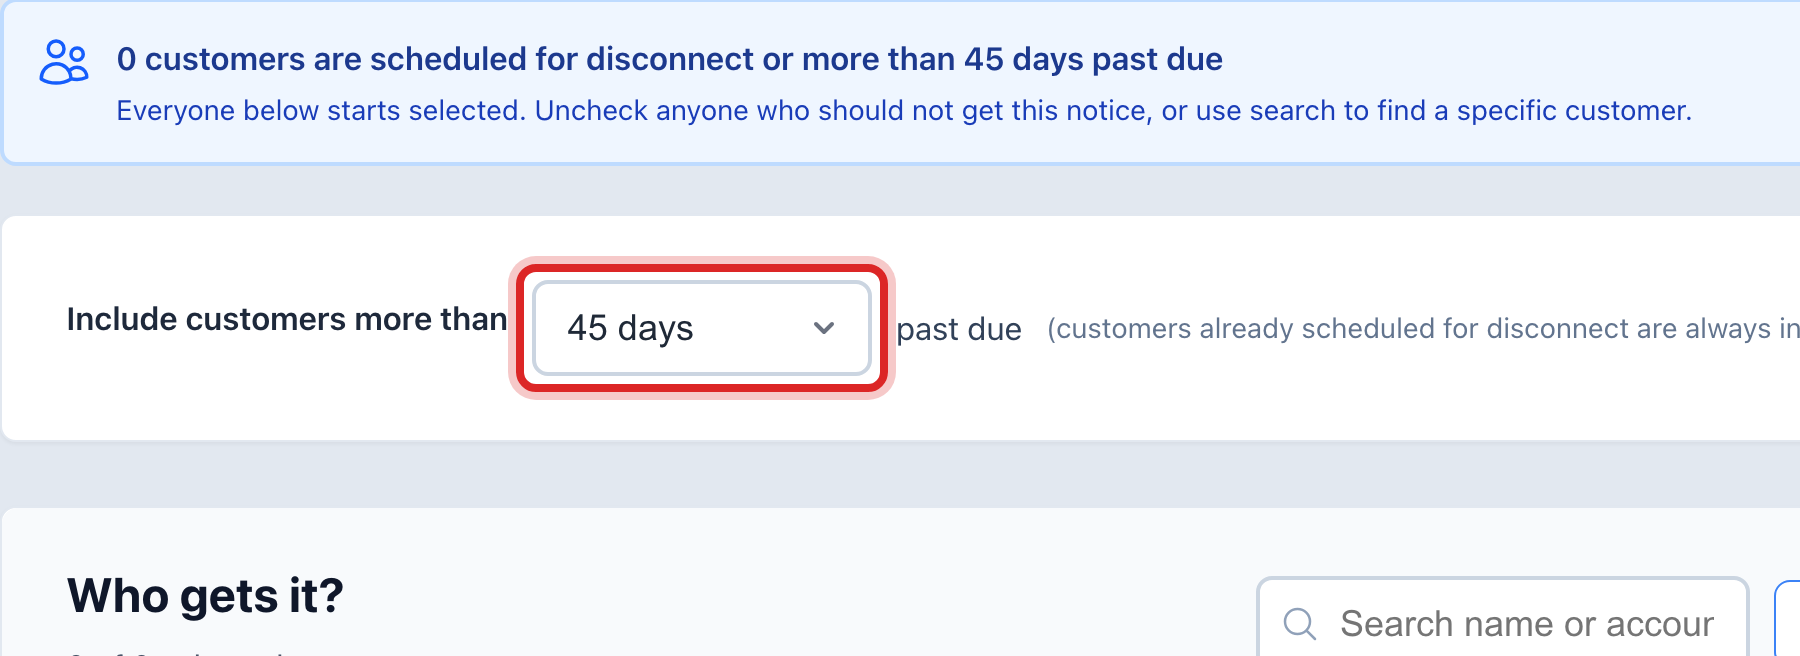
Pick how far past due they must be, like 30 days. The list of names fills in below.
Click Select All, or untick the ones you are leaving out. Then click Continue.
Click the Pay by deadline box and pick the last day to pay. Then click Preview Notice and read it once. Then click Continue.
Click the blue Generate Notices button. Wait for it to finish.
Click Download Print Batch. It gives you one file with every notice in it. Print them and fold them.

Steps: set the cut off day
On the left side of the screen, click Billing & Payments, then click Collections.
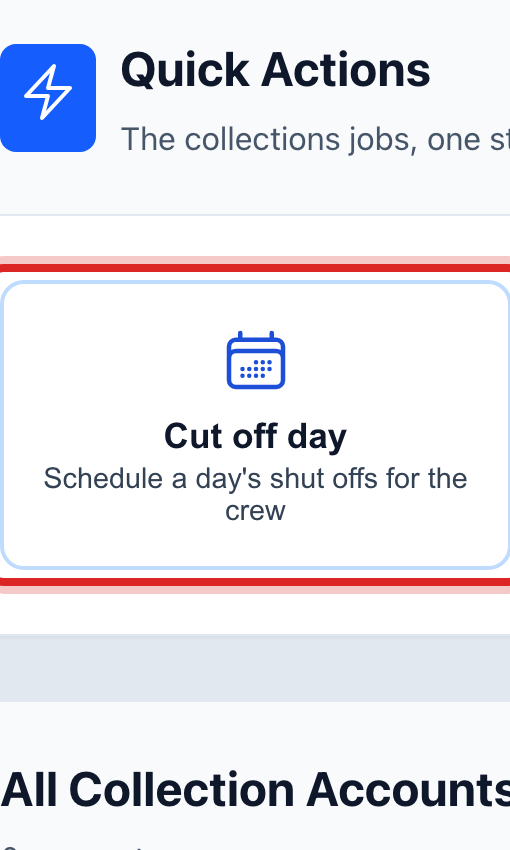
Click the Cut off day tile in the row of blue tiles.
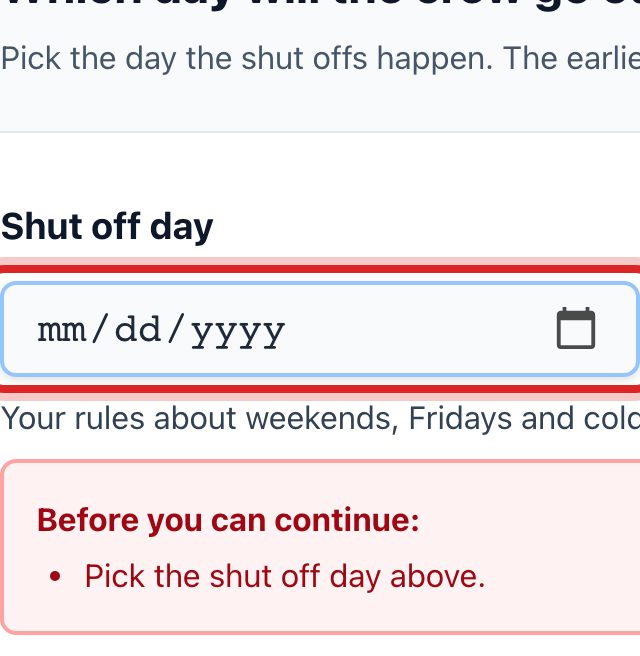
Click the Shut off day box. Pick the day the crew goes out. The screen checks it against your rules.
Set the three limits if you want them: the least amount owed, the least days late, and how many stops the crew can make. Then click Next.
Answer the gas safety questions. Water only utilities see a note here and just click Next.
Read the list once. Then click Yes, schedule these shut offs.
Click Print the crew list and hand it to the crew.
Made a mistake? Click Undo on the green message that appears, or open Show me how at the top and pick Undo a mistake.
You are done when
Late fees. A green panel says how much was added and to how many accounts.
Notices. The print batch card stamps the time you downloaded it.
Cut off day. The last screen says how many shut offs are set for that day. Each one has a work order. Click a row to open its work order. Nothing is turned off until the crew does the work order. If the customer pays in full first, the work order is cancelled and there is no reconnect fee.
A notice you emailed or texted cannot be pulled back. Read it in the preview before you send. A printed batch is only a file until you mail it, so that one you can throw away.
If something looks different
They paid and you need the water back on. On the left, click Billing & Payments, then Collections. Find the account and click the eye button at the right end of the row. A panel opens. Click Reconnect now, read what it says will happen, then click the blue confirm button. If the crew has not gone out yet, click Stop the shut off instead.
Add Late Fees Now is faded. No late fee is set up yet. Click Rates and Tariffs, then Fee Schedules, and add one. Then come back.
You would rather not do late fees by hand every month. On the late fee page there is a switch for Add late fees automatically. Turn it on and the fees go on every morning on their own.
Someone on a payment plan is in the list. They are not. People on a plan and people you marked exempt are always left out.
You want us to mail the notices for you. On the last notice screen, click Mail for Me instead of downloading. That needs a mail provider set up first. The screen gives you the link if you do not have one.
Your state wants certified mail for shutoff warnings. The notice screen has a button to stamp that you mailed them certified today. Your collections settings turn that on.
You do not see the blue tiles on Collections. Your account may not have permission to change billing. Ask your administrator.