
Appearance
6. Enter a vendor bill
When you need this: a bill comes in the mail. You put it in Utilops the day it arrives, with the due date. Then it waits under Accounts Payable until you pay it. Quick start page 15 shows the paying part. This page is the entering part.
Steps
On the left side of the screen, click Accounting, then click Accounts Payable.
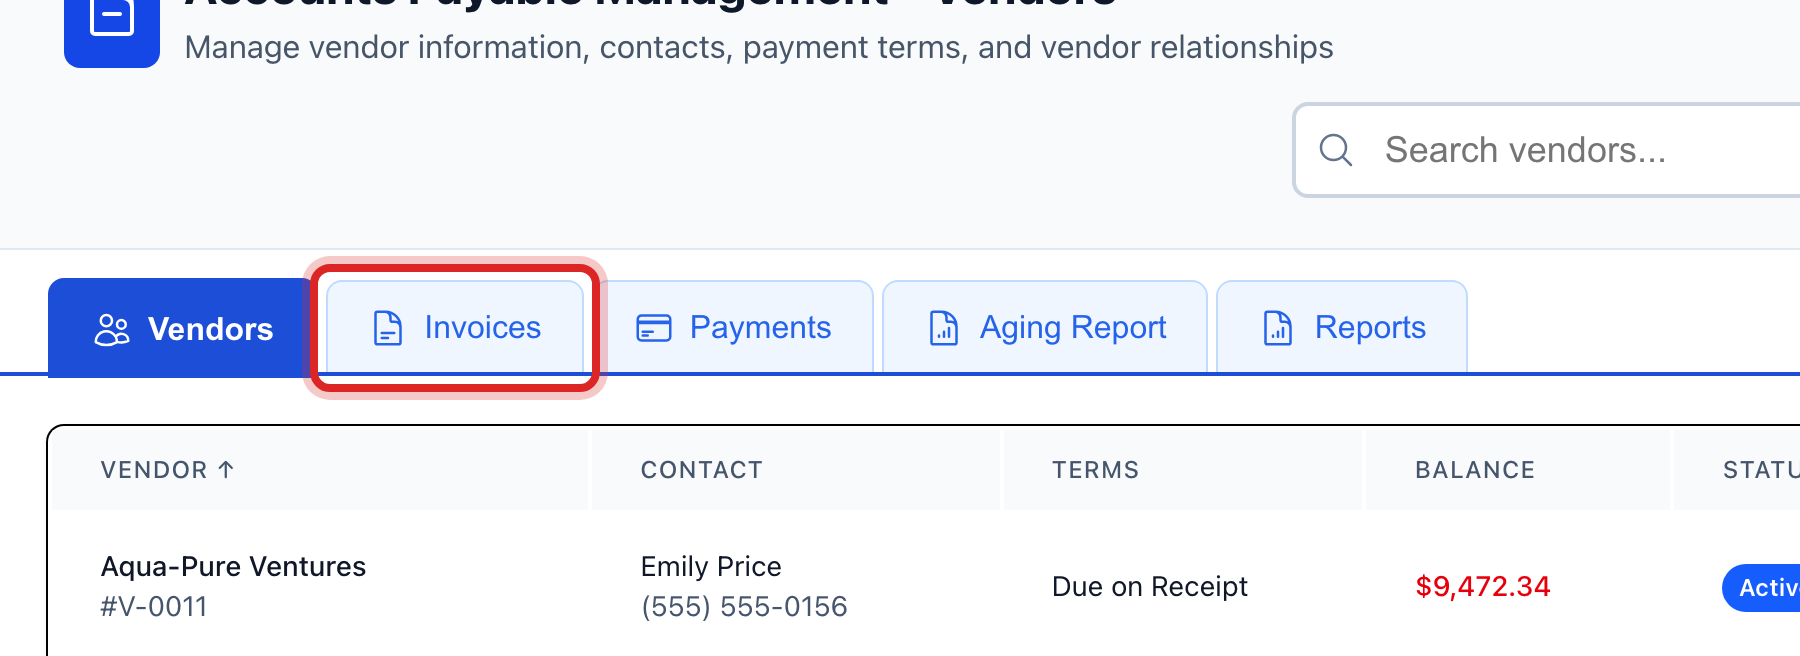
Click the Invoices tab.
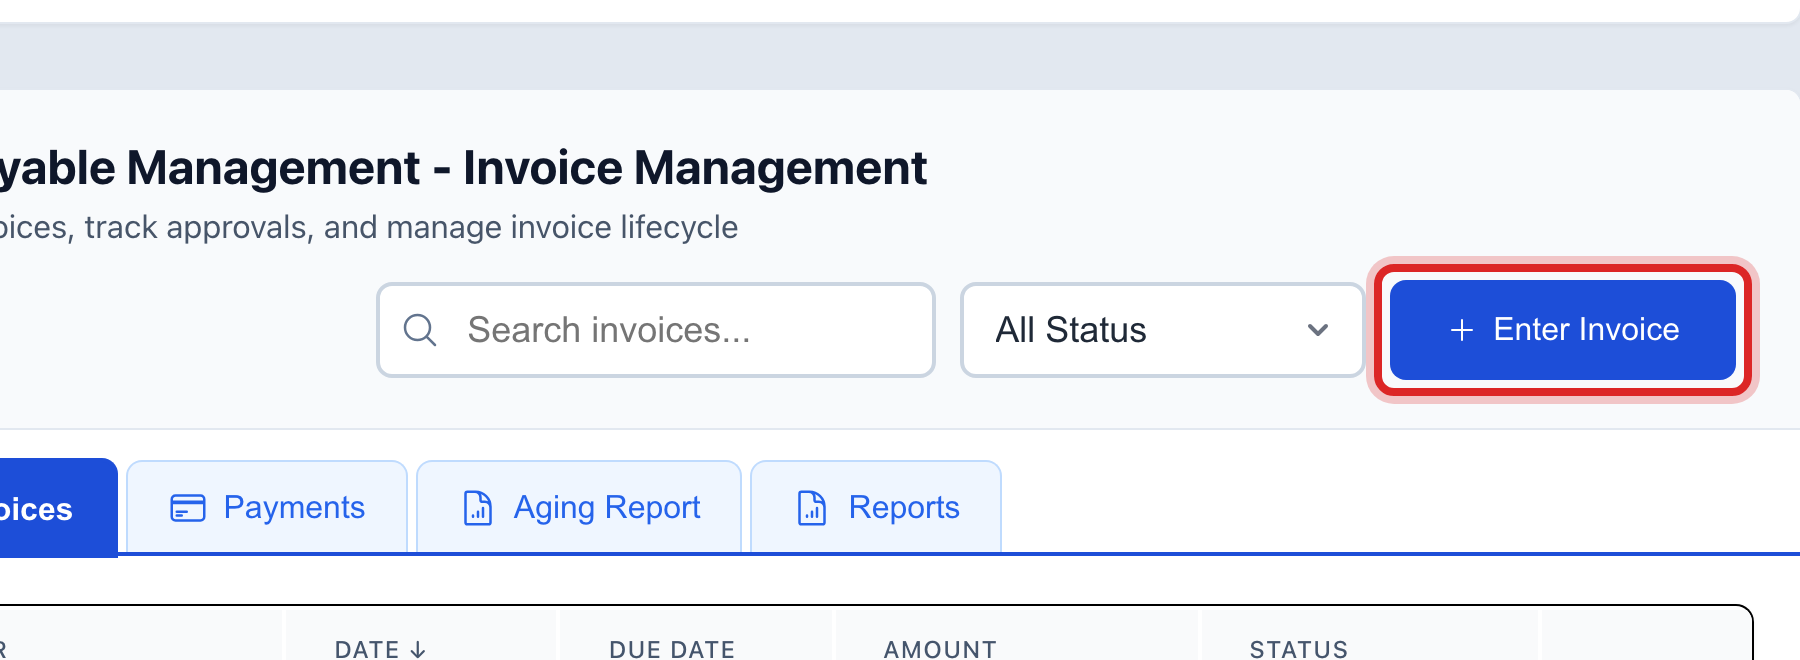
Click Enter Invoice.
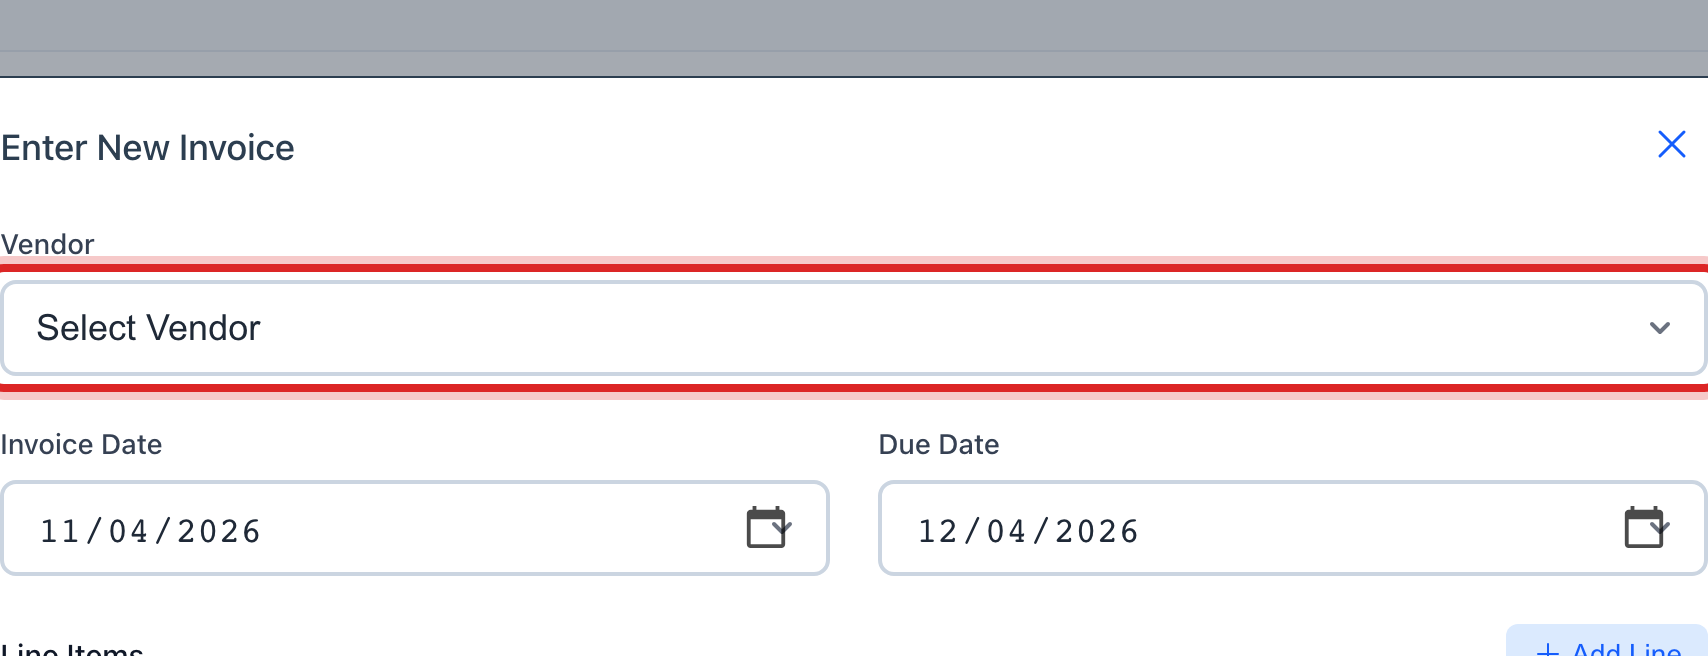
Pick the Vendor. If they are not in the list, pick + Add New Vendor and fill in the short form.
Type the Invoice Number from the bill. Set the Invoice Date and the Due Date.
Under Line Items, type a Description, pick the Account, and type the Amount. Click Add Line for a second line if the bill covers more than one thing.
Click Save Invoice.
If your office needs a sign off before a bill is paid, the person who approves clicks the approve button on its row. Then it is ready for Pay Bills.
Made a mistake? Click Undo on the green message that appears, or open Show me how at the top and pick Undo a mistake.
You are done when
The bill shows in the Invoices list with its due date and the amount. The vendor's balance goes up by that amount.
If something looks different
The bill was entered twice. Click the void button on the wrong one and type why. A bill that has been paid cannot be voided; void the payment first.
It is paid by a grant. Pick Grant Funded under Funding Source and pick the grant. The grant report counts it.
It is part of a project. Pick the Job / Project so the project total adds up.
You have a purchase order for it. Type the PO Number and Utilops matches them.