
Appearance
5. Add a vendor
When you need this: a vendor is anyone you pay. The chemical supplier. The electric company. The backhoe operator you hire by the day. Add them once, and every bill and check for them is tied to one record, which makes the 1099s at year end easy.
Steps
On the left side of the screen, click Accounting, then click Vendors.
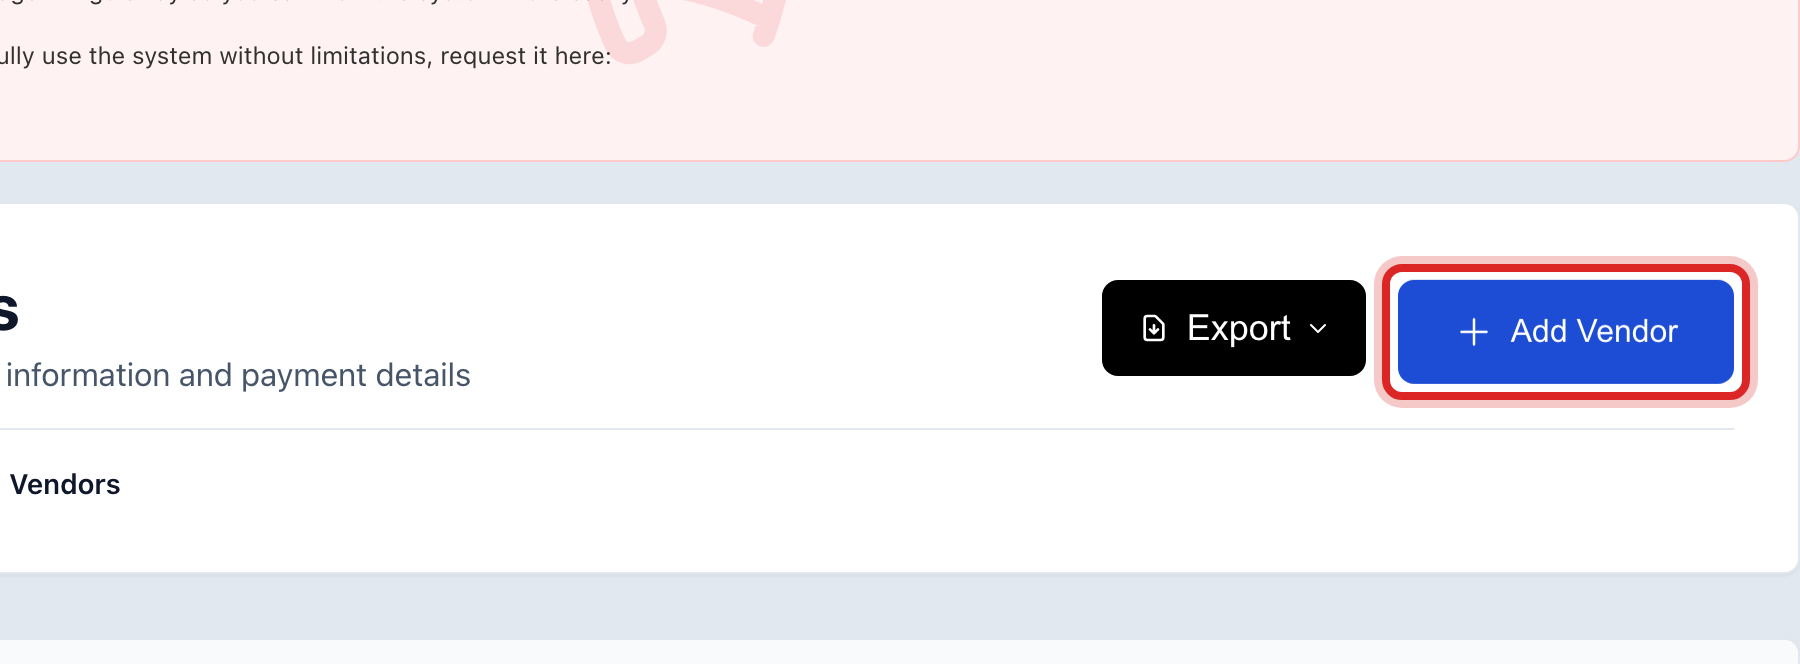
Click Add Vendor at the top right.
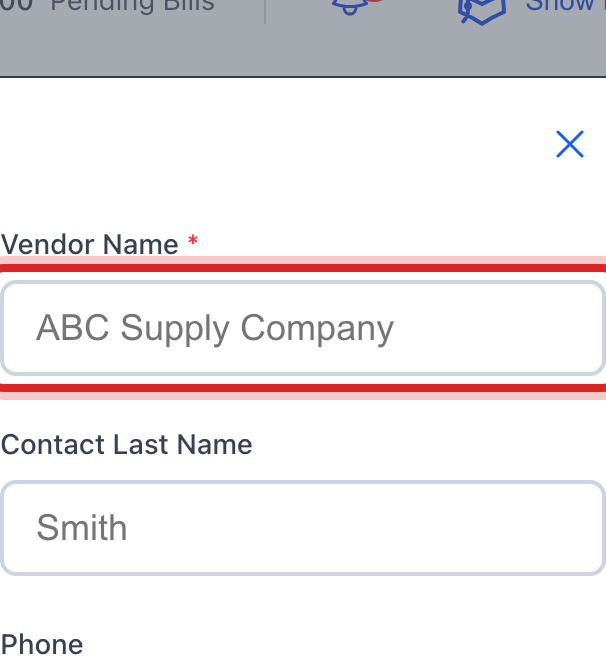
Type the Vendor Name as it should print on a check.
Type the Email and Phone, and the Address where the check goes.
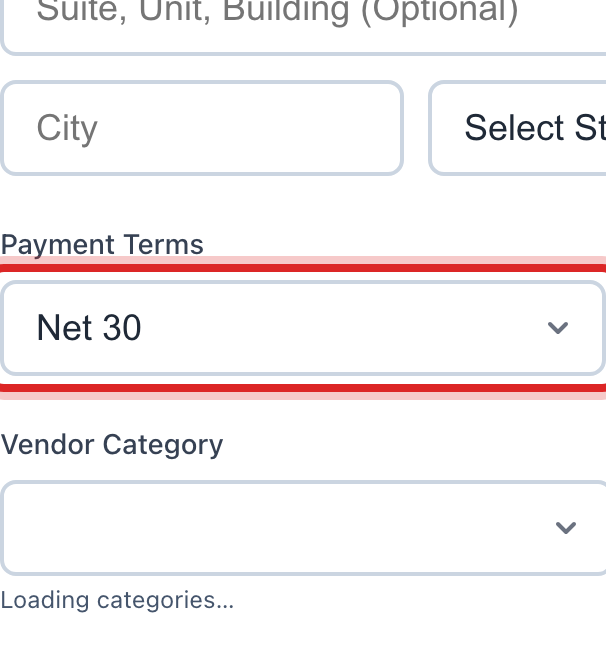
Pick the Payment Terms, like Net 30.
Pick the Default Account, the expense account their bills usually go to. It is filled in for you on every bill.
Pick the Tax Classification. A corporation gets no 1099. A sole proprietor or an LLC does. Type their tax ID if you have the W-9.
Click Add Vendor.
Made a mistake? Click Undo on the green message that appears, or open Show me how at the top and pick Undo a mistake.
You are done when
The vendor shows under All Vendors with a green Active mark and a zero balance.
If something looks different
You are in the middle of entering a bill and the vendor is not there. Pick + Add New Vendor in the vendor list on the bill. A short form opens right there.
A vendor you no longer use. Click the pencil and untick Active Vendor. Their history stays.
You pay them by bank transfer. Scroll down in the vendor window and type their routing and account numbers. Pay Bills can then send an ACH file.
The vendor is a person, not a company. Pick the 1099 classification that fits. At year end, Taxes & 1099s builds the form from what you paid them.