
Appearance
2. Add a new meter
When you need this: a new house is built, or a meter was never put in Utilops. You add the meter and tie it to the customer. From then on its readings can be typed in and billed.
Steps
On the left side of the screen, click Metering, then click Add Meter.
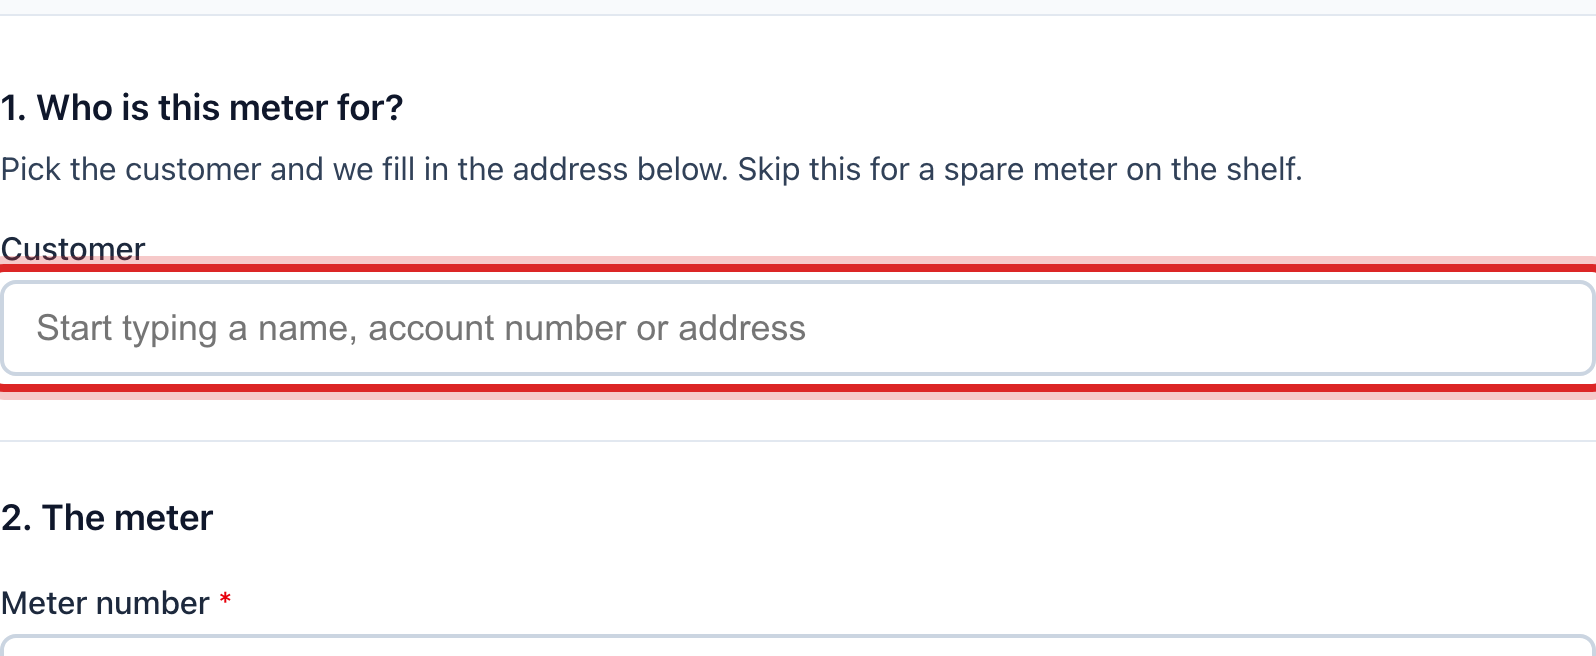
Under 1. Who is this meter for?, click in the Customer box and start typing the name, the account number or the address.
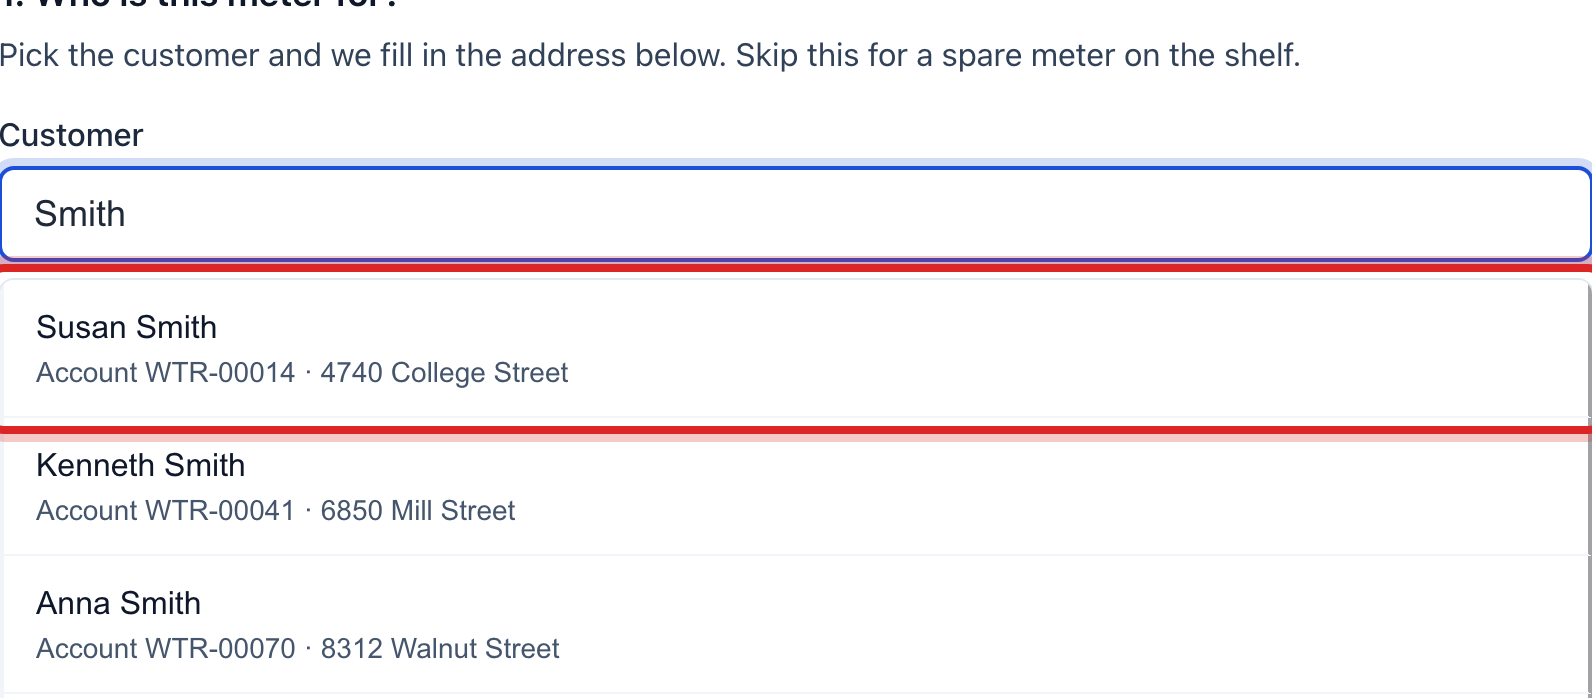
Click the right customer in the list that drops down. Their name and address show in a box.
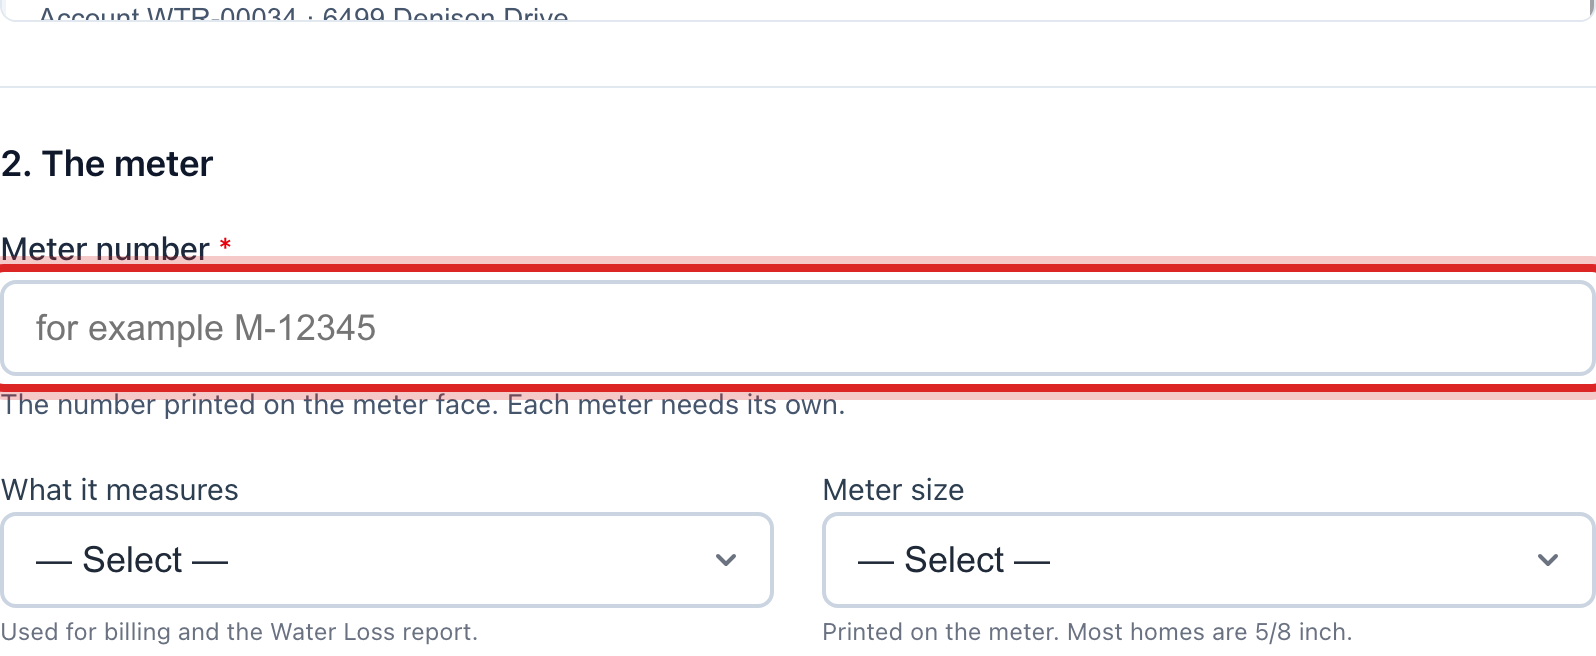
Under 2. The meter, type the Meter number stamped on the meter.
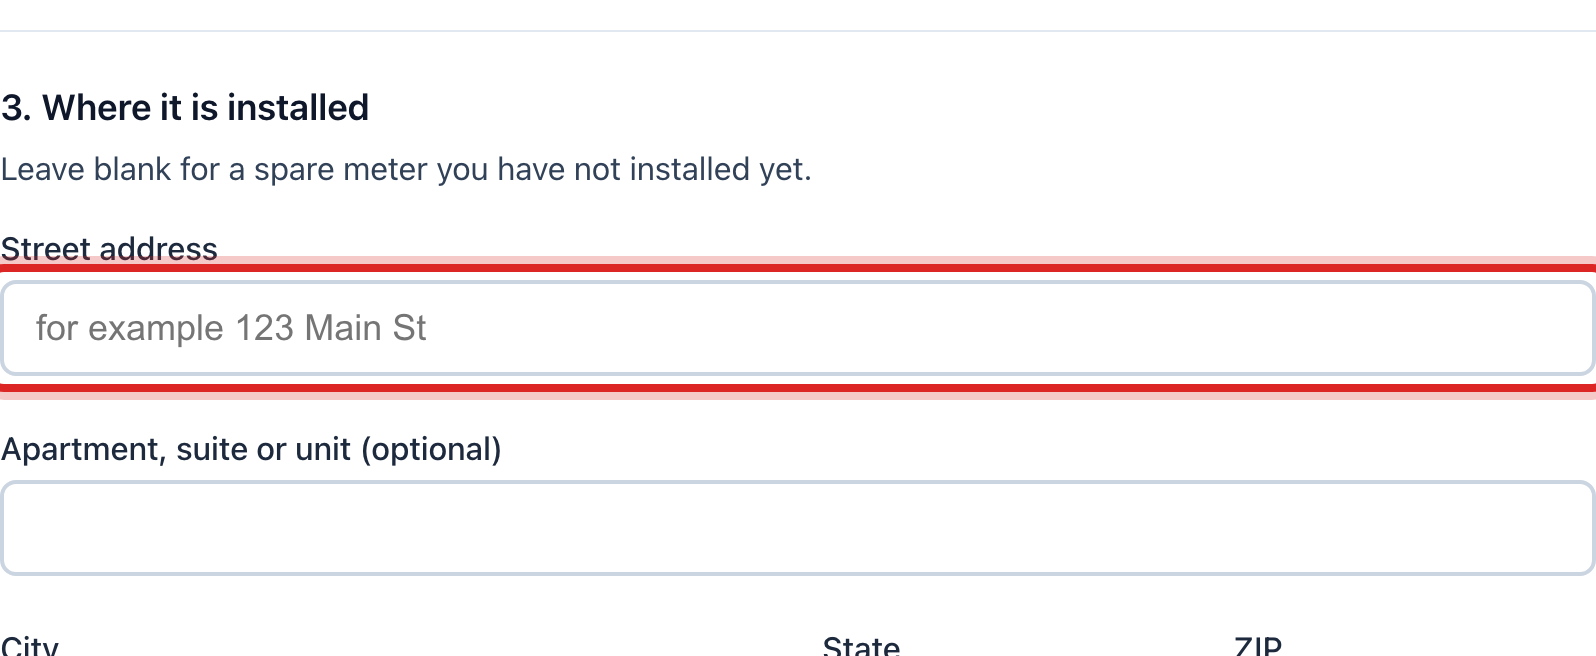
Under 3. Where it is installed, type the Street address, City, State and ZIP. If it is at the customer's house, this is the same address.
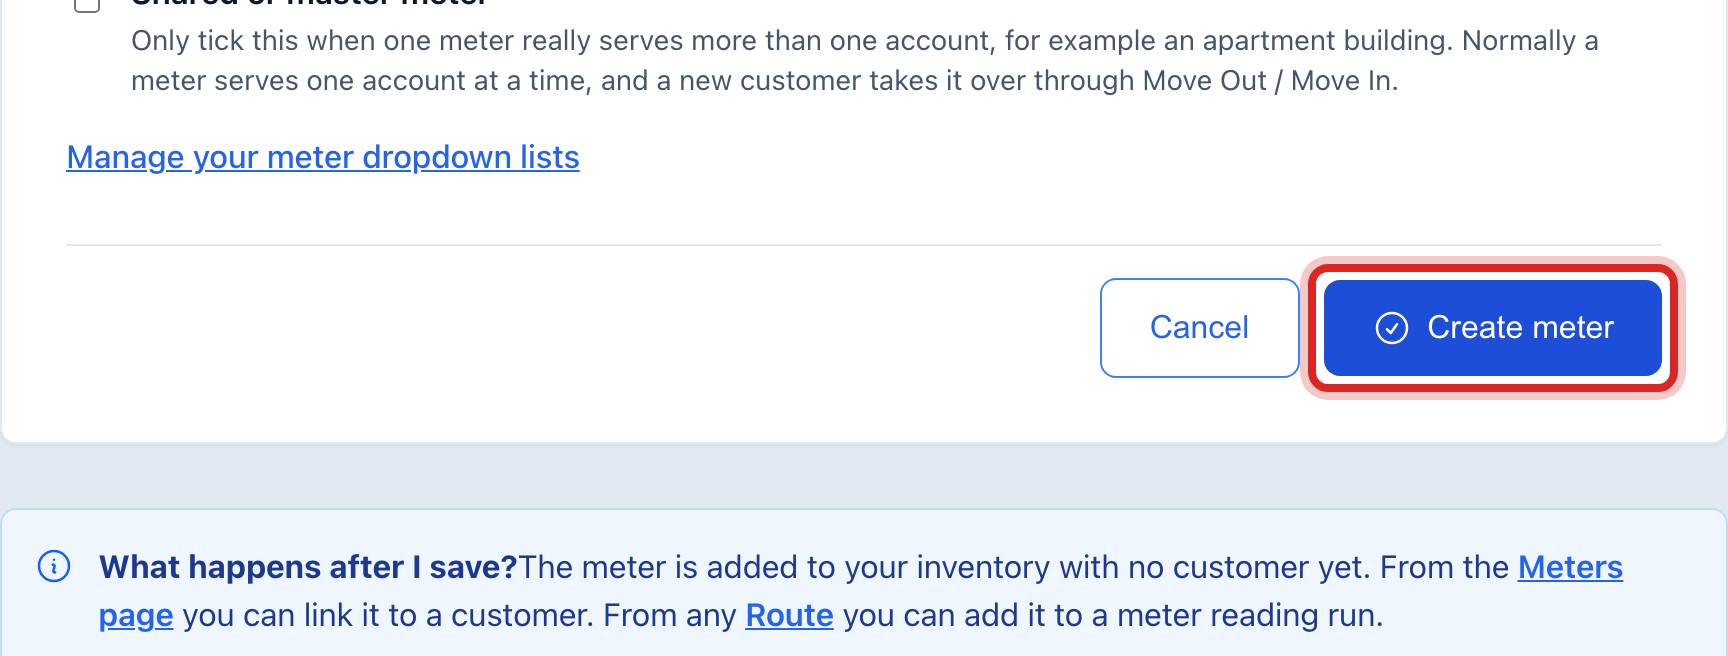
Click Create meter at the bottom.
Made a mistake? Click Undo on the green message that appears, or open Show me how at the top and pick Undo a mistake.
You are done when
A green message says the meter was created. The new meter is in the list under Meters, with the customer's name beside it.
If something looks different
It says the meter number is already in use. Every meter number is used once. Check the stamp and type it again. If an old meter had that number, open it from Meters first and see what it says.
It is a gas meter. Three more boxes show under 2. The meter: Meter reads in, Dial multiplier and Pressure factor. Copy them off the meter's label.
It is a well or plant meter, not a customer's. Under 4. More details, tick This is a source or production meter. It then counts in the Water Loss Report, lesson 8.
One meter serves several accounts. Tick Shared or master meter and say why. Only do this when it is truly one meter for more than one account.
You are changing out an old meter. Do not add a meter here. Open the old meter and click Replace Meter. Quick start page 21 shows how.