
Appearance
8. Send to one street or area on the map
When you need this: a main break on West Main, flushing on the north side, low pressure on the hill. You do not want to bother the whole town. Draw around the area on a map and only the customers inside it get the message.
Steps
On the left side of the screen, click Customer Messaging, then click Send Message.
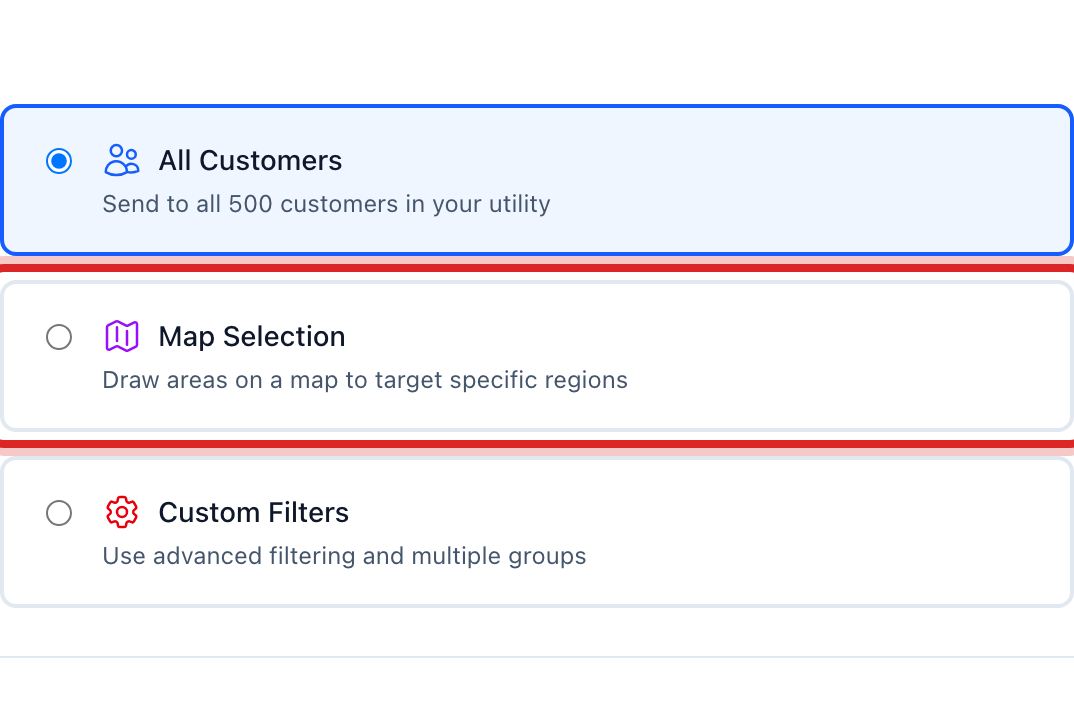
Click Map Selection. A map of your service area opens under it. Every customer is a dot.
Find the area on the map. Scroll to zoom in and drag to move, the same as any map on your phone.
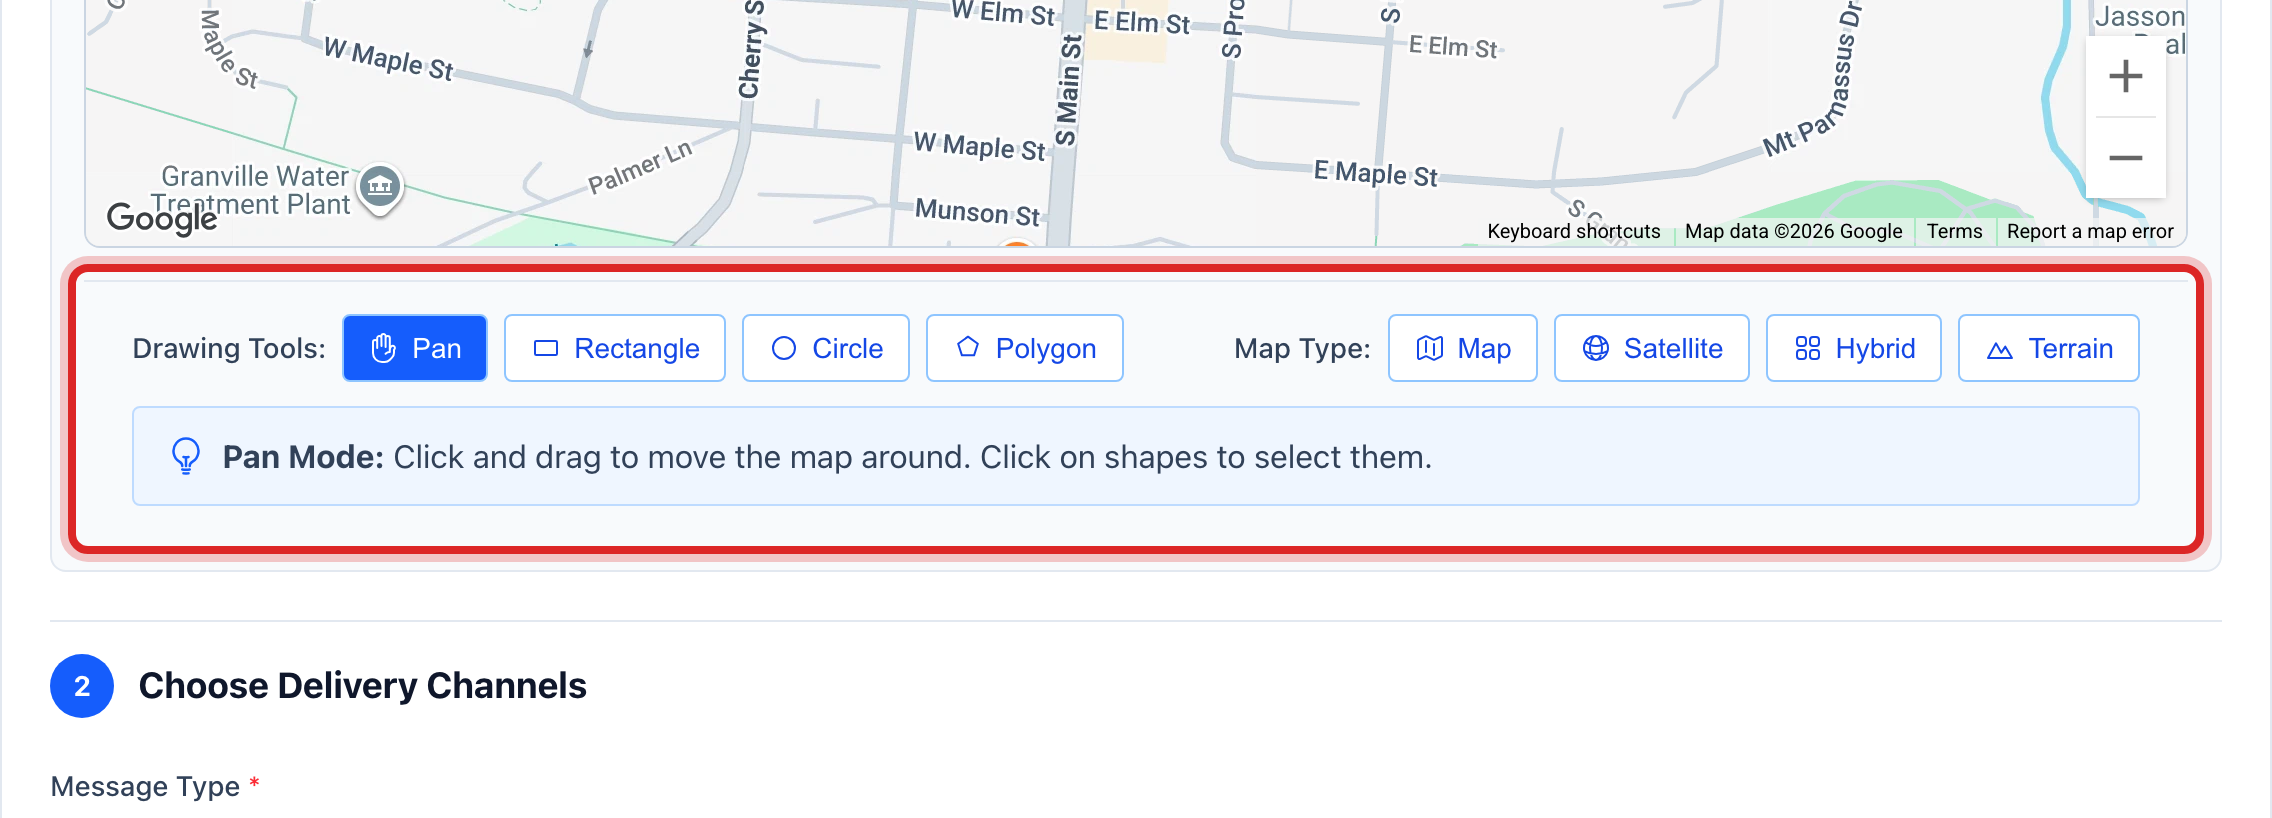
Under the map, click Polygon. Then click points on the map around the area, one corner at a time. Click the first point again to close the shape.
The number of customers inside the shape shows under the map. If it is not right, click Clear and draw again.
Pick SMS or Email, write the message, and click Send, the same as any message.
You are done when
The Delivery Report shows the messages going out, and the count matches the number inside your shape.
If something looks different
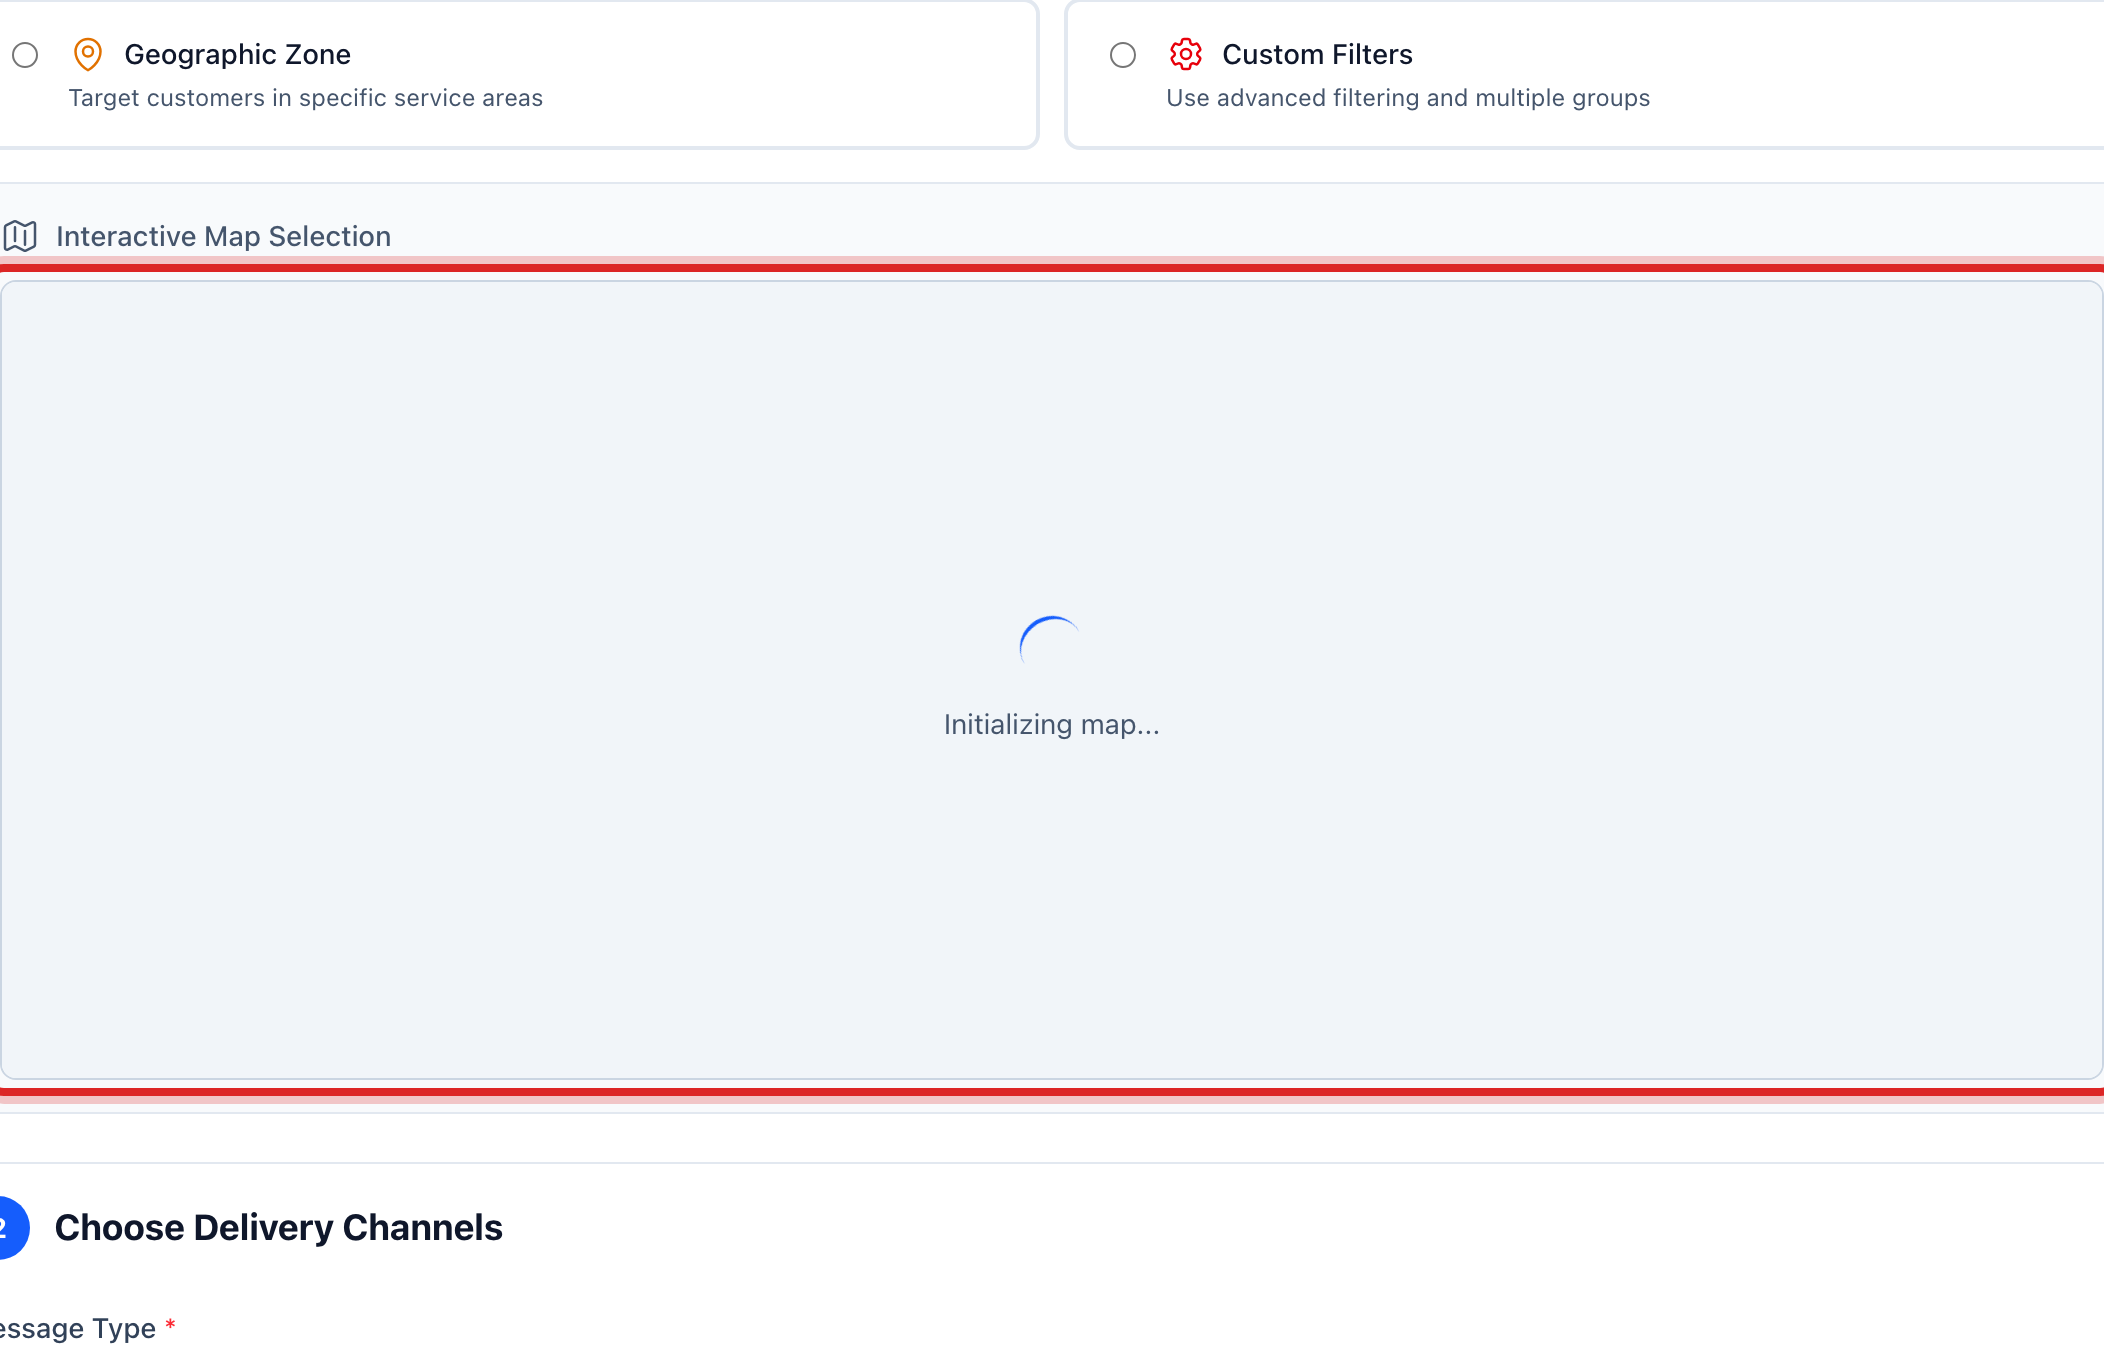
The map is blank or still loading. Give it a few seconds. If it stays blank, your customers may not be placed on the map yet. Under GIS Mapping there is a tool to place them from their addresses.
You will use this same area again. Save it once under Geographic Targeting, lesson 6, and next time pick it by name instead of drawing.
A rectangle or circle is easier. The tools under the map have both. Click and drag to draw one.