
Appearance
1. Keep your own files in Utilops
When you need this: the board minutes, the insurance certificate, the signed contract with the lab, a scan of the state letter. Papers your office needs and nobody else keeps. Put them here and they are on every computer in the office, backed up, and found with one search.
Steps
On the left side of the screen, click Documents, then click My Documents.
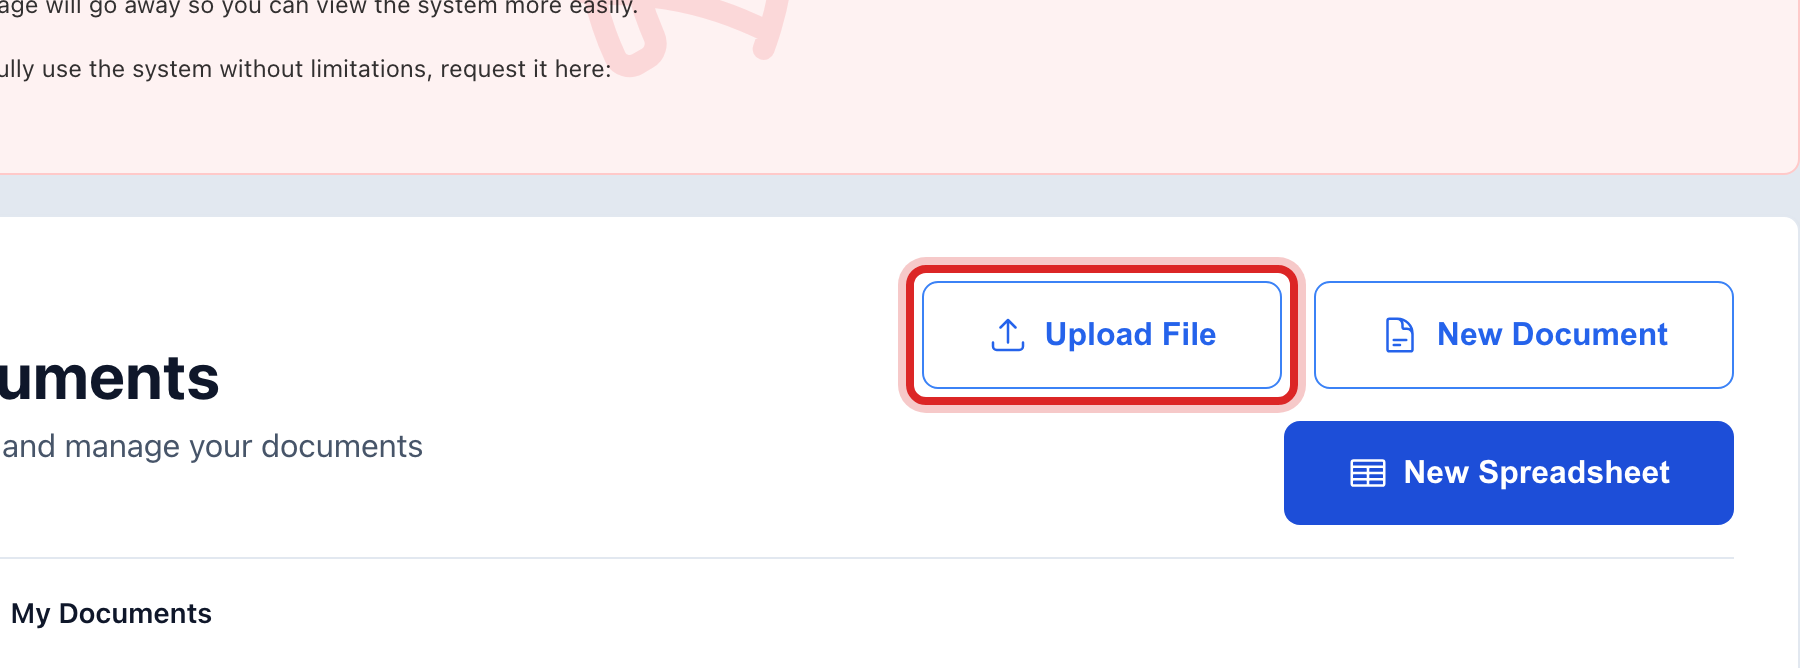
Click Upload File at the top right.
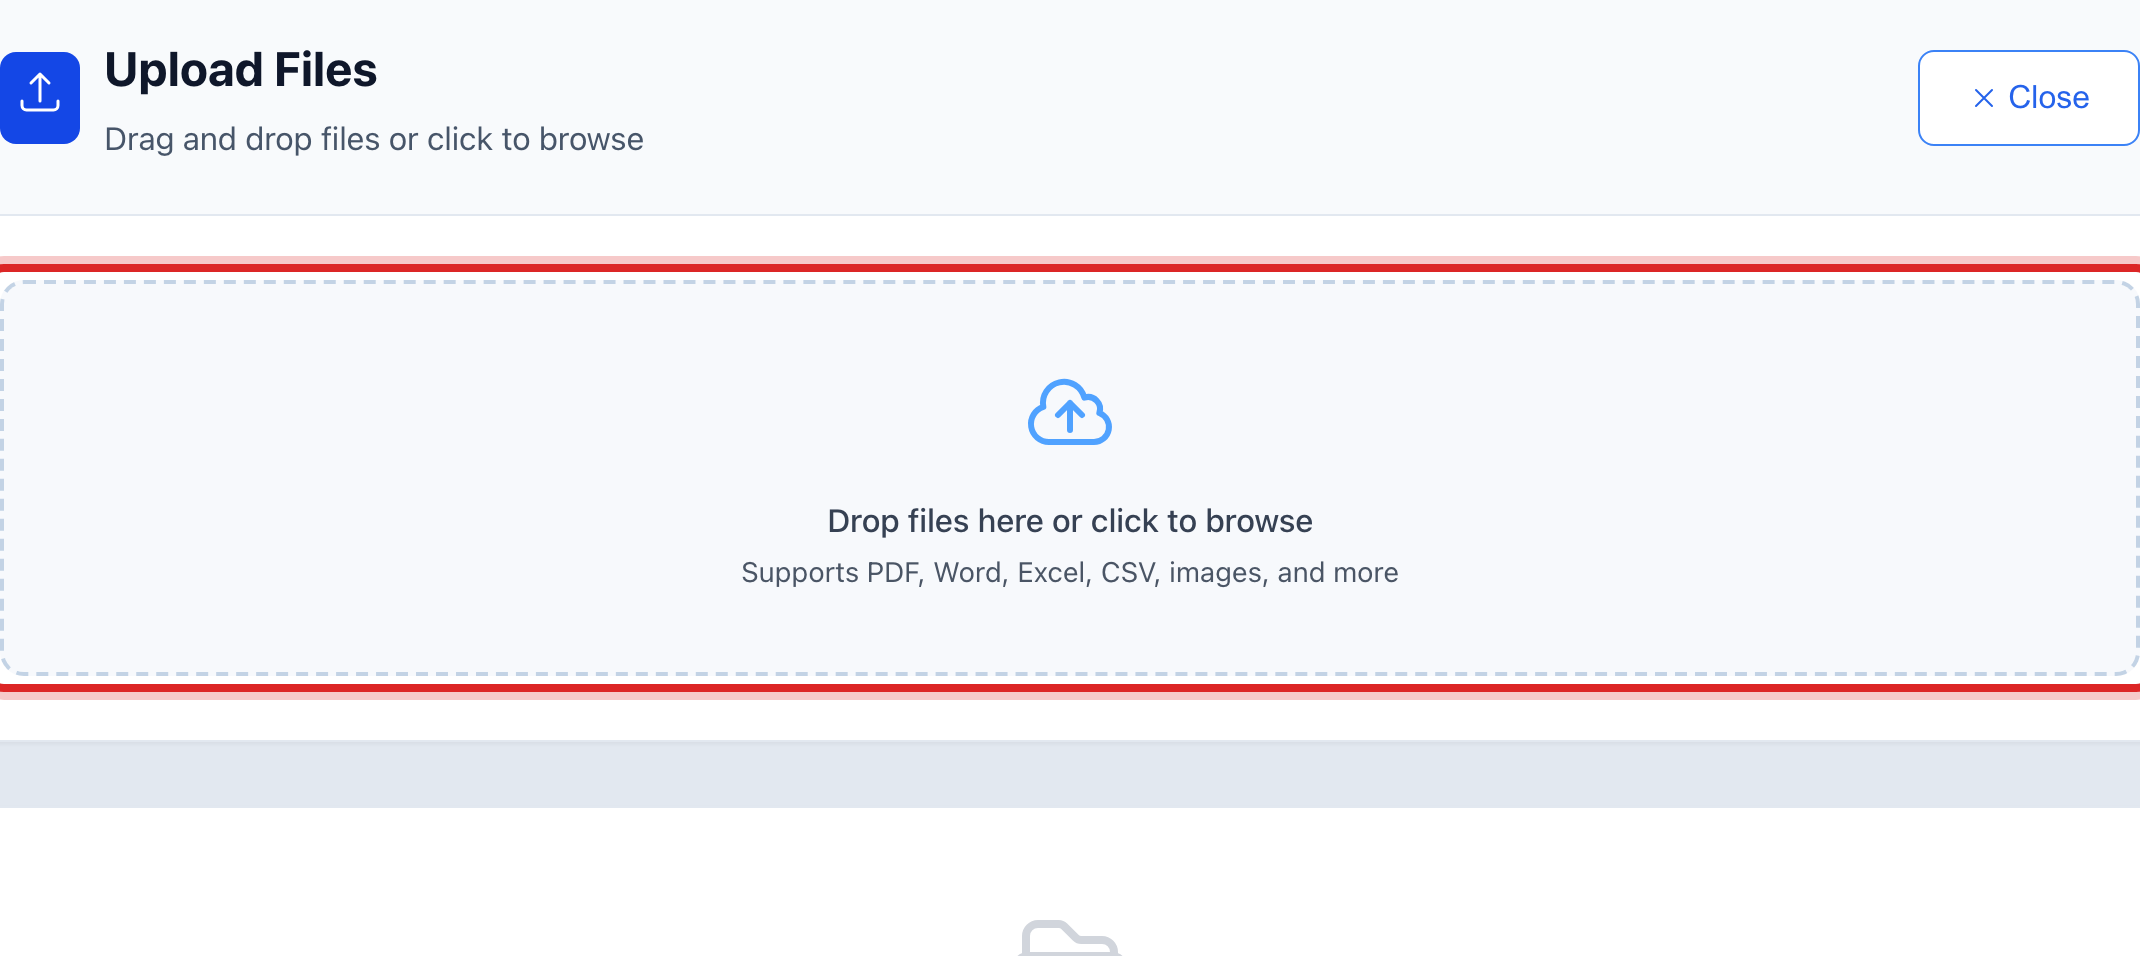
A box opens that says Drop files here or click to browse. Click it and pick the file on your computer, or drag the file onto it. You can pick more than one.
The file names show under the box. Click the blue Upload button. It says how many files it will send.

The file shows as a row in the Documents table. The small buttons on the row open it, share it, download it, print it or delete it. Rest your mouse on a button to see its name.
Made a mistake? Click Undo on the green message that appears, or open Show me how at the top and pick Undo a mistake.
You are done when
The file is a row in the table with today's date and your name. Type part of its name in the Search box and it comes up.
If something looks different
You want to write a new document, not upload one. Click New Document. Type a name and the editor opens. Click New Spreadsheet for a table of numbers.
The file is a list of customers or readings you want loaded into Utilops. That is a different job. Click the Import Data button on its row, and the Import Center takes it from there.
You cannot see Upload File. Only staff who may manage documents can add files. Everyone can read them.
It is a customer's paper, like a signed application. Put it under Customer Documents instead, lesson 3, so it sits on their account.