
Appearance
2. Add a new customer
When you need this: a new house was built. A new business opened. Someone wants an account where there was none before. One form sets up the person, the address and the day service starts. If someone is moving out and someone else is moving in, use lesson 6 instead.
Steps
On the left side of the screen, click Customer Management, then click New Customer.
Type the first name in the First Name box and the last name in the Last Name box. For a business, a church or a school, type its name in the Business / Organization Name box above.
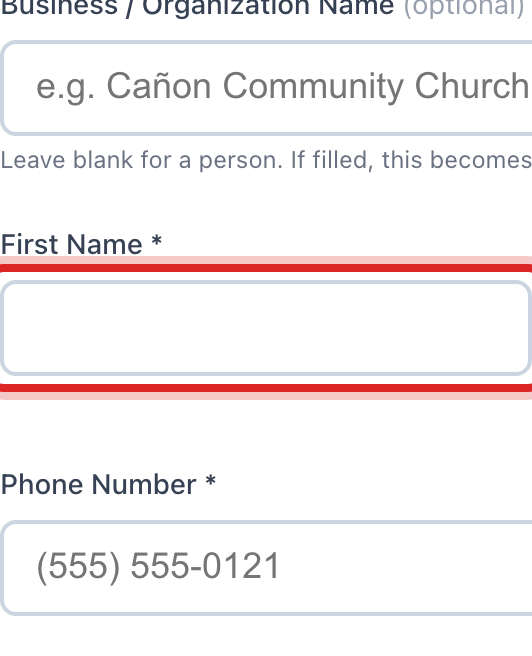
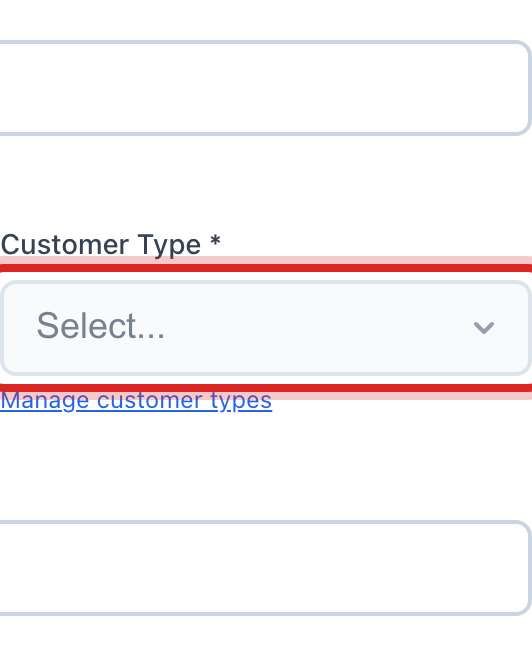
Click the Customer Type list. Pick the kind of account. A house is the one your office uses for homes.
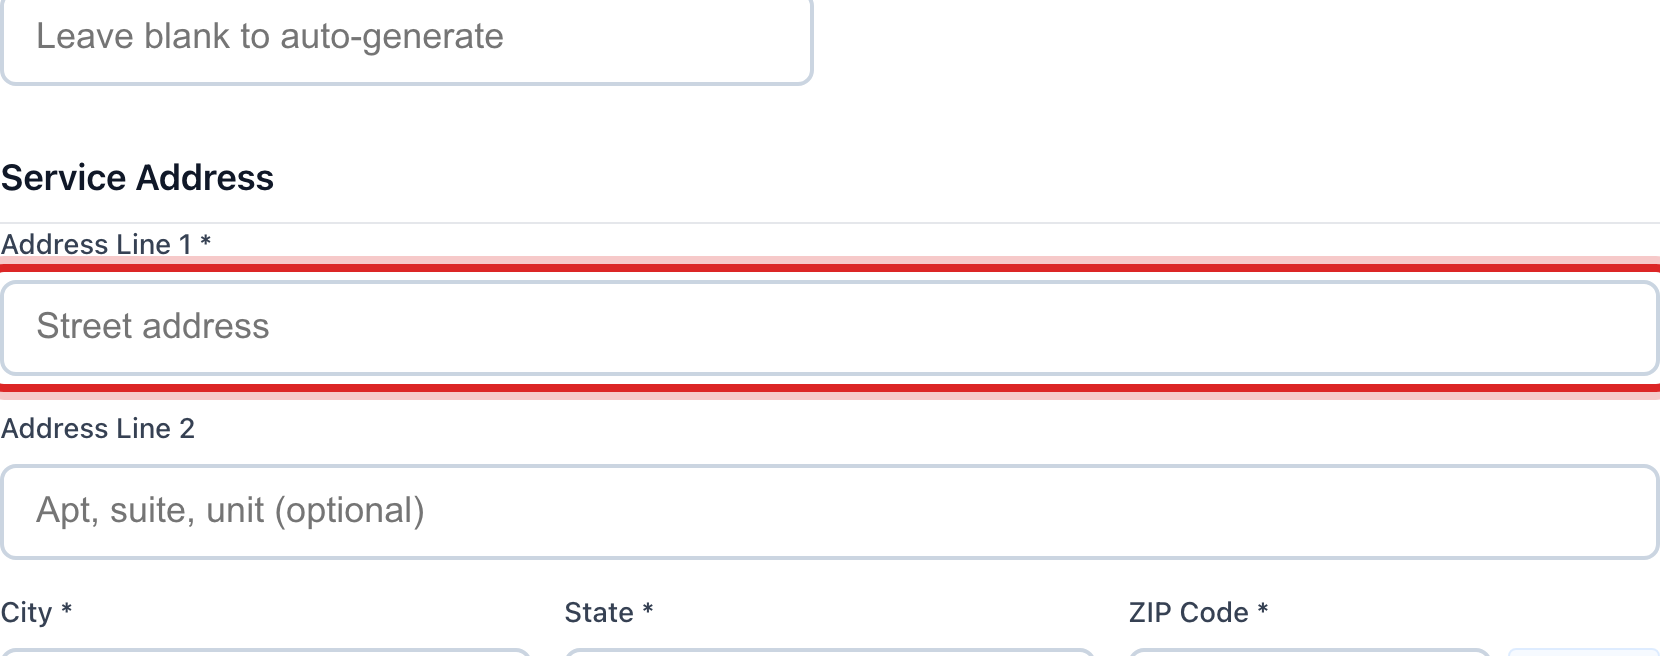
Type the phone number in the Phone Number box. Type the email in the Email Address box if they have one. Leave Account Number blank. Utilops makes the next number for you.
Type the service address in Address Line 1. Fill in City, State and ZIP Code.
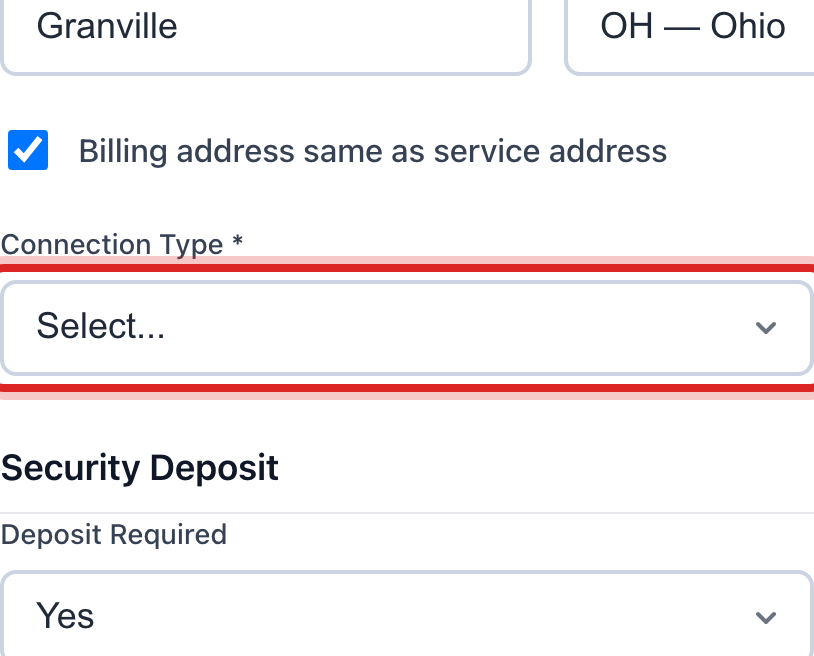
If the bill goes somewhere else, untick Billing address same as service address and type the mailing address.
Click the Connection Type list and pick New Service.
Click the Start Date box and pick the day service starts.
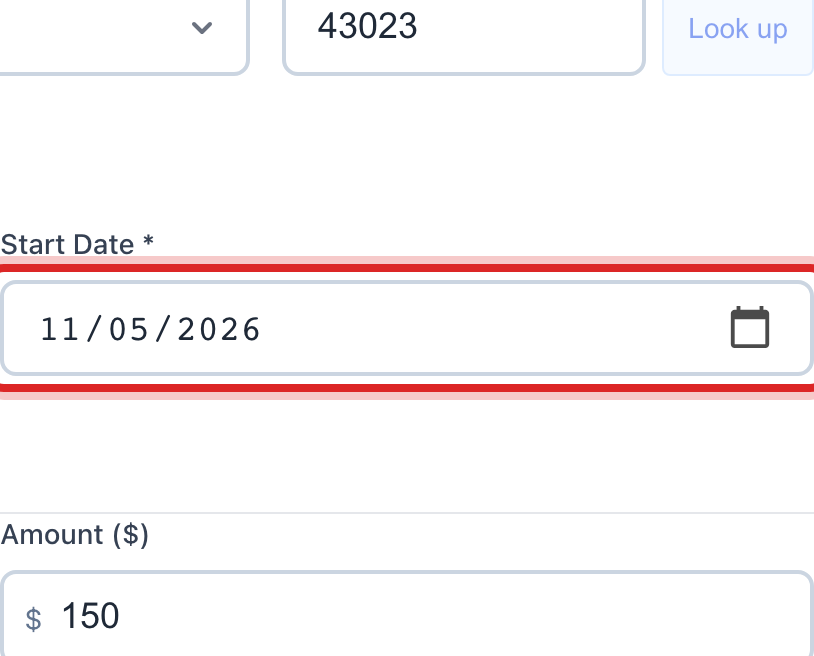
Under Security Deposit, say if a deposit is required and type the Amount.
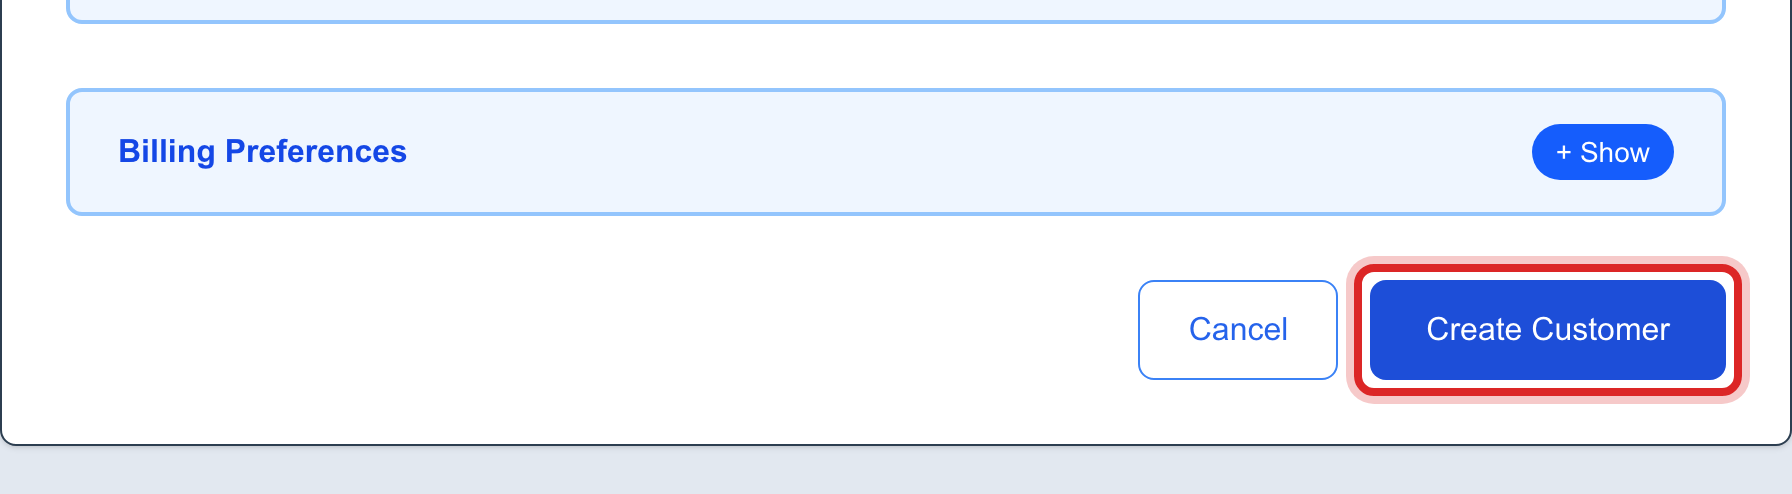
Click the blue Create Customer button at the bottom.
Made a mistake? Click Undo on the green message that appears, or open Show me how at the top and pick Undo a mistake.
You are done when
The new customer's page opens. Their name is at the top and the account number is under it.
If something looks different
The Create Customer button is faded. A box above it lists what is still missing. Fill those in and the button turns blue.
The ZIP code did not fill the city. Click Look up beside the ZIP box, or type the city yourself.
You cannot see New Customer on the left. Only staff who may add customers see it. Ask your administrator.
There is no meter yet. That is fine. Open the new customer's page and press Register Meter on the Meters card when the meter goes in.