
Appearance
4. Set up a payment plan
When you need this: a customer is behind and cannot pay it all at once. You agree on an amount they can pay each month on top of their regular bill. While the plan runs, they get no late fees and no shutoff notices.
Steps
On the left side of the screen, click Billing & Payments, then click Plans & Subscriptions.
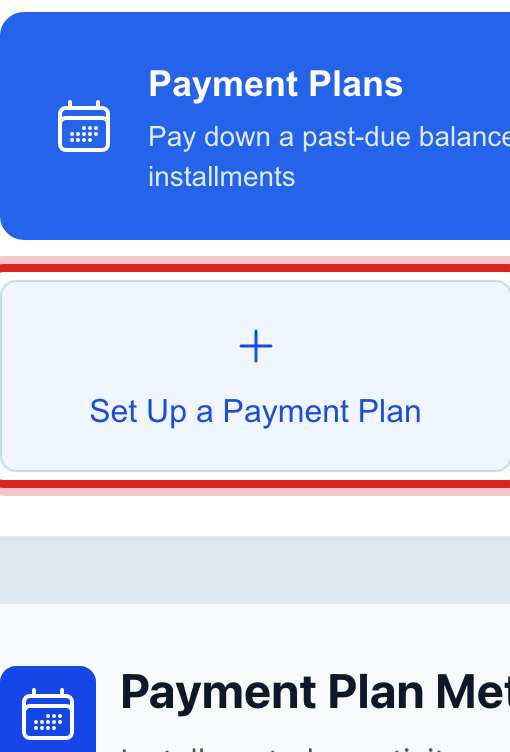
Click the Payment Plans box at the top, then click Set Up a Payment Plan.
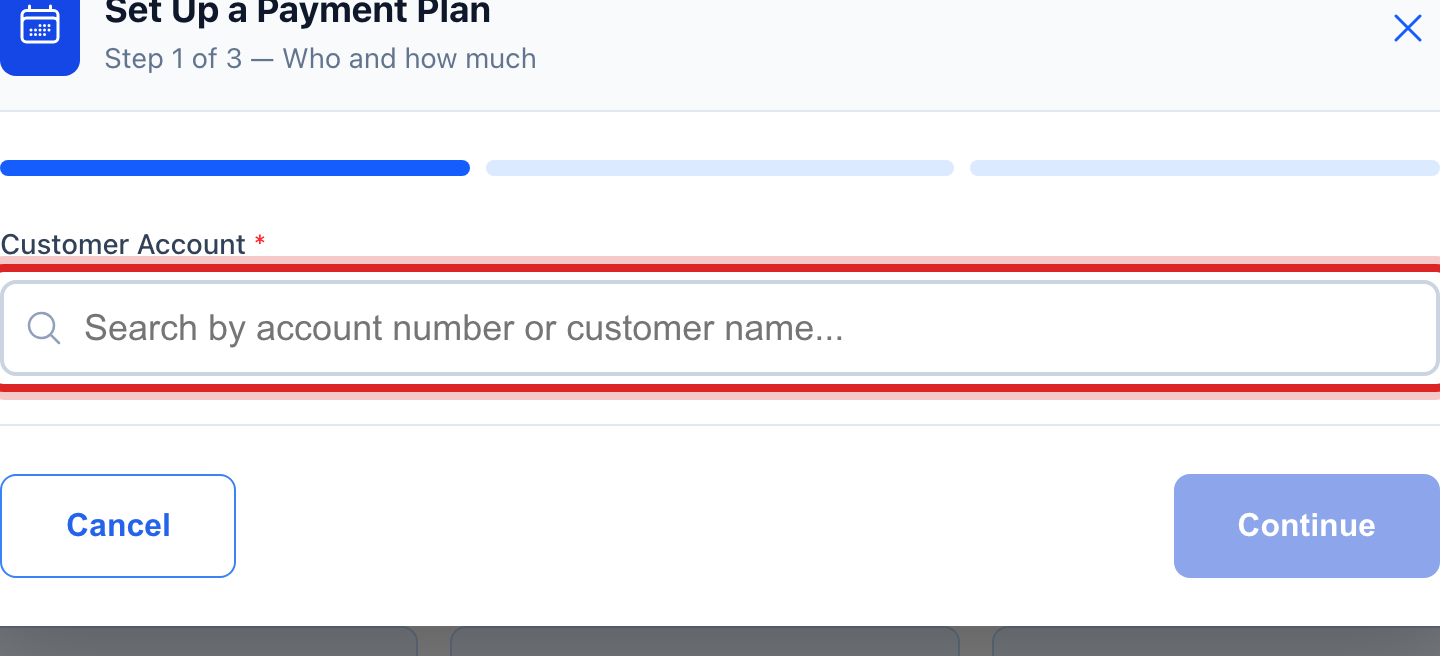
Under Customer Account, type the name or account number and click the customer when they appear.
Under How much should the plan cover?, their balance is filled in. Change it if the plan should cover less.

Click Continue.
Under How much can they pay each time?, click $25, $50 or $100, or type an amount in the Custom box.
Pick How often? and Starting when?. A sentence in the blue box reads the plan back to you.
Click Continue. Check the summary, add a note if you want, and click Set Up This Plan.
Made a mistake? Click Undo on the green message that appears, or open Show me how at the top and pick Undo a mistake.
You are done when
The plan shows under Active Payment Plans with the customer's name, the amount each time and the next date.
If something looks different
The customer stops paying. Open the plan and click Pause or Cancel Plan. Late fees and notices start again once the plan is cancelled.
You want to see one customer's plan. Click Find a Customer's Plan at the top and type their name.
You do not see Set Up a Payment Plan. Only people with the billing edit right can make a plan. Ask your administrator.
The customer wants the same bill every month instead. That is Budget Billing, lesson 5.