
Appearance
1. Fill in your website's name, phone and hours
When you need this: before anyone sees your website. The name at the top, the phone number, the email and the office address come from this one page. Most of it is already in Utilops, so this takes a few minutes.
Steps
On the left side of the screen, click Public Website, then click Website Settings.
Under Basic Site Settings, click the Use Utility Settings switch so it turns blue. The boxes fill in from what Utilops already knows about your utility.
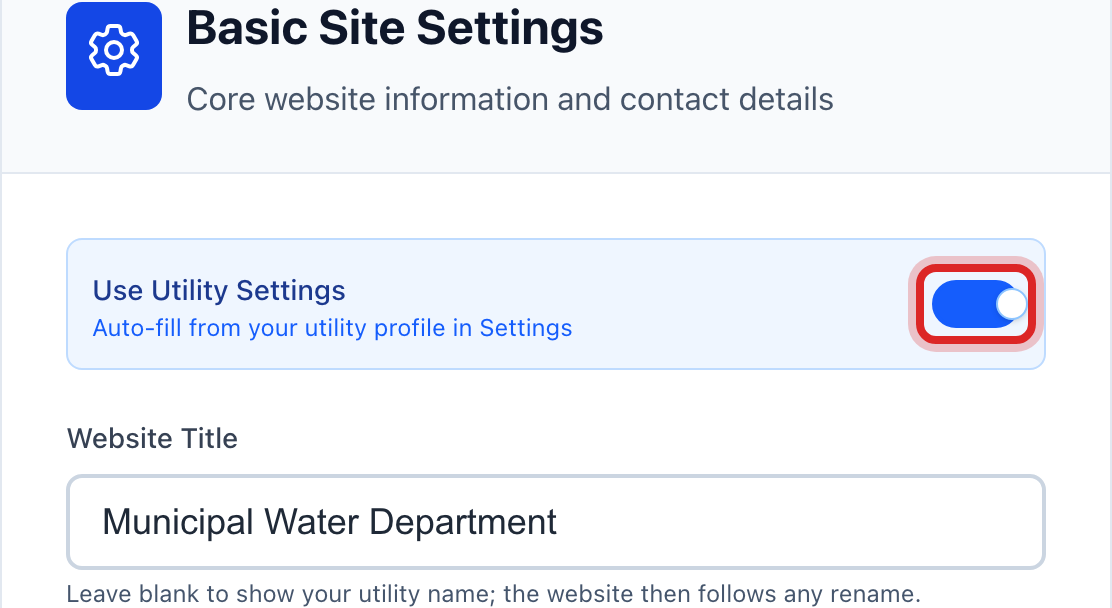
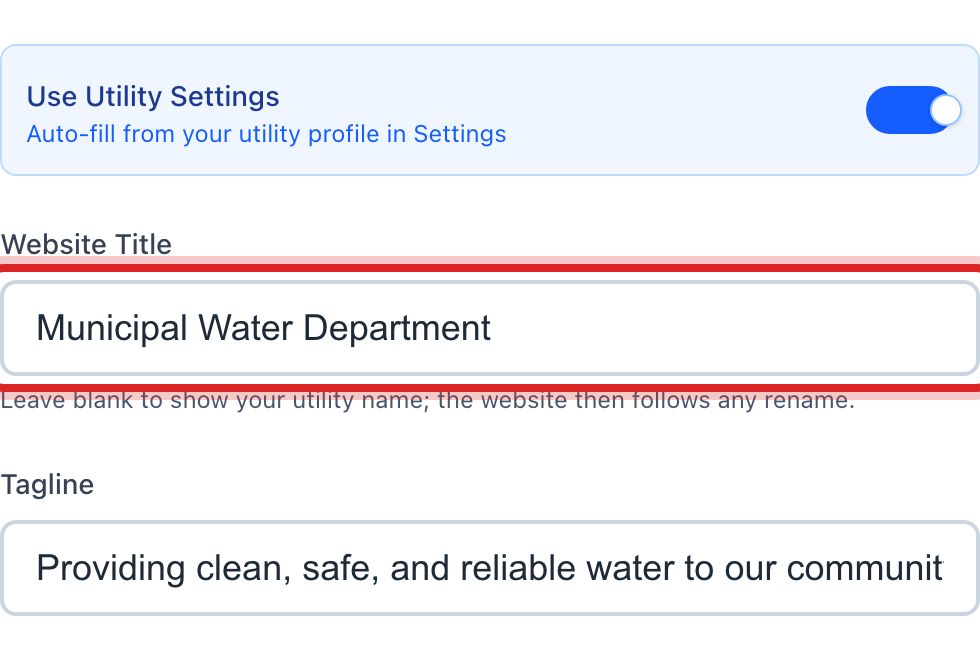
Check the Website Title. It is the name at the top of every page. Change it if you want it shorter.
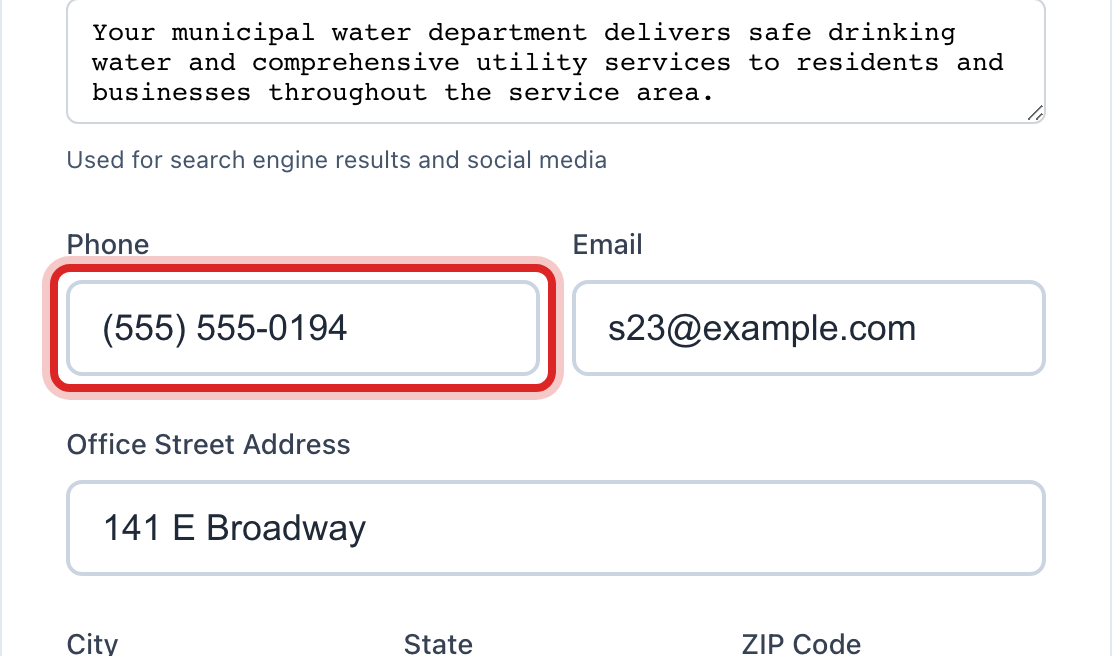
Check the Phone, the Email and the Office Street Address. Customers call and write to these.
Under Website Features, tick the ones you want, like News & Service Updates and Contact & Service Request Forms. Each one you tick adds a part to the website.
Scroll to the bottom and click the blue Save & Rebuild Website button.
Made a mistake? Click Undo on the green message that appears, or open Show me how at the top and pick Undo a mistake.
You are done when
A green message says it is saved, and Last saved shows the time. Click Preview Website at the top to see the result.
If something looks different
The page says Payment Portal Required. Click Set Up Portal Branding, save your logo and colors there, then come back.
You turned on the contact form. Type the Email for form submissions. Messages also land under Website Inbox; lesson 6 shows where.
The menu across the top needs a new item. Under Navigation Menu, click Add Navigation Item and type the words and the page it opens.
You want to start over. Click Reset to Defaults, then save.