
Appearance
4. Set a job to run on its own
When you need this: your engineer wants the readings file every Monday. The auditor wants a customer list on the first of the month. Set it up once and Utilops makes the file on time, every time.
Steps
On the left side of the screen, click Data Management, then click Scheduling & Monitoring.
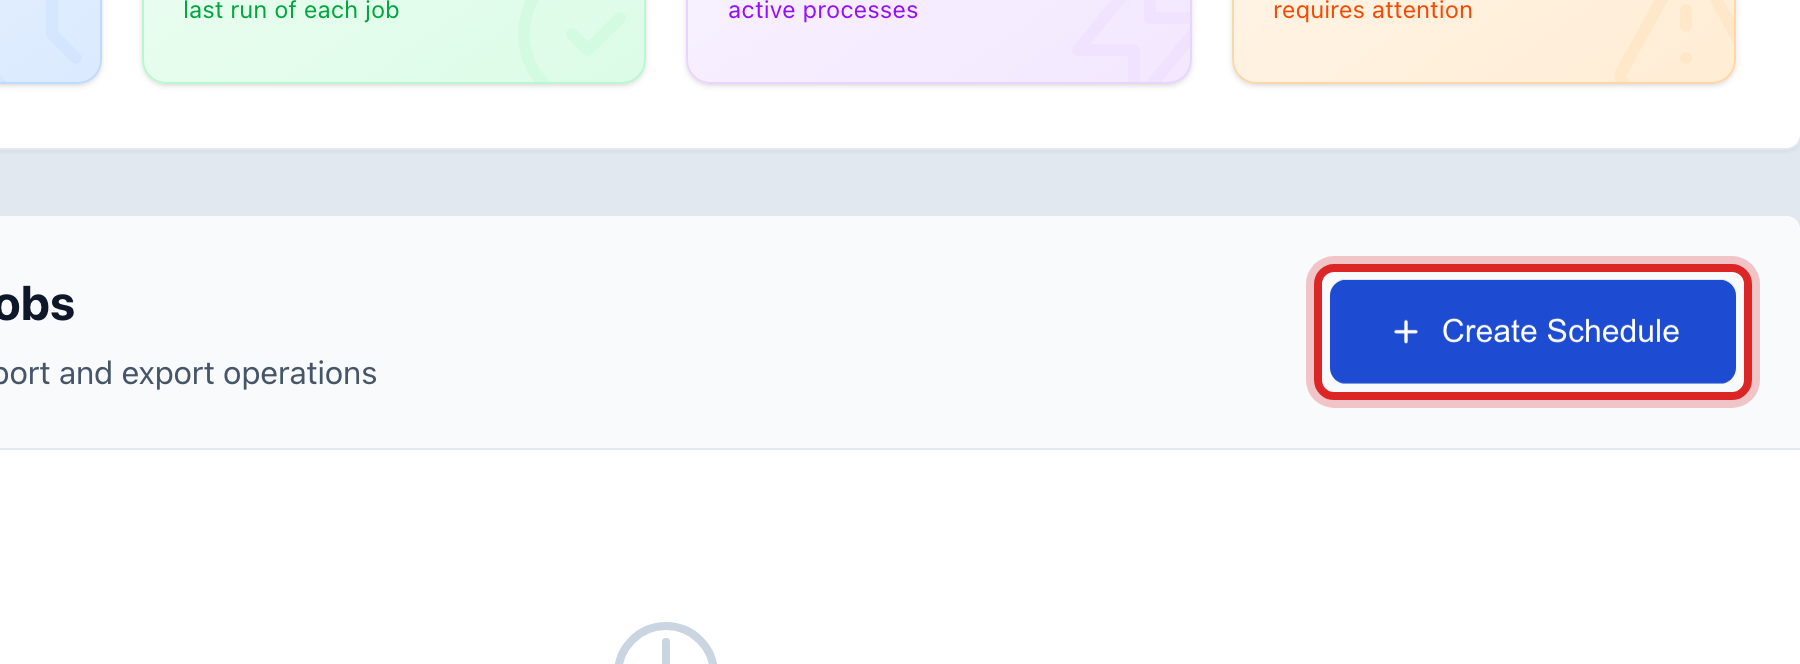
Click the blue Create Schedule button.
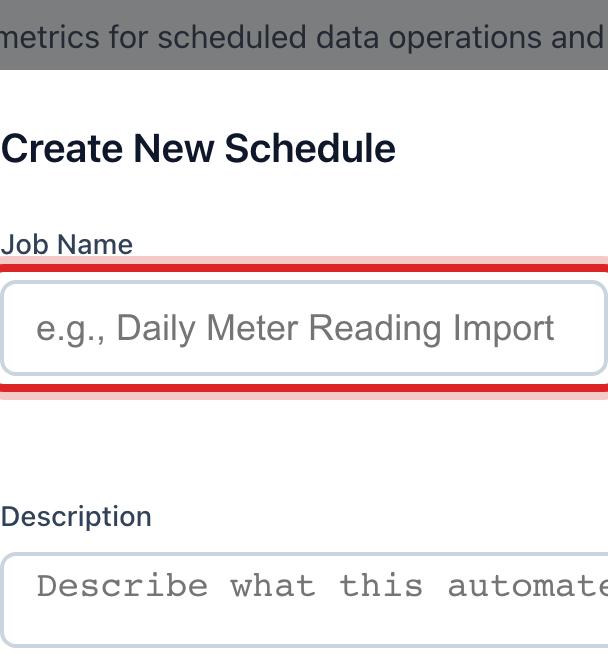
Type a Job Name you will know later, like Monday readings file.
Click the Frequency list and pick Daily, Weekly or Monthly. Type the Time it should run, like 06:00.
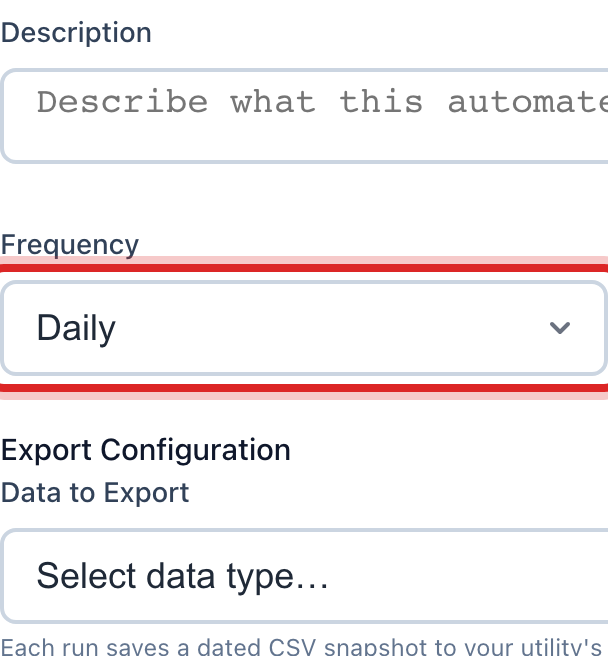
Click the Data to Export list and pick the records, like Meter Readings.
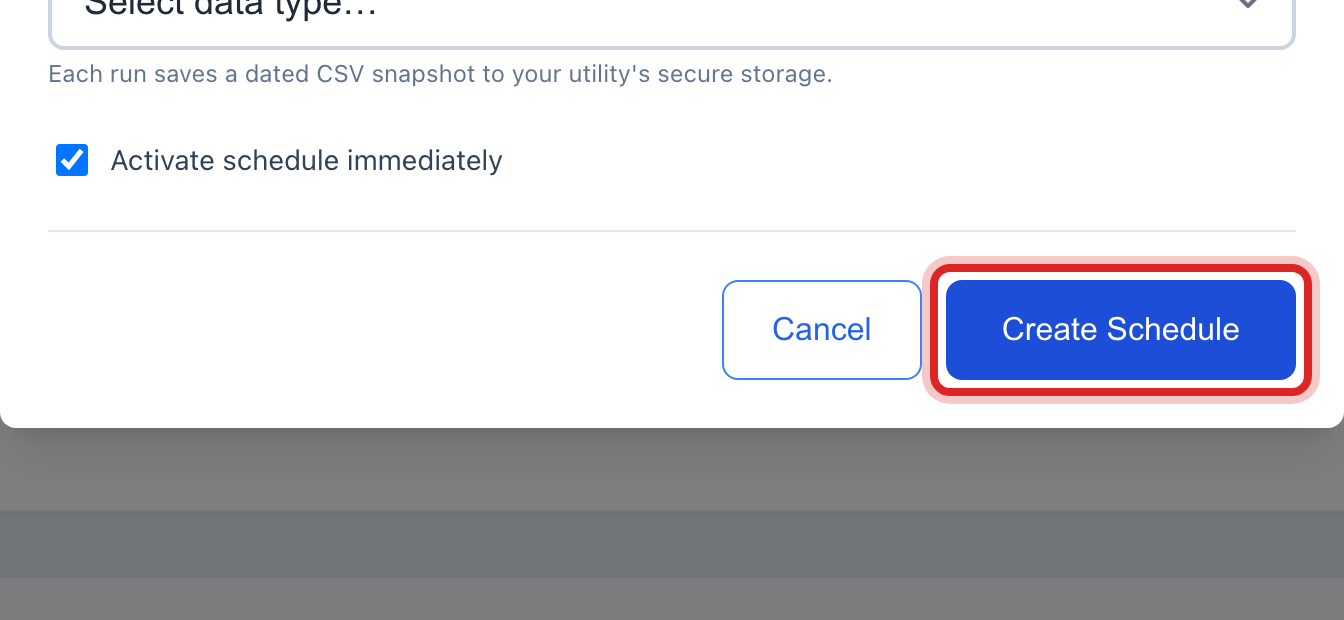
Leave Activate schedule immediately ticked, then click Create Schedule at the bottom.
Made a mistake? Click Undo on the green message that appears, or open Show me how at the top and pick Undo a mistake.
You are done when
Your job shows under Scheduled Jobs with its next run time. The Error Monitoring part of the page stays empty while every run goes well.
If something looks different
You want it to run right now. Click Run Now on its row.
A run failed. It shows under Error Monitoring with a Details button. Read the reason, fix it, and click Run Now.
You cannot see the Create Schedule button. Only some roles may set up jobs. Ask your administrator.