
Appearance
3. Work a ticket from start to close
When you need this: a ticket is yours to handle. You start it, you write down what you did, you tell the customer, and you mark it done. Every step goes on the ticket so the next person does not have to ask.
Steps
On the left side of the screen, click Customer Support, then click Search Tickets. Click the ticket's row. Lesson 2 shows how.
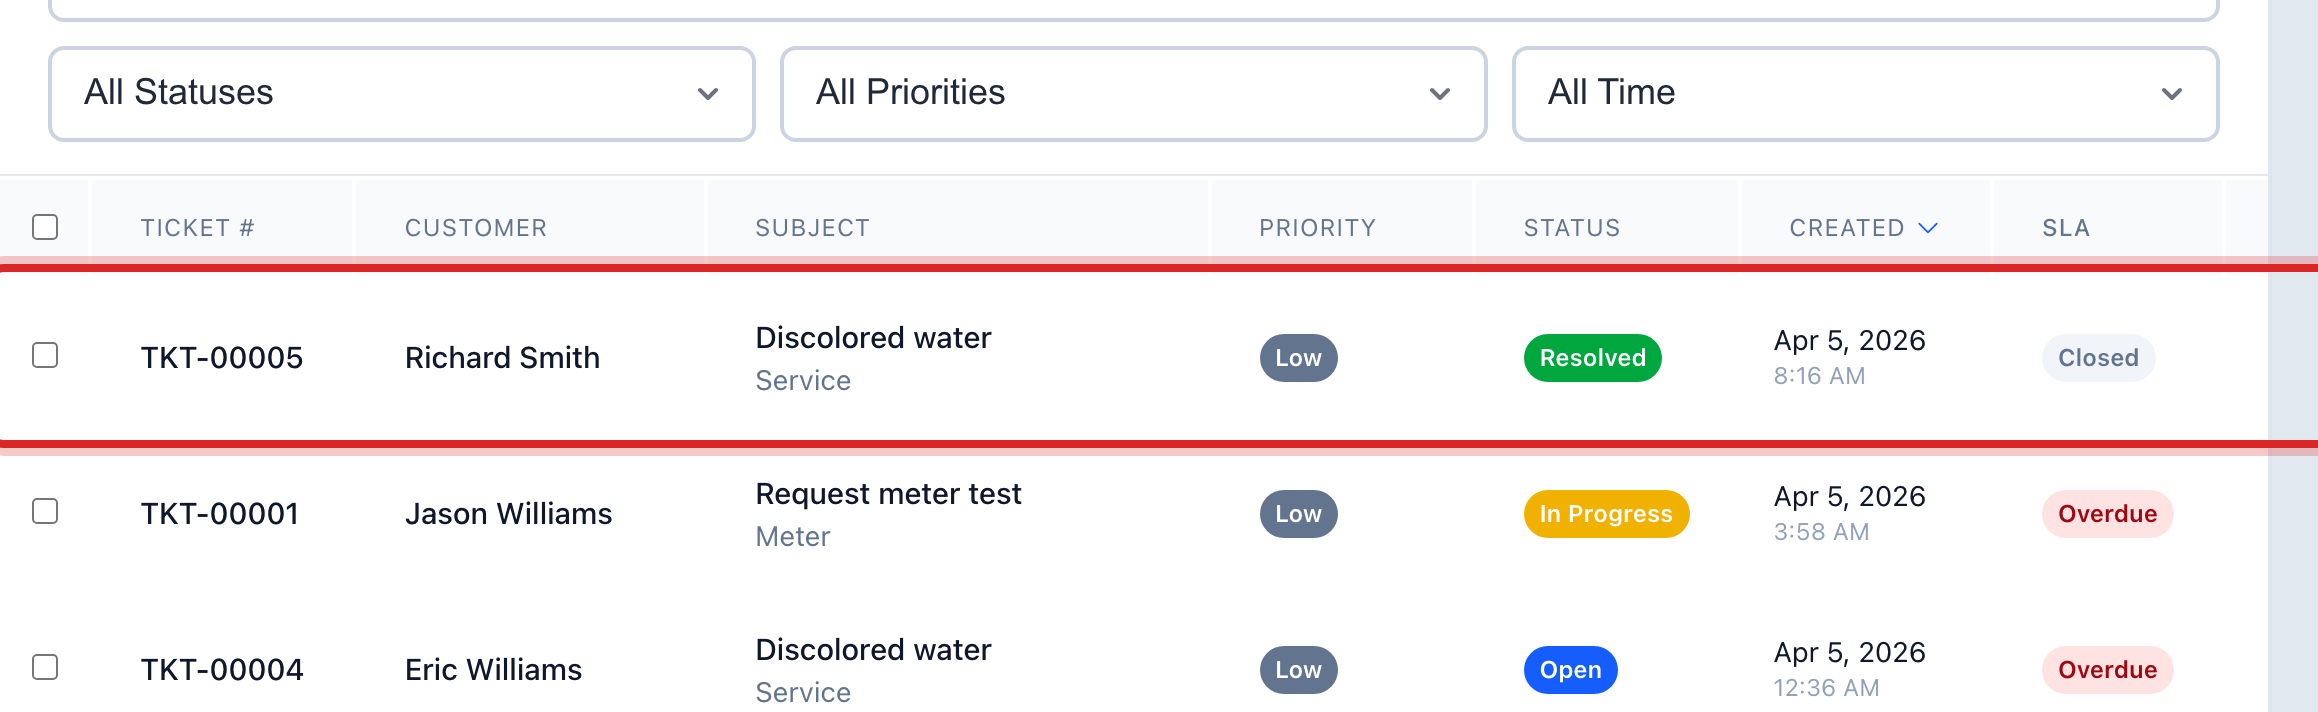
Read the Issue Description. Check the Customer Information card for the phone and the address.
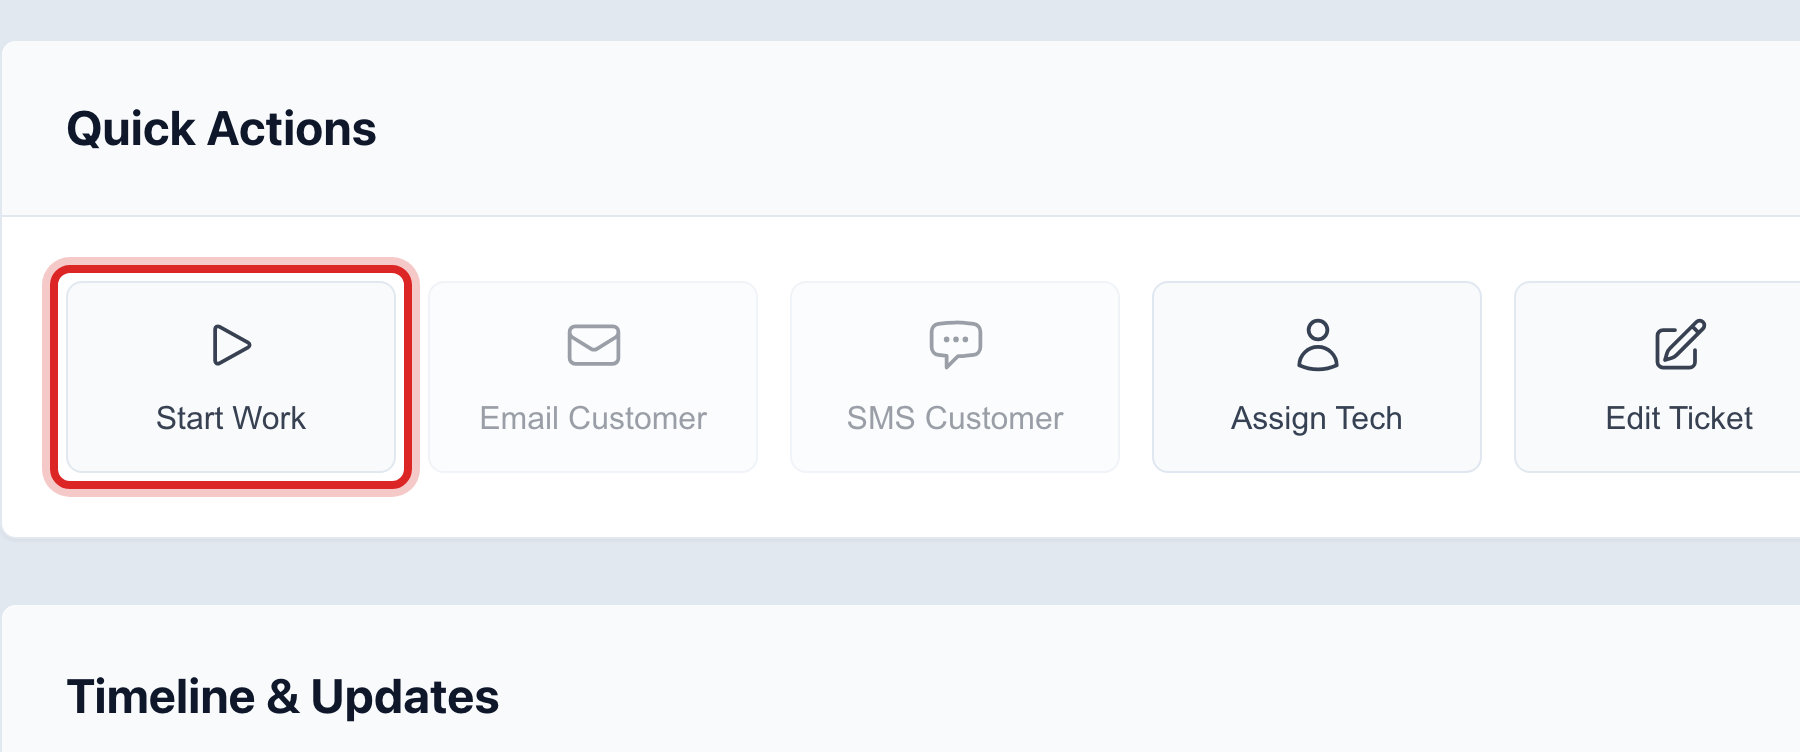
On the Quick Actions card, click Start Work. The status changes to In Progress so everyone knows it is being handled.
Do the work. Call the customer, check the meter, send the crew.
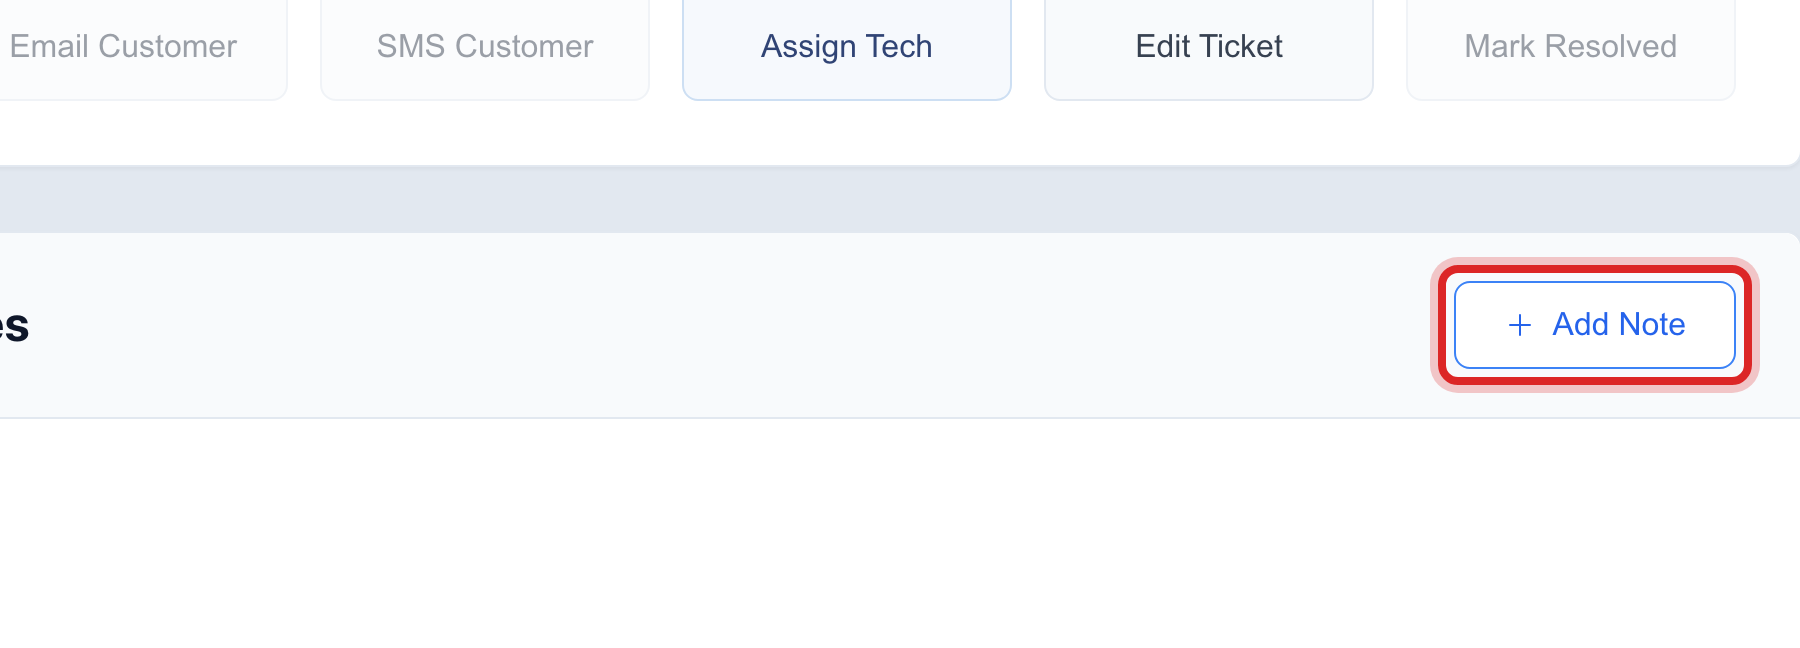
Write down what you did. Click Add Note on the Timeline & Updates card. Pick an Update Type, type what happened in Description, and click Add Update.
Tell the customer. Click Email Customer or SMS Customer on the Quick Actions card, type the message, and click Send.
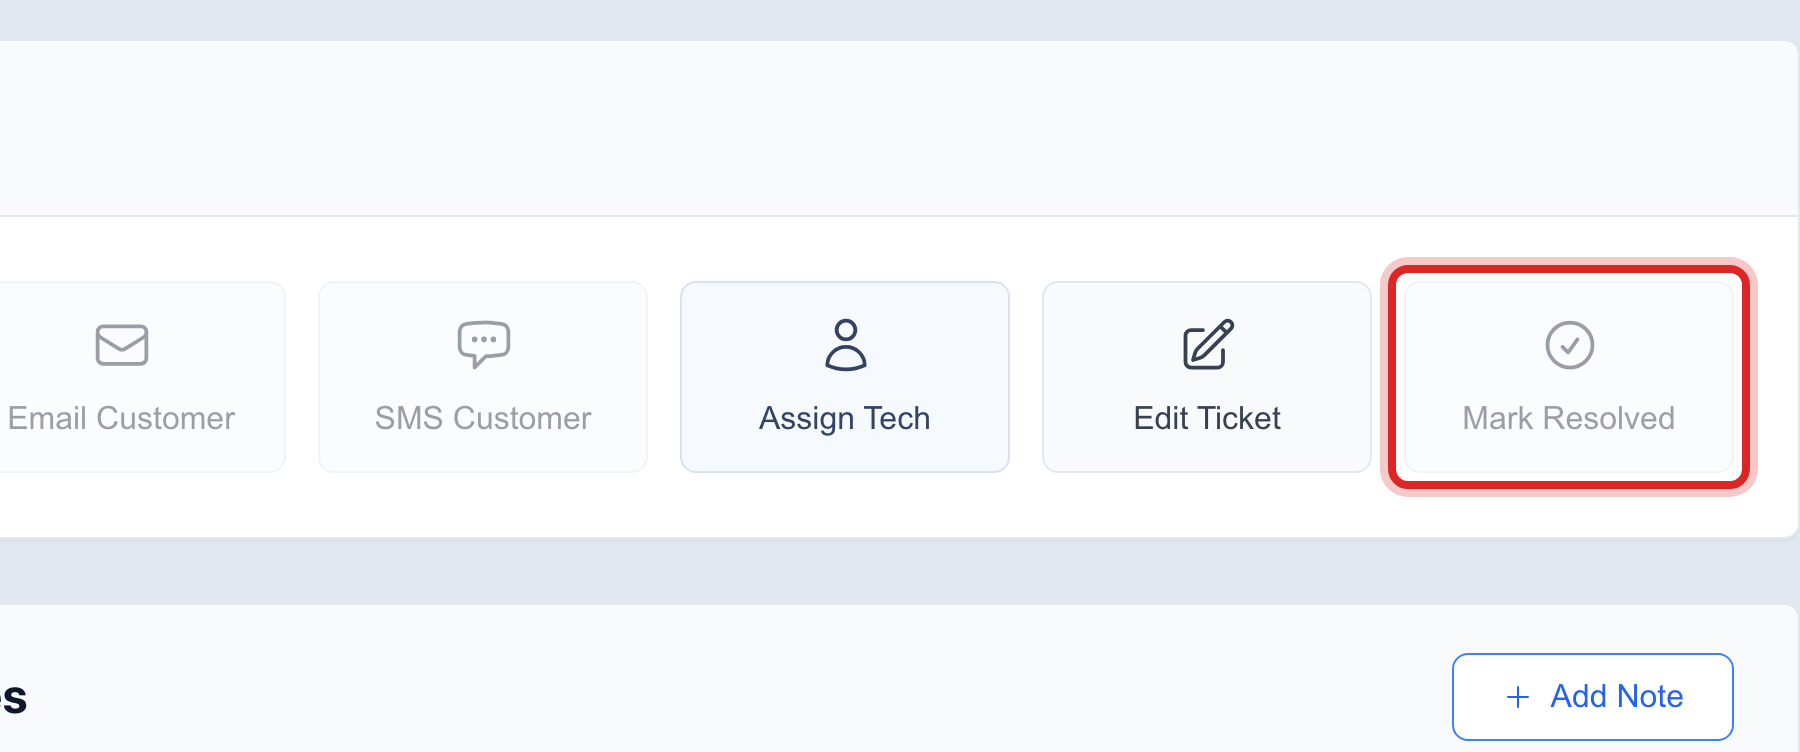
When the problem is fixed, click Mark Resolved.
Made a mistake? Click Undo on the green message that appears, or open Show me how at the top and pick Undo a mistake.
You are done when
The status at the top reads Resolved. Your note and your message show in the timeline with the time.
If something looks different
Someone in the field should do it. Click Assign Tech and pick the person. Or click Convert to Work Order at the top, and the job goes to the crew under Work Orders.
Email Customer or SMS Customer is faded. The ticket has no email or no phone for the customer. Click Edit Ticket and add it.
A reply was drafted for you. A card named AI Drafted Reply may show a suggested answer. Read it. Change anything you want. Then click Send this reply, or ignore it.
Your office closes tickets after a check. Click Edit Ticket, set Status to Closed, and save. On the Search Tickets page you can tick several and click Close selected.