
Appearance
4. Add a photo or a file to an asset
When you need this: a picture of the pump nameplate, the pump curve from the maker, the as built drawing, the invoice. Keep them on the asset, not in a drawer. The state inspector asks for them, and so does the next operator.
Steps
Get the file onto the computer first. A photo from your phone can be emailed to yourself and saved.
On the left side of the screen, click Asset Management, then click Inventory.
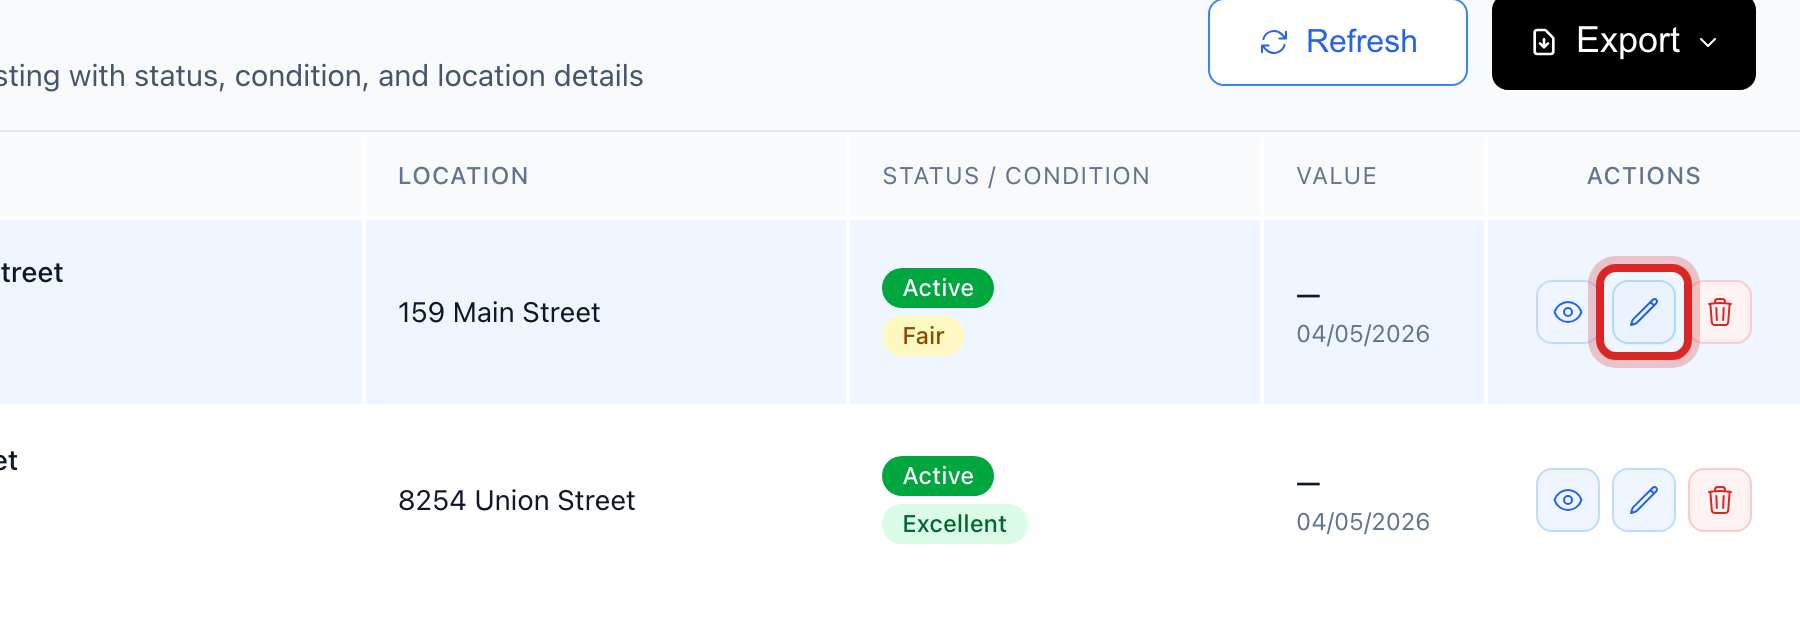
Find the row and click the pencil button at the right end. It is called Edit. The full form opens.
Scroll to the bottom section, the one with the camera. Click Drag & drop files here or click to browse. Pick the file on your computer. Or drag the file from a folder onto that box.
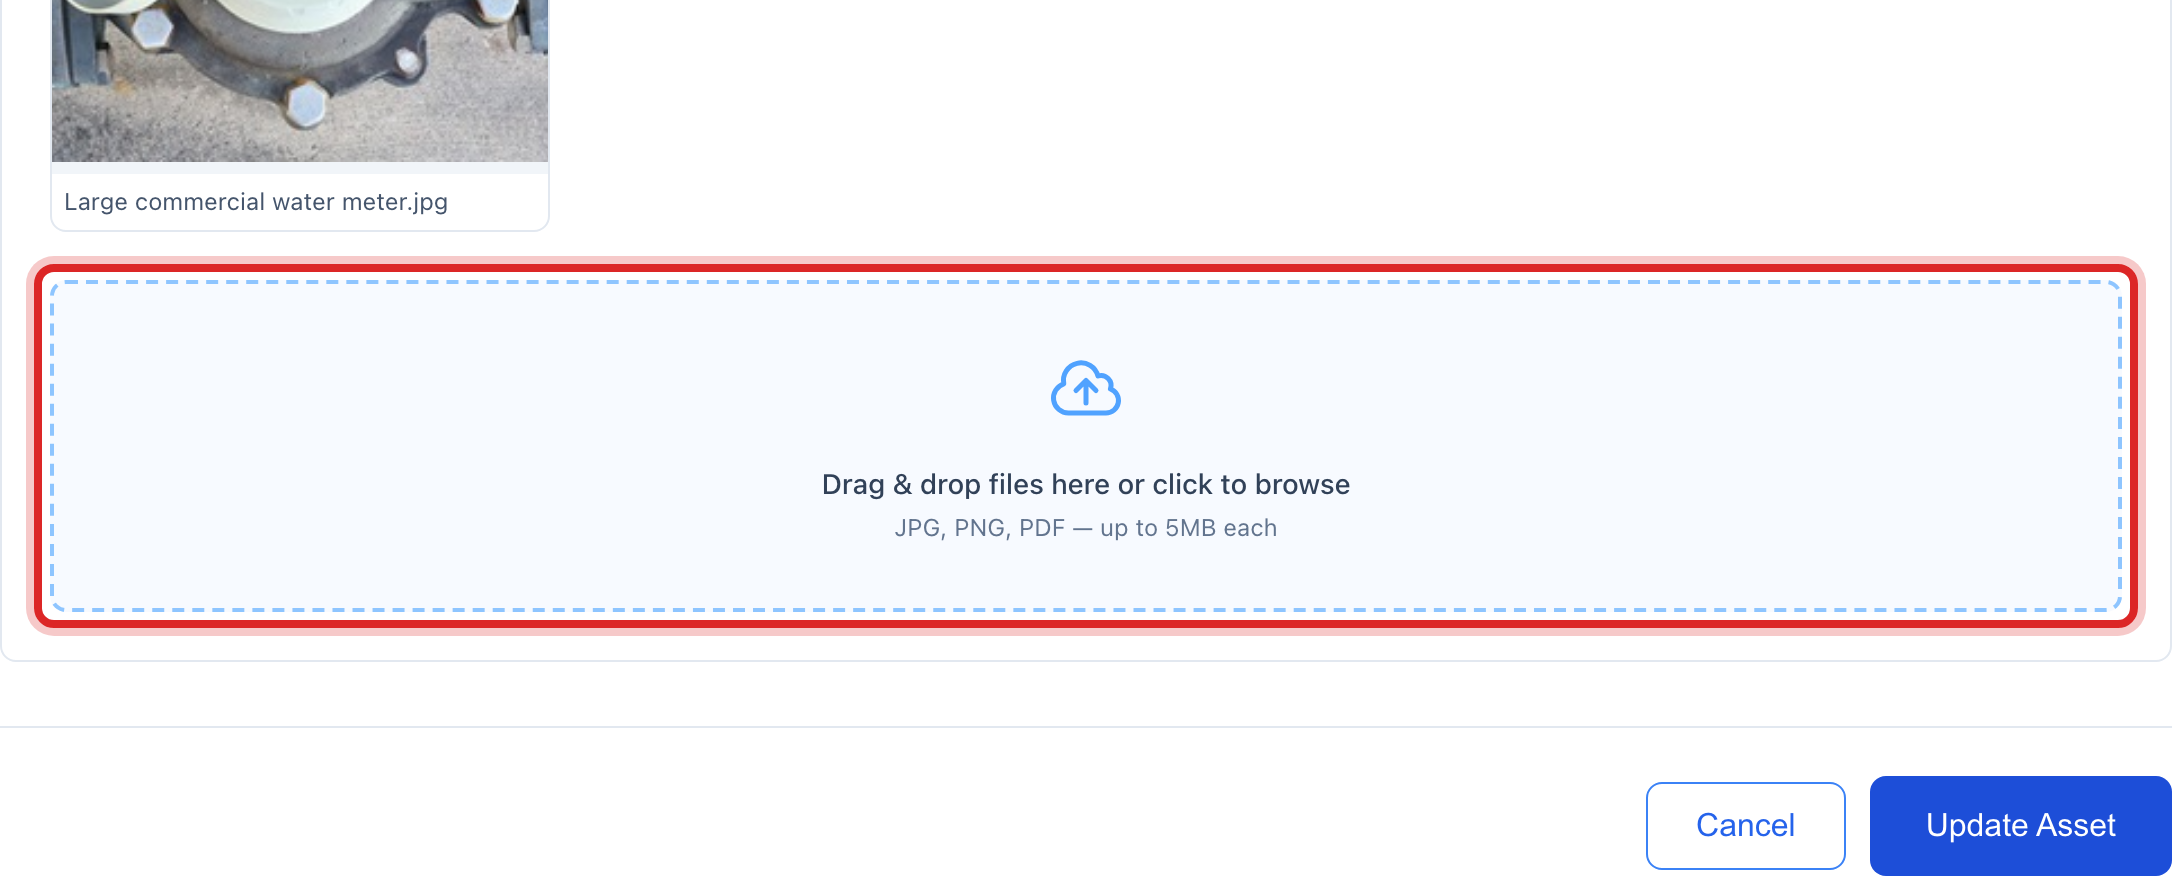
The file name shows under Files to upload. Add more if you have them.
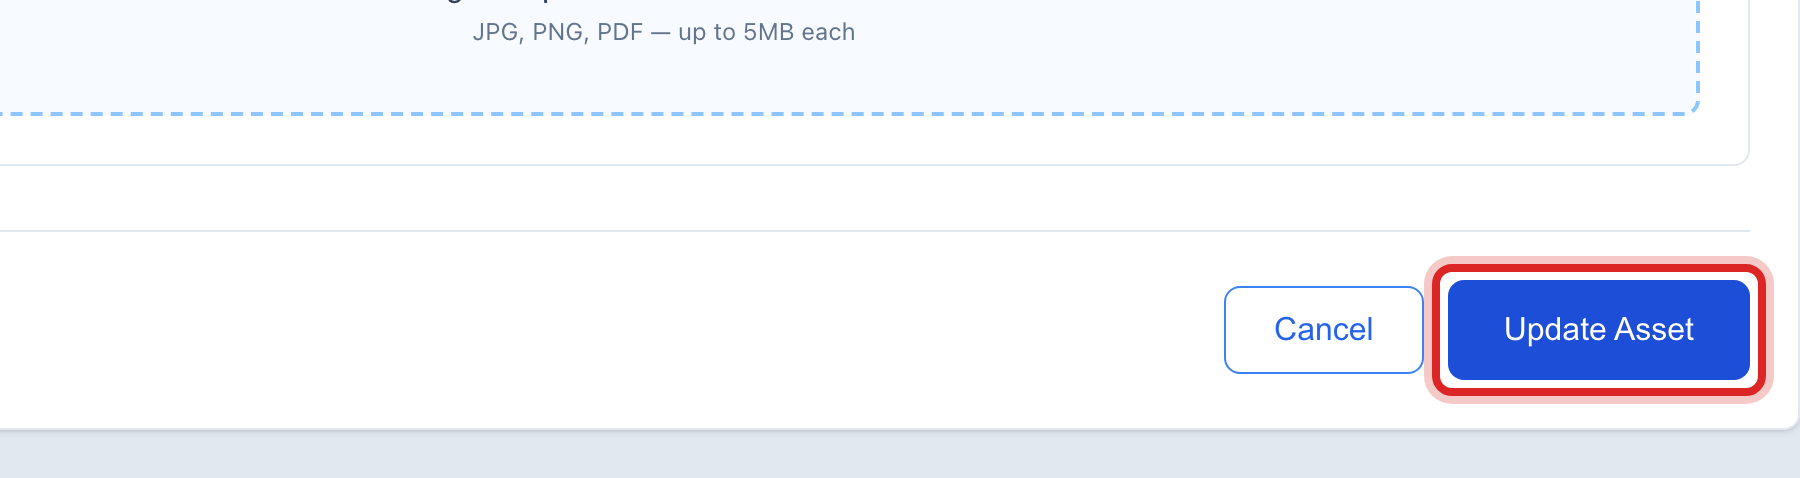
Click the blue Update Asset button.
Made a mistake? Click Undo on the green message that appears, or open Show me how at the top and pick Undo a mistake.
You are done when
A green message says the asset was updated. Open the record with View and the photo shows in its picture section. Media Manager on the left lists it too.
If something looks different
You picked the wrong file. Before you save, click the small x next to its name under Files to upload.
You want to see every photo at once. On the left, click Media Manager. It shows the newest pictures and files from every asset.
You want to take the picture with your phone and be done. Email it to yourself, save it, then follow the steps. Utilops on a phone is coming.
There is no pencil button on the row. Only staff who may change assets can add files. Ask your administrator.