
Appearance
5. Draw a zone
When you need this: a pressure zone, a flushing zone, a part of town that floods. A zone is a shape with a name, like a service area, but it is for how you run the system, not for who gets which service. Draw a zone for anything you talk about as "that part of town".
Steps
On the left side of the screen, click GIS Mapping, then click Geographic Zones.
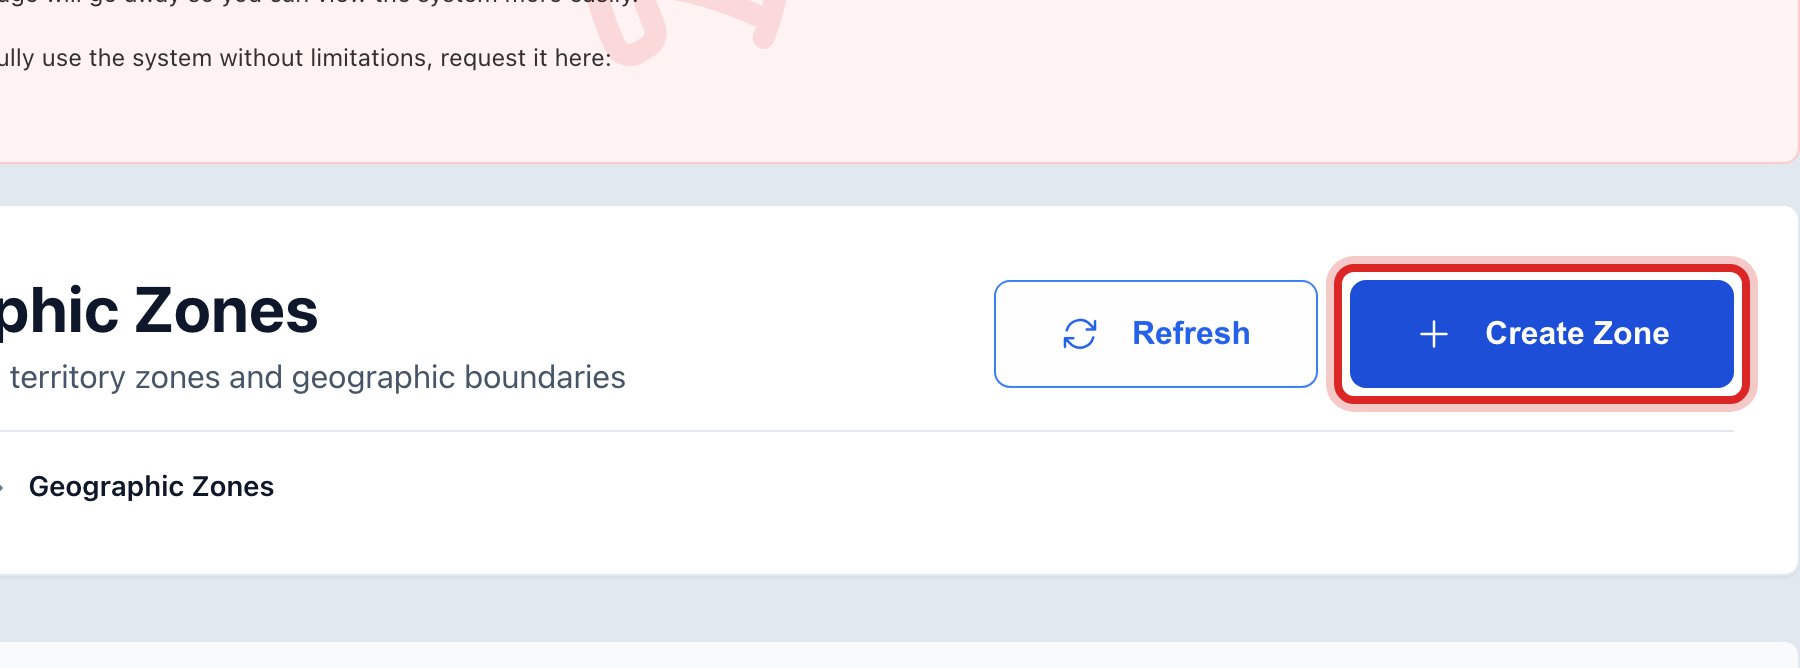
At the top right, click Create Zone. A window opens.
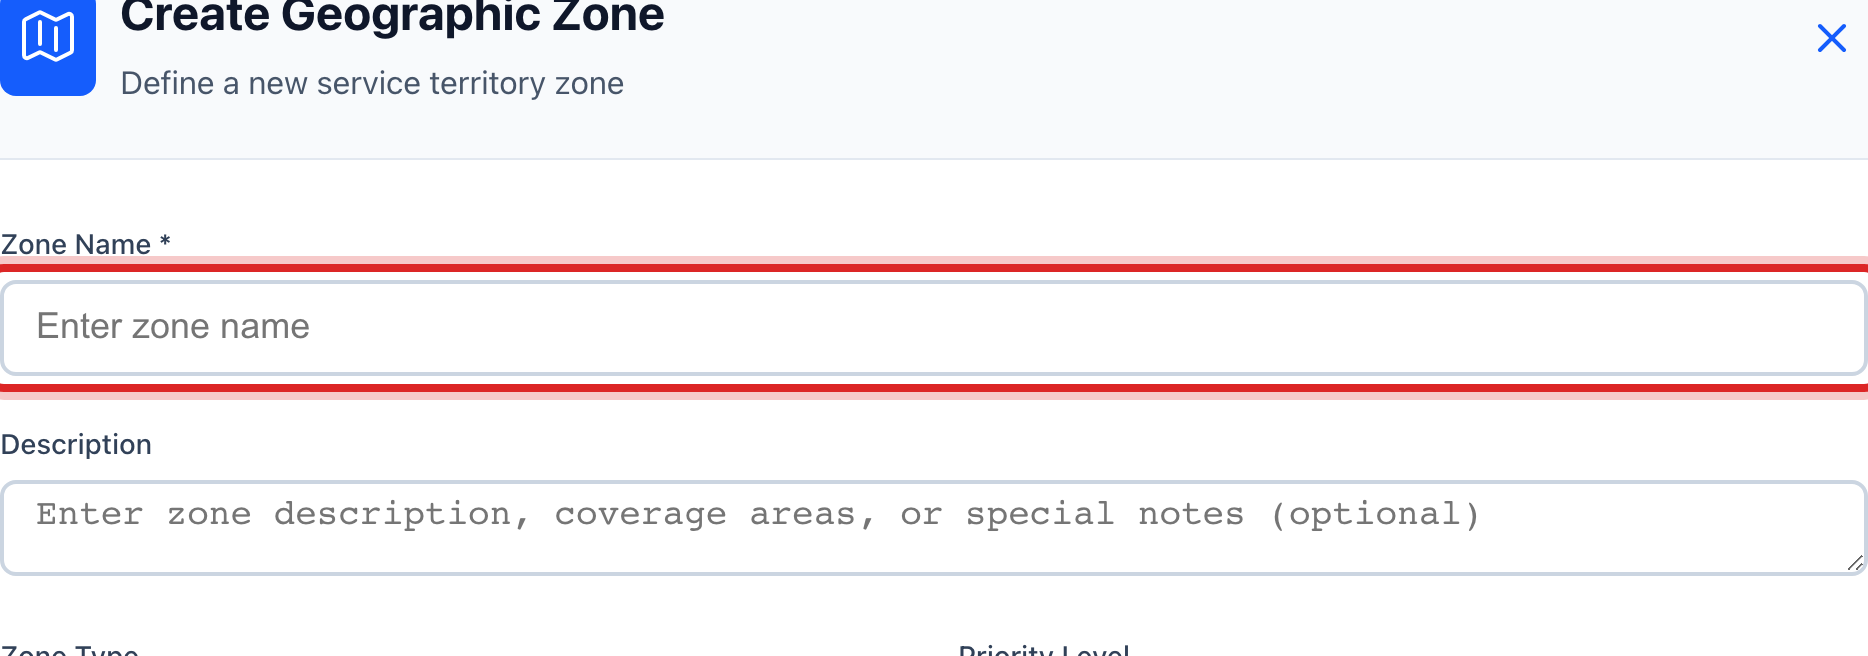
Type the Zone Name, like Hill Pressure Zone.
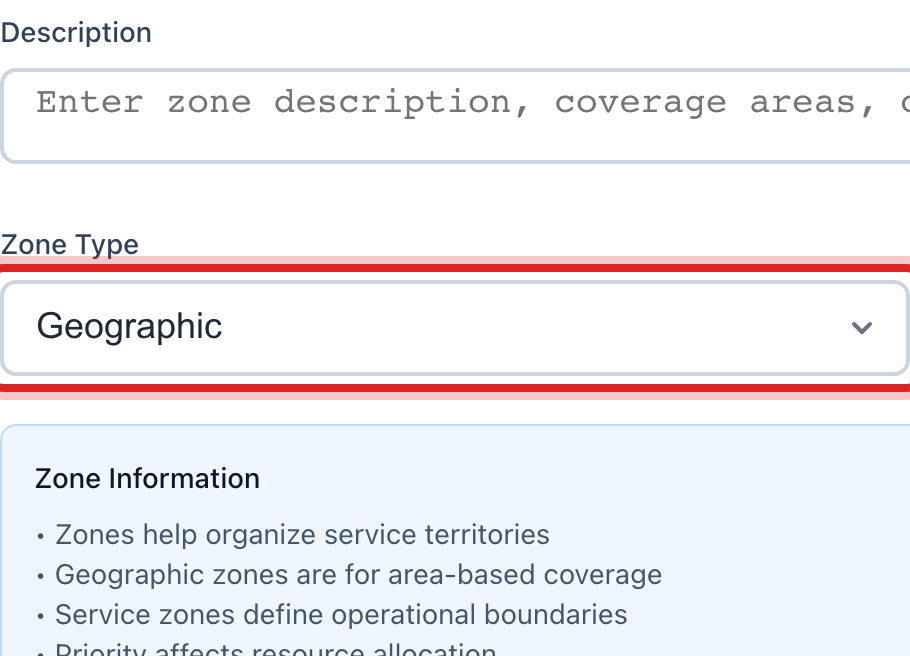
Pick the Zone Type. Operational for pressure and flushing. Emergency for a flood or fire zone. Geographic for a plain part of town.
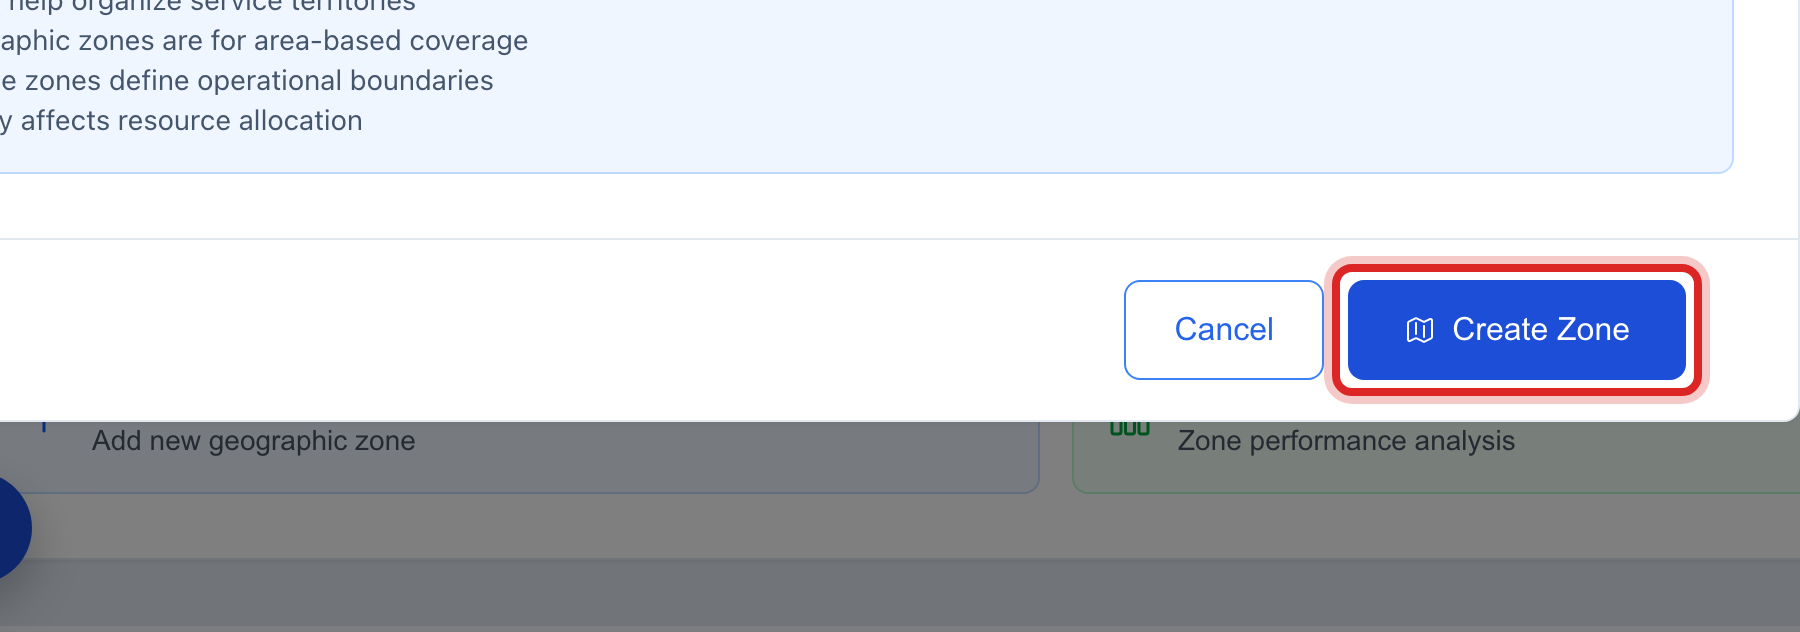
Click the blue Create Zone button at the bottom of the window.
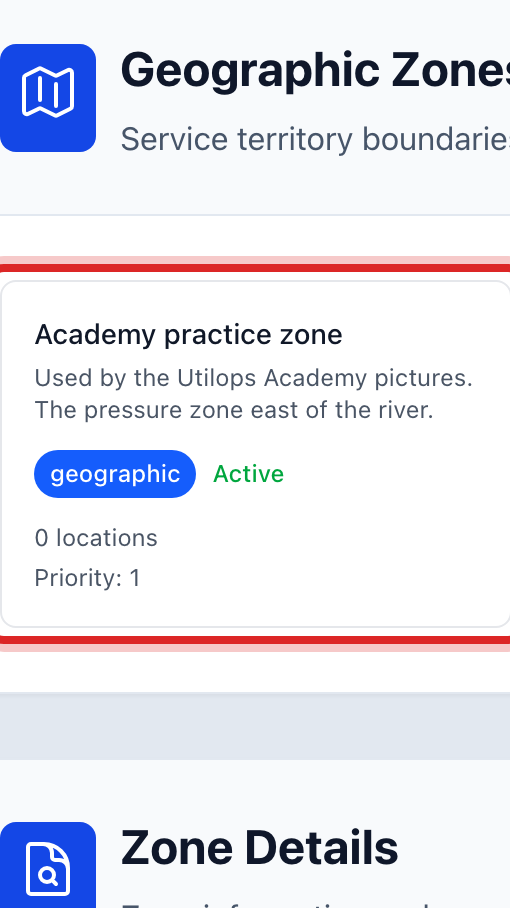
The new zone is in the list. Click it. Zone Details opens below.
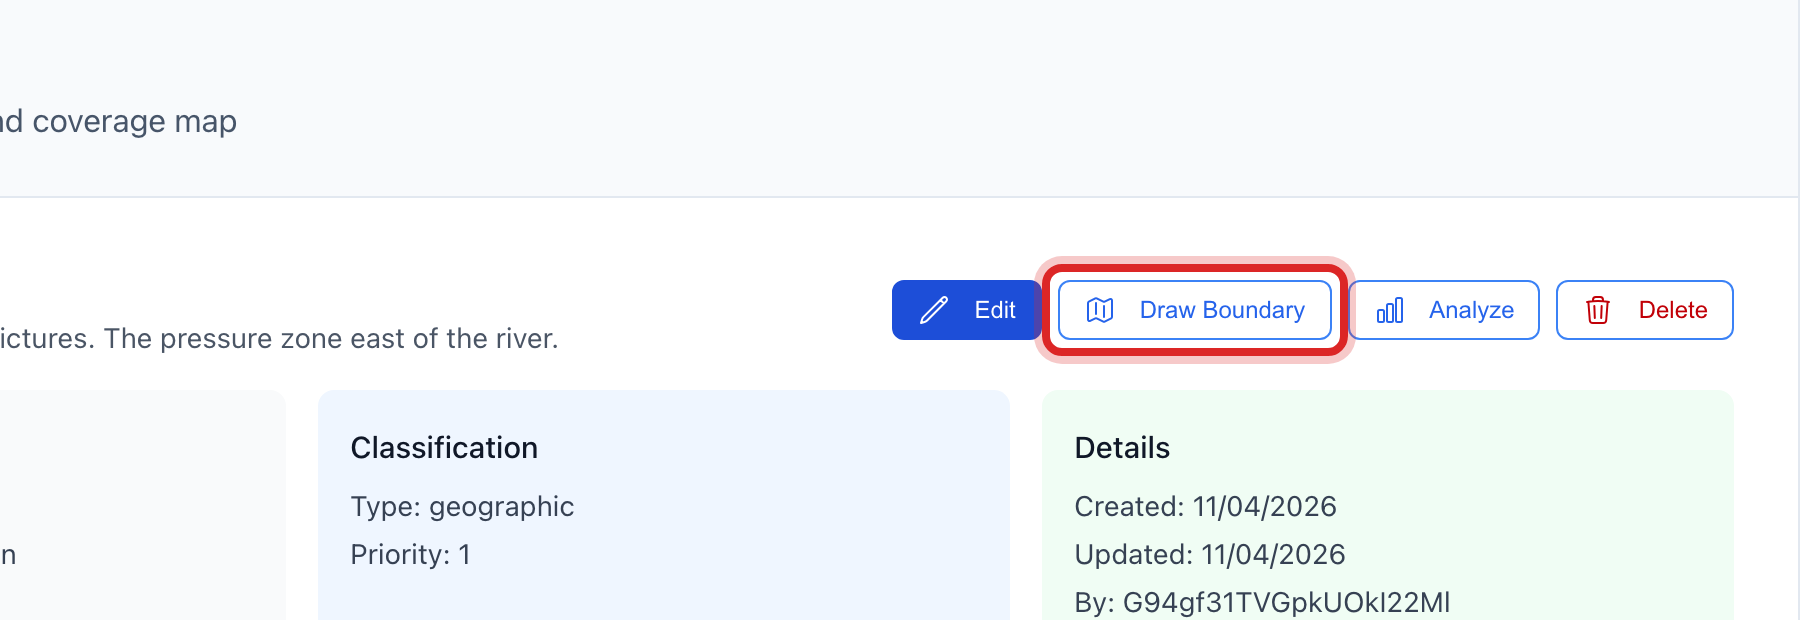
Click Draw Boundary.
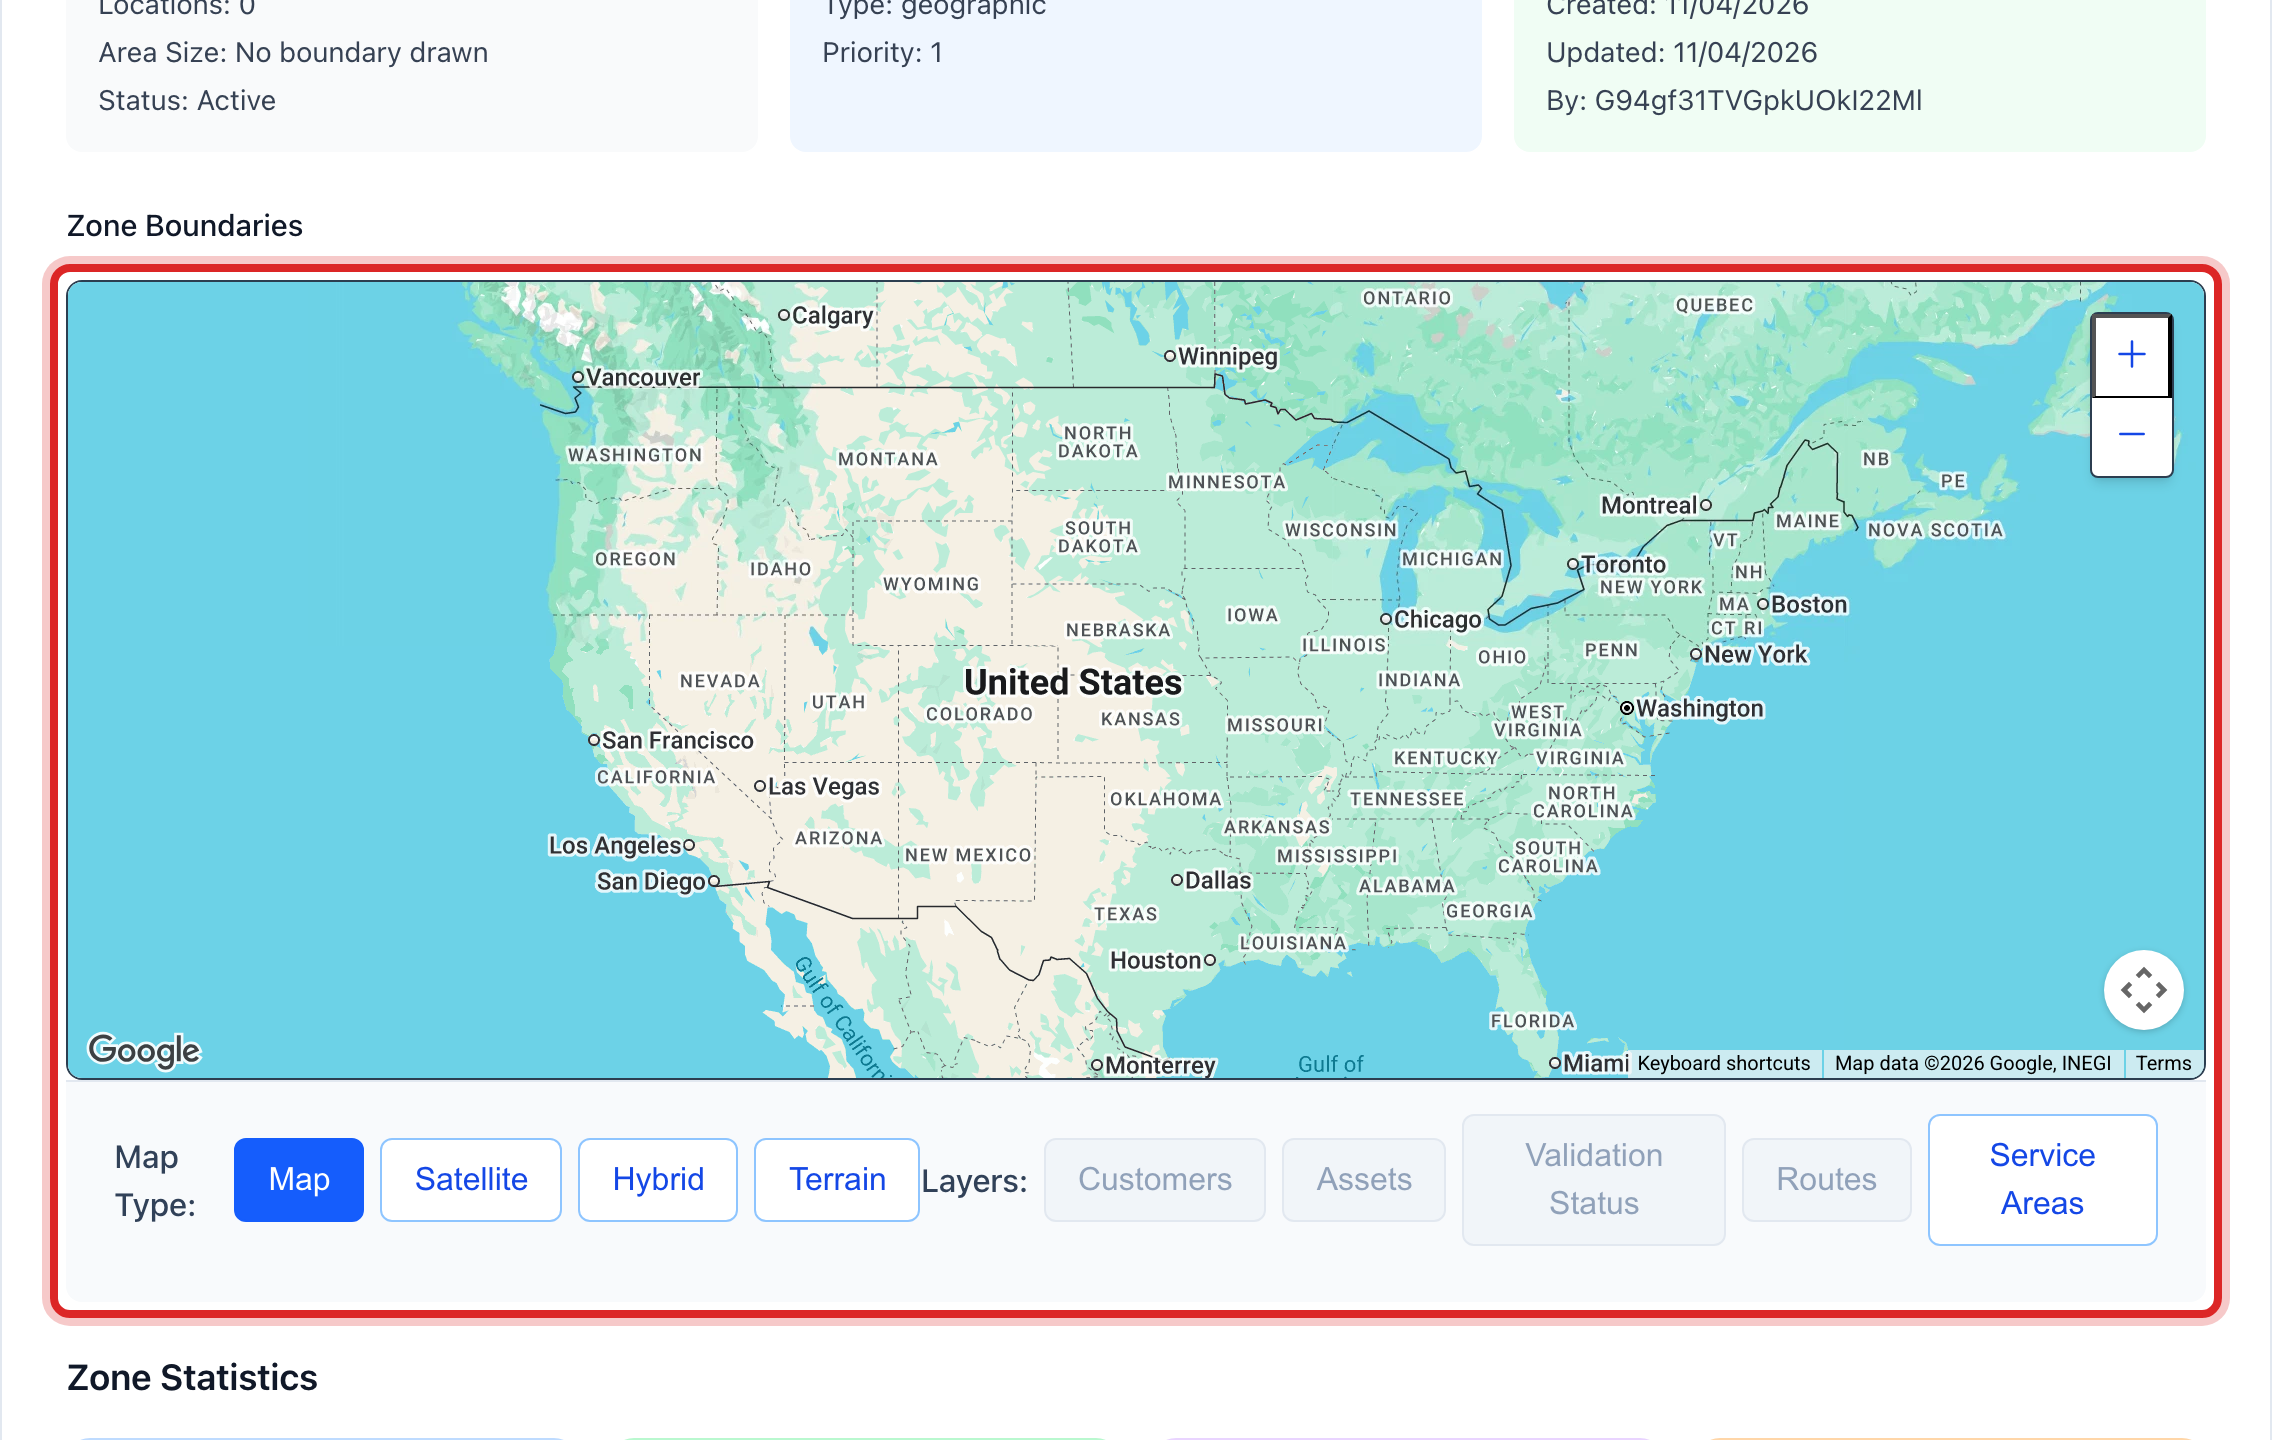
On the map under Zone Boundaries, click the corners one at a time, at least three. Drag a point to move it. Undo Point takes the last one back.
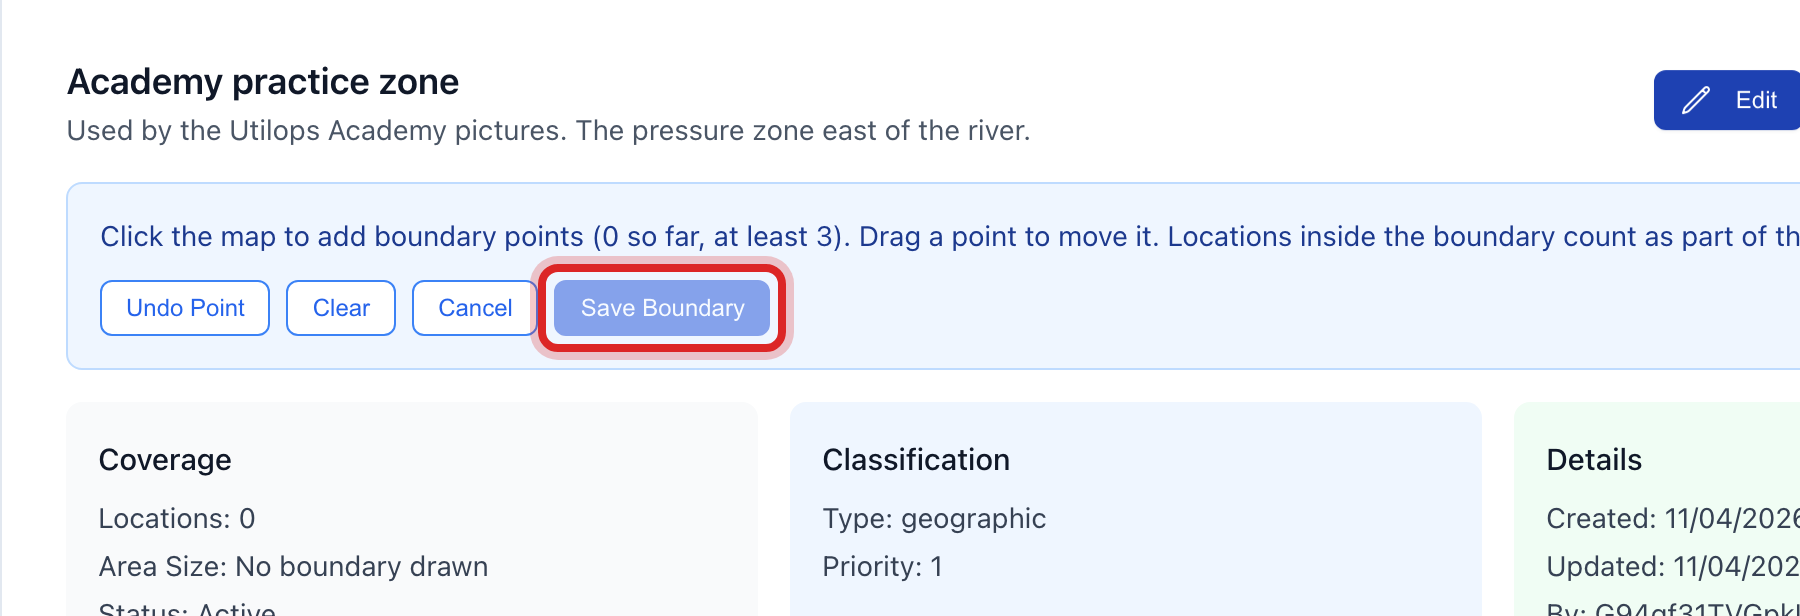
Click Save Boundary.
Made a mistake? Click Undo on the green message that appears, or open Show me how at the top and pick Undo a mistake.
You are done when
A green message says the boundary was saved. The shape is on the map, and Coverage in Zone Details counts what is inside it.
If something looks different
Save Boundary is faded. You have fewer than three points. Click at least one more corner.
You are not sure if it is an area or a zone. Who gets which service is an area. How you run the system is a zone. When in doubt, use a zone.
The list box above the list hides some zones. It is set to one type. Pick All Zone Types.
You do not see Create Zone. Only staff who may manage maps can add zones. Ask your administrator.